


For my little robot car I also wanted to connect a small display that shows me some information like the measured distance of the ultrasonic sensor or maybe a DEBUG output of the program. Because I have a lot of these small I²C OLED displays with 128×96 pixels in my workshop I didn’t have to think long which display I will use for the display. Since I already use the I²C bus of the ESP8266 NodeMCU for the servo controller it was obvious to connect the OLED display to the bus as well. I already know this type of display from my Raspberry Pi projects and have made very good experiences with it.
The following picture shows the OLED display in a robot car. I haven’t found the right place for the display yet.

ESP8266 NodeMCU OLED Display SSD1306
OLED Display SSD1306 cabeling
Connecting the display is still not difficult. The only thing you need are four more Female-2-Female jumper cables and a small pin header with five pins which must be soldered on the other side of the servo controller. There on the other side, opposite the I²C input coming from the ESP8266, the OLED display with the four cables is connected to the I²C bus output. The display works together with the 3.3V that it receives via the VCC pin of the servo controller without any problems.
The small table gives an overview of which cable has to be connected to which pin.
| Servo Kontroller | OLED SSD1306 Display |
| GND | GND |
| SCL | SCL |
| SDA | SDA |
| VIN | VCC |
The soldered pin header with the connected OLED display can be seen quite well in the following picture.
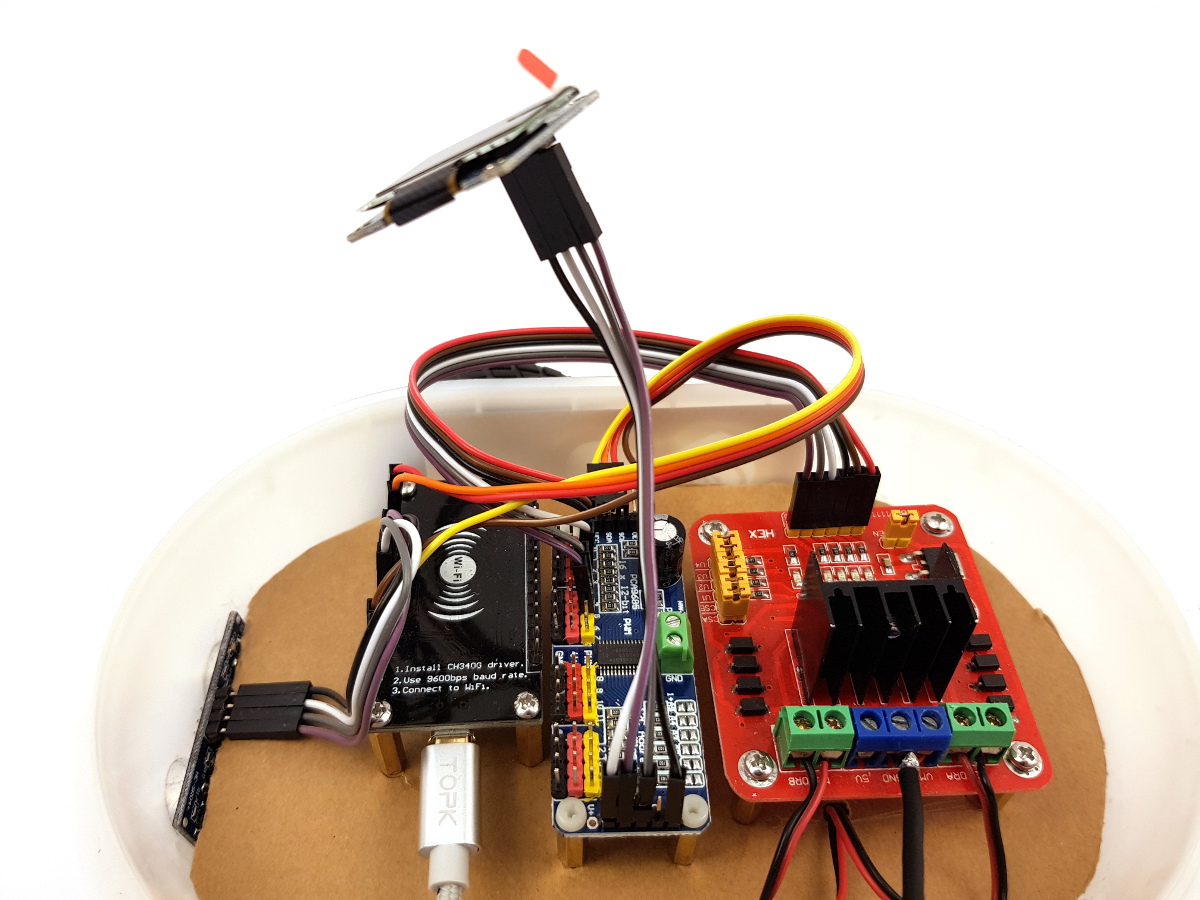
ESP8266 NodeMCU OLED Display SSD1306 wiring
Programming
To access the display from your program you need another library which has to be installed. How exactly libraries can be installed in the Arduino development environment is explained in detail in the following report.
Roboter bauen mit dem ESP8266 Entwicklungsboard – Arduino Entwicklungsumgebung einrichten
Please search for the library with the following keyword “ESP32 OLED” and install it on your PC in the Arduino development environment.
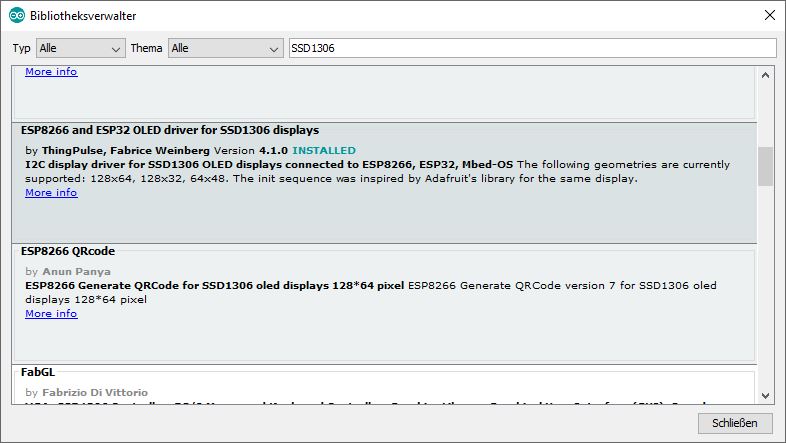
ESP8266 NodeMCU OLED Display SSD1306 software
From now on you are able to use the library and can show text on the display. Since the robot car is configured and the ultrasonic sensor already measures the distance it was obvious to display the measured distance directly on the OLED display. The small example program does this and you can download it below.
Download: ESP8266 NodeMCU software OLED-HC-SR04
Summary
I would have thought that it would be a bit more difficult to connect an OLED display to the ESP8266 NodeMCU. But it was very easy and the most time consuming part was soldering the small pin header on the servo controller to which the OLED display is connected. From now on you are able to show different information on the display. If the project goes further and a GPS receiver is installed there will be more information available that is worth to be shown on the OLED display.
Article Overview ESP8266 NodeMCU Robot Car:
Building robots with the ESP8266 development board – IntroductionBuilding robots with the ESP8266 development board – Power supply
Building robots with the ESP8266 development board – Components
Building robots with the ESP8266 development board – chassis
Building robots with the ESP8266 development board – Wiring Part 1
Building robots with the ESP8266 development board – Wiring Part 2
Building robots with the ESP8266 development board – Setting up the Arduino development environment
Building robots with the ESP8266 development board – Ultrasonic sensor and motor control
Building robots with the ESP8266 development board – WIFI remote control
Building robots with the ESP8266 development board – servo motor control
Building robots with the ESP8266 development board – OLED display
Building robots with the ESP8266 development board – Magnetometer
Building robots with the ESP8266 development board – GPS receiver introduction
Article Outlook:
Building robots with the ESP8266 development board - GyroscopeBuilding robots with the ESP8266 development board - GPS waypoints
Building robots with the ESP8266 development board - Solar cell


Recent Comments