


There are two ways to power the robot car as described below. The first way I describe is to use a power bank in the robot car. The second possibility is to use six mignon cells, a battery holder and a step-down converter. Depending on the budget you can either use the more expensive Power Bank or the cheaper version with the batteries. The advantage of the Power Bank is that it can also be used as an additional battery for e.g. a smartphone or tablet. The solution with the batteries means that new batteries have to be bought every time they run out. But the change to Mignon batteries would be more expensive than a Power Bank if a suitable charger has to be bought. Therefore I would always recommend the use of a Power Bank because you can still use it for many years for different projects. The solution with the batteries produces again garbage and the change to Mignon batteries is again more expensive than a small Power Bank.
Power Bank
If a power bank is used, it is only important to make sure that it has two USB A ports and is not too heavy or too big for the robot car. The Power Bank has to be placed inside the model and as in my case the Power Bank is placed on top of the chassis. The ESP8266 NodeMCU and the motor driver are connected to the two USB A ports.
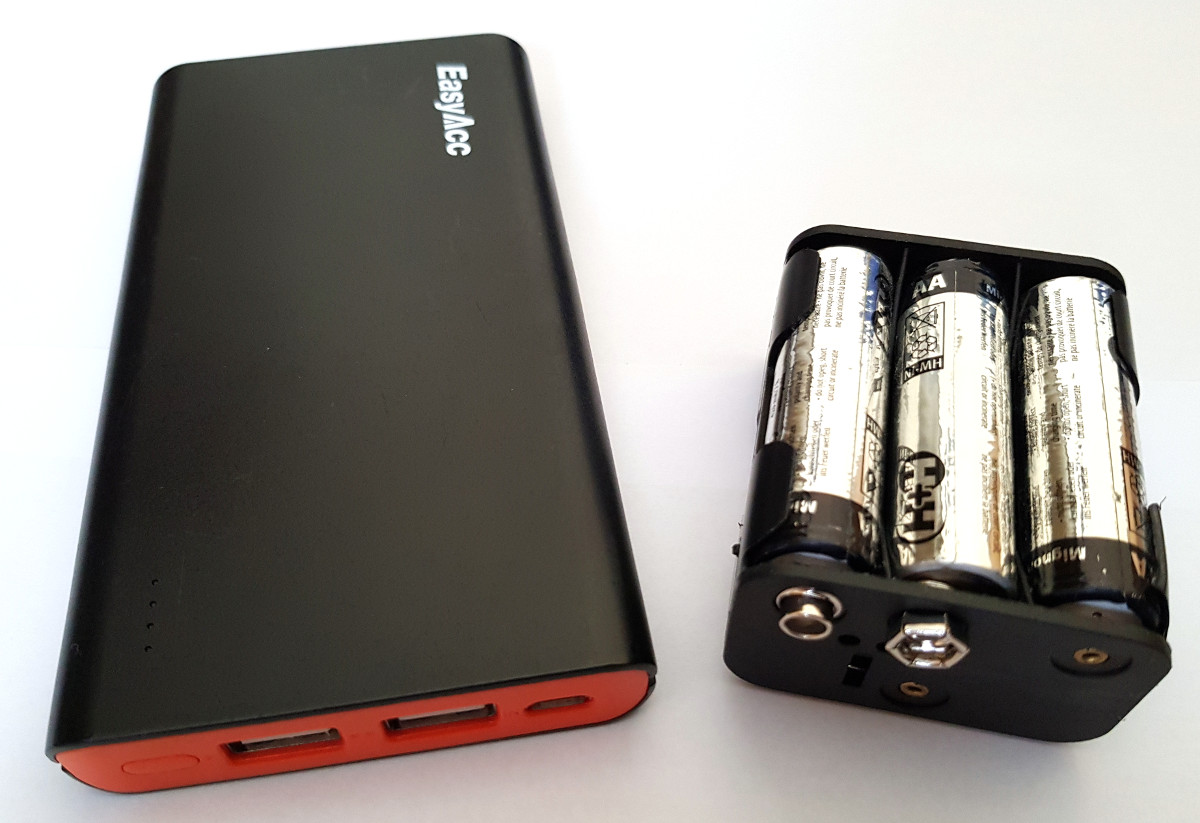
The following picture shows the power bank I use and the battery holder for six mignon batteries.
ESP8266 NodeMCU robot car battery
A typical power bank that could be used would be the following model. The link leads to the Amazon online shop.

Mignon Batteries
If the cheaper solution should be applied with the six mignon batteries for reasons of cost, then the batteries, the battery holder and the step-down converter are needed once. The Step-Down Converter is connected to the cable that leads out of the battery holder. With the Step-Down Converter it is important that it has two USB A slots. So the construction of the robot car remains identical to the description and a change to a power bank for example is possible without any problems.
The following picture shows another Step-Down Converter which has only one USB A port. On the backside a two wire cable was soldered for the +5V and GND of the motor driver.
< Add image battery and step-down converter>
The following material list leads again to the Amazon online shop.
The Step-Down Converter was chosen which has two USB A connectors.

The battery holder for six mignon cells with matching connection cable is ideal for the robot car.

Six Mignon batteries can be bought in every supermarket.
 1.5V, 40 Stück Vorratspack, Super Alkaline Longlife Technologie, 40 Stück")
Summary
If only the cost of having the robot drive the car two or three times is considered, then the solution with the batteries is certainly the most economical. But if the robot car is to be used for a longer period of time, the solution with batteries or a power bank is ideal. Here everybody has to decide for himself which solution is the right one.
Article Overview ESP8266 NodeMCU Robot Car:
Building robots with the ESP8266 development board – IntroductionBuilding robots with the ESP8266 development board – Power supply
Building robots with the ESP8266 development board – Components
Building robots with the ESP8266 development board – chassis
Building robots with the ESP8266 development board – Wiring Part 1
Building robots with the ESP8266 development board – Wiring Part 2
Building robots with the ESP8266 development board – Setting up the Arduino development environment
Building robots with the ESP8266 development board – Ultrasonic sensor and motor control
Building robots with the ESP8266 development board – WIFI remote control
Building robots with the ESP8266 development board – servo motor control
Building robots with the ESP8266 development board – OLED display
Building robots with the ESP8266 development board – Magnetometer
Building robots with the ESP8266 development board – GPS receiver introduction
Article Outlook:
Building robots with the ESP8266 development board - GyroscopeBuilding robots with the ESP8266 development board - GPS waypoints
Building robots with the ESP8266 development board - Solar cell


Recent Comments