

The previous article was about preparing the training data, i.e. the images and sensor data, so that they can be used for training the neural network. Therefore the training data must now be stored on the computer on which the training of the neural network is to be performed. The training of the neural network is done in the “policy_learning.ipynb ” Jupyter Notebook in the browser. This is a very nice solution because you are guided step by step through the training and everything is clearly organized and programmed. The only important thing is to check if the path of the “base_dir” fits to the path where your records are located. Otherwise the Jupyter Notebook encapsulates the complexity for you very comfortable.
Then it starts with the first test run or training of your own neural network.
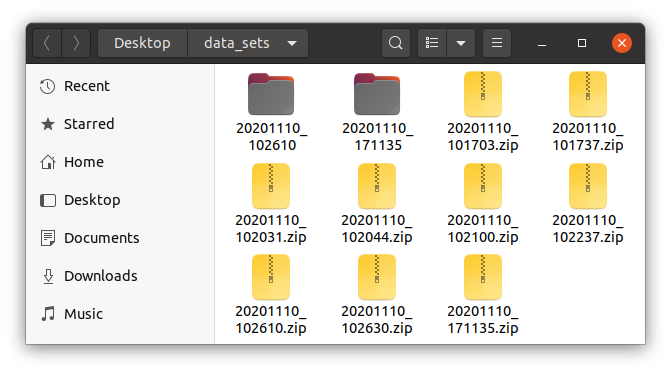
I have named the folder a little bit different than the folder in the notebook itself. So instead of “dataset” I have to enter “data_set” in the notebook and then I can run the notebook and train my neural network.
base_dir = "data_set"
The variable “dataset_name” can be freely selected. This name will be used later to name a storage folder in the same way in which the individual training runs and their results are stored like the neural network or the HTML files. So it is possible to distinguish the results of different runs.
dataset_name = "my_openbot_living_room_001"
Here a screenshot from the place in the notebook where a configuration is necessary.

OpenBot data processing
Now that all preparations have been made, please use the play button at the top of the Jupyter environment to run the notebook step by step to train the neural network.

OpenBot run notebook
The training should now have been completed without errors. Maybe your CPU has become a bit warmer in the computer like mine.
Summary
Now you have mastered almost all puzzle pieces. Now it’s time to record good training data and use it to train a neural network that can be uploaded to the OpenBot. Because our goal is to let the OpenBot drive through the apartment without making an accident and that it can navigate the way we want it to. How exactly the neural network will be implemented in the Android App you will find out in the next article.
Article Overview OpenBot robot cuto:
OpenBot – Your smartphone controls a robot car – IntroductionOpenBot – Your smartphone controls a robot car – needed parts part 1-2
OpenBot – Your smartphone controls a robot car – needed parts part 2-2
OpenBot – Your smartphone controls a robot car – constructing a chassis
OpenBot – Your smartphone controls a robot car – Wiring
OpenBot – Your smartphone controls a robot car – Flashing the Arduino firmware
OpenBot – Your smartphone controls a robot car – Android App and first test run
OpenBot – Your smartphone controls a robot car – Record training data
OpenBot – Your smartphone controls a robot car – Set up training environment
OpenBot – Your smartphone controls a robot car – train the neural network
OpenBot – Your smartphone controls a robot car – Setting up Android Studio and your Smartphone
OpenBot – Your smartphone controls a robot car – compile your own OpenBot Android app


Recent Comments