


The idea was to build a Raspberry Pi amphibious all-terrain robot vehicle as an upcycling project. In our daily life we use plastic bottles, boxes, foam etc. and many of those plastics are thrown away. I thought about this human waste problem and started collecting some interesting boxes and bottles to build something new. This is the idea behind upcycling to build something new.
Okay, I have the advantage that I already build many robots. This is the reason why I have two DC motors, a motor driver and wheels I even do not use.
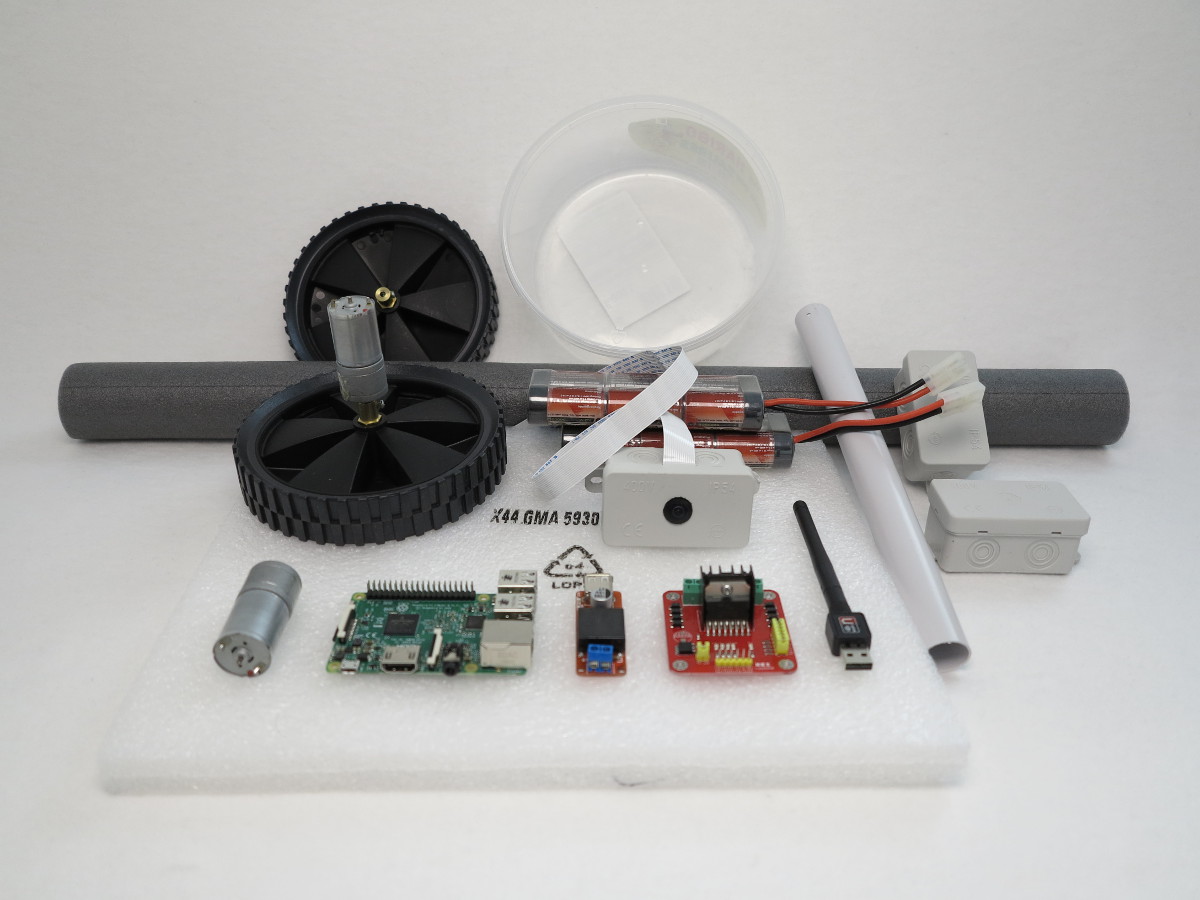
The picture below shows the main parts I will use for my amphibious car.
Raspberry Pi amphibious all terrain robot vehicle
Key features
The amphibious car uses a Raspberry Pi to control the motor driver and to provide a live video stream. To power the two wheels I will use two DC gear motors which have enough power to drive on land and to swim in the water. The foam is used to let the amphibious car float in the water. An old jelly bear box is used as a water proof enclosure for the electronics. Two RC accus are used to power the Raspberry Pi and the two 12V DC motors.
Raspberry Pi robot-car component list:
If I could awaken you interest how to build such a robot with a Raspberry Pi computer as central controlling unit you will find a list of components on my blog to help you. The component list is an overview of electronic components or ready to assemble kits which I used by myself and which I could recommend with good conscience. I used most of the components in my own projects and checked the functionality and compatibility with a Raspberry Pi.
This is the link to the component list: component list

ZeroBorg motor controller - robot-car components
Assembly – control station
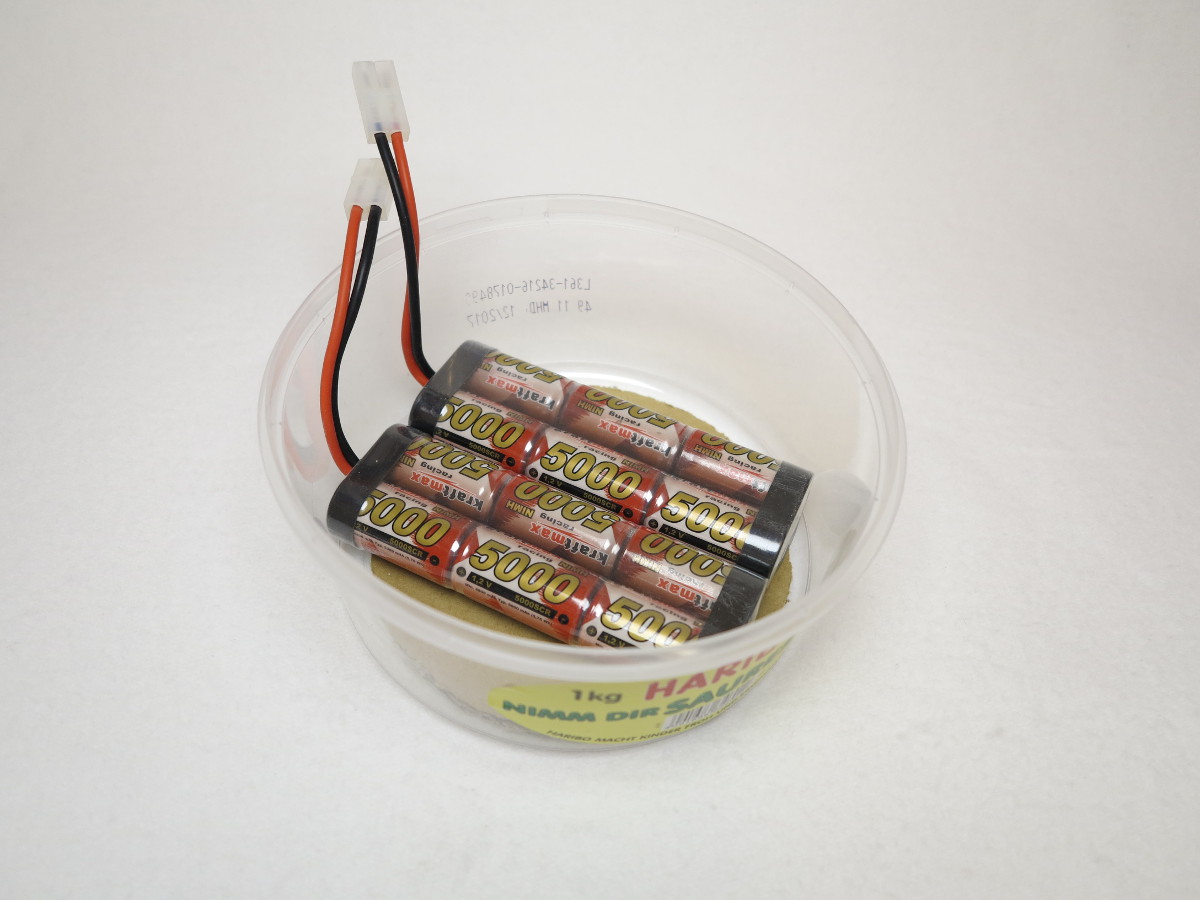
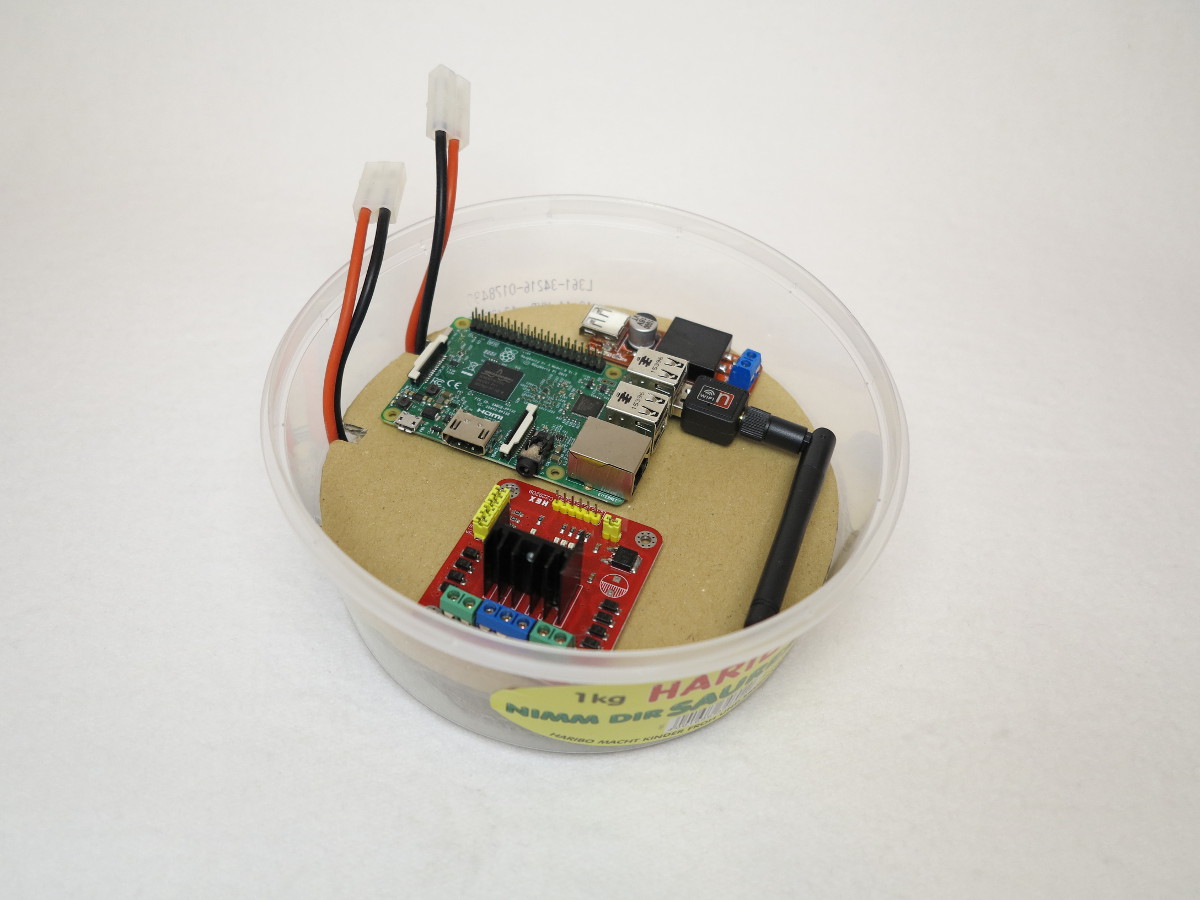
For the electronics of the amphibious car I used a round plastic box with two cardboard layers. The first one is laying on the bottom of the box. It is only used to mount the two accus. The second one is laying on top of the accus and is used to mount the Raspberry Pi, motor driver and step down converter on.
The picture below shows the first cardboard sheet for the two accus.
Raspberry Pi amphibious all terrain robot vehicle accu
The second layer with the Raspberry Pi and the other electronic components is shown on the next picture.
Raspberry Pi amphibious all terrain robot vehicle components
Floating foam
The foam is used to let the amphibious car float in the water. The foam is stable enough to mount the two DC motors on, the water proof box with the electronics and some nice additional extension every DIY projects needs to look cool.
Raspberry Pi amphibious all terrain robot vehicle foam
Wheels as paddle
For an amphibious car it is typical to drive on land and to swim in water. That the reason why I had to think about paddle wheels which are stable enough to drive on land and power the car in the water. I used two wheels I already bought for an outdoor robot I build last year. I will reuse these wheels and will add some paddles to power the amphibious car in the water.

Raspberry Pi amphibious all terrain robot vehicle wheel paddles
Fender
To protect the amphibious car from splashing water I thought about some kind of fenders. I will use a green plastic saucer which is normally used for plants. I will only use one saucer which I will cut into halves. With the green color I hope the amphibious car will look good.
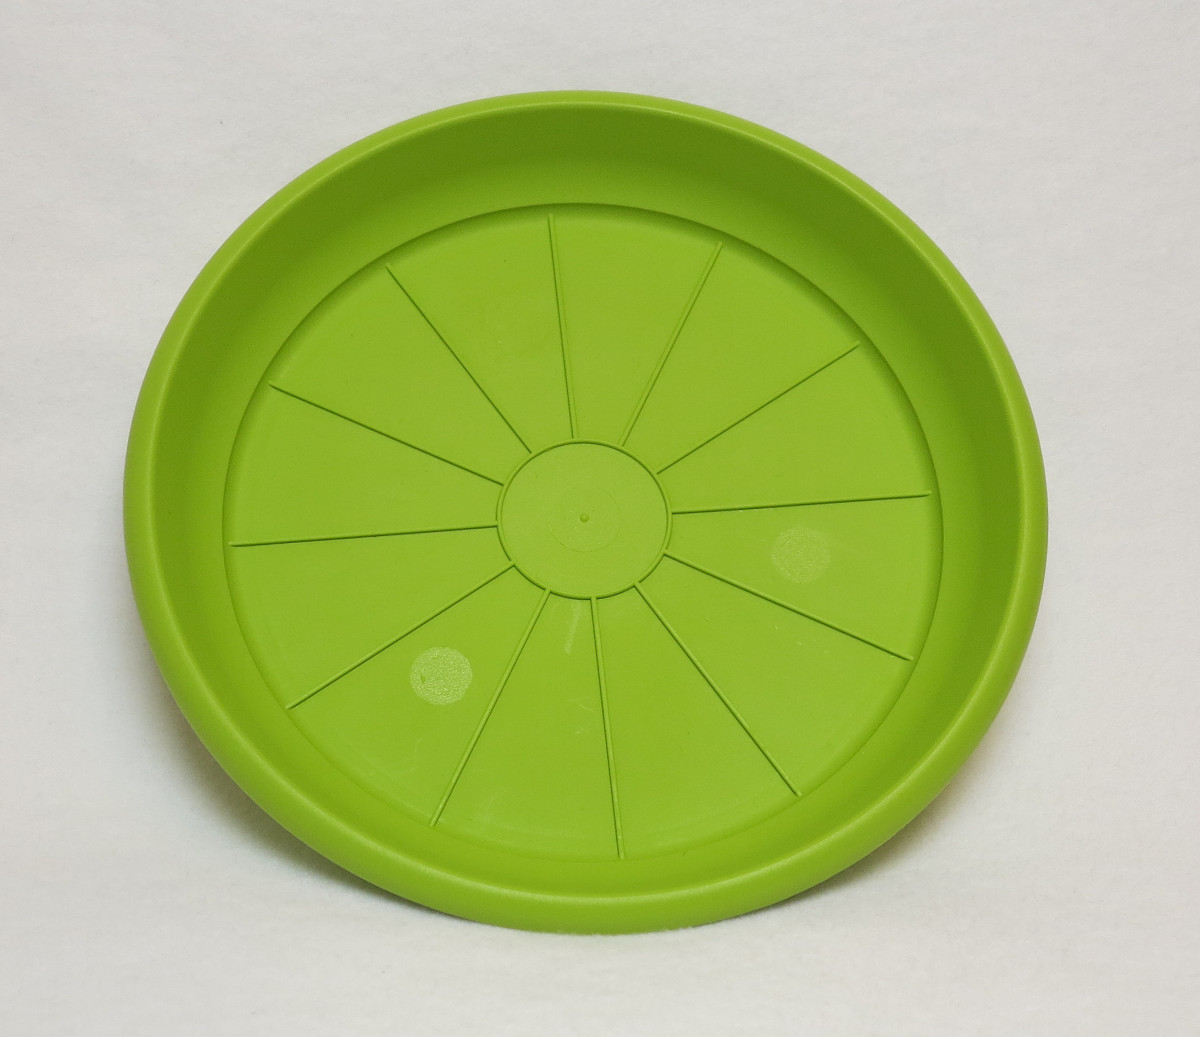
Raspberry Pi amphibious all terrain robot vehicle saucer
DC motor enclosure
To protect the two DC motors I mounted each motor into a small surface box with IP57. Hopefully this will protec the DC motors from splashing water. To mount the DC motors into the surface box I have to drill some holes into the plastic. One for the axis, two to screw the motor and one additional hole for the wires. Maybe I will use my hot glue gun to seal the hole for the wires.
Assemble
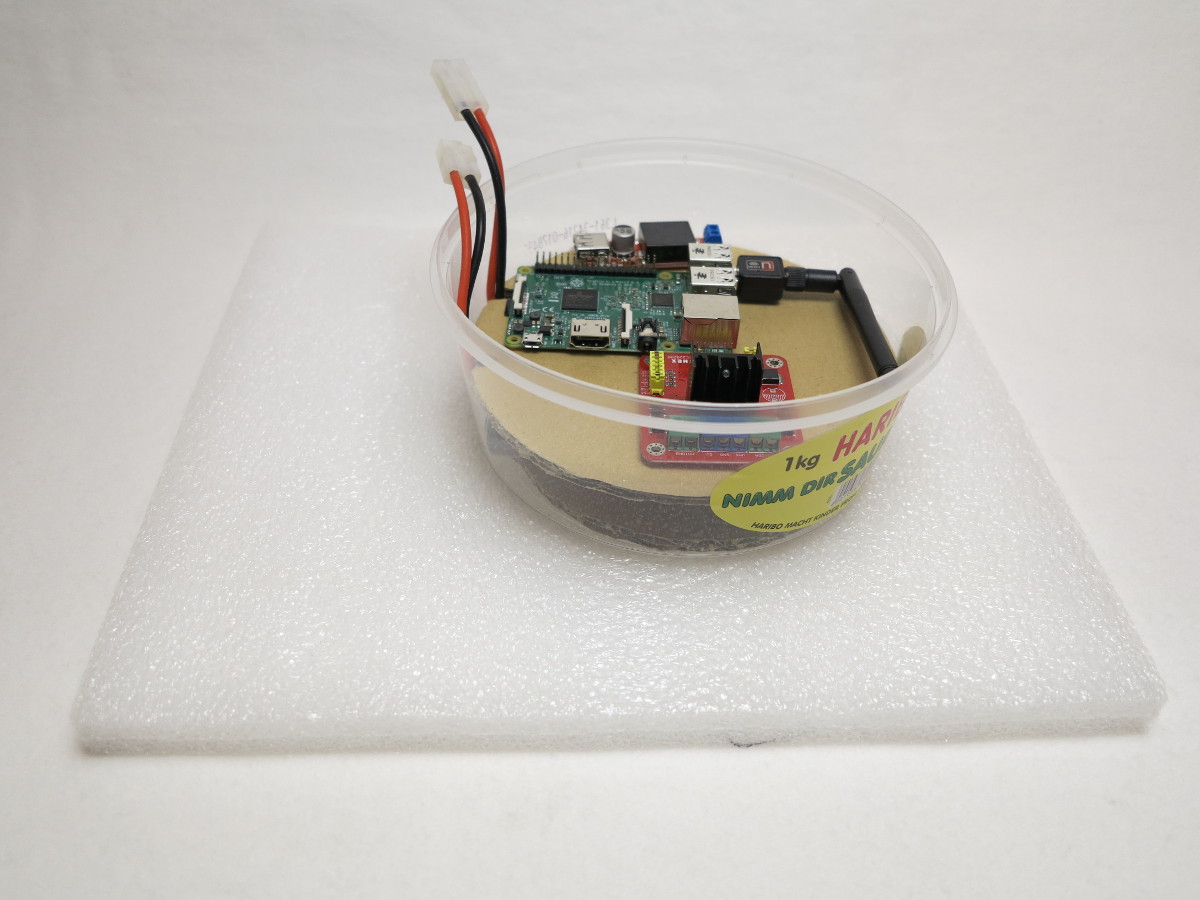
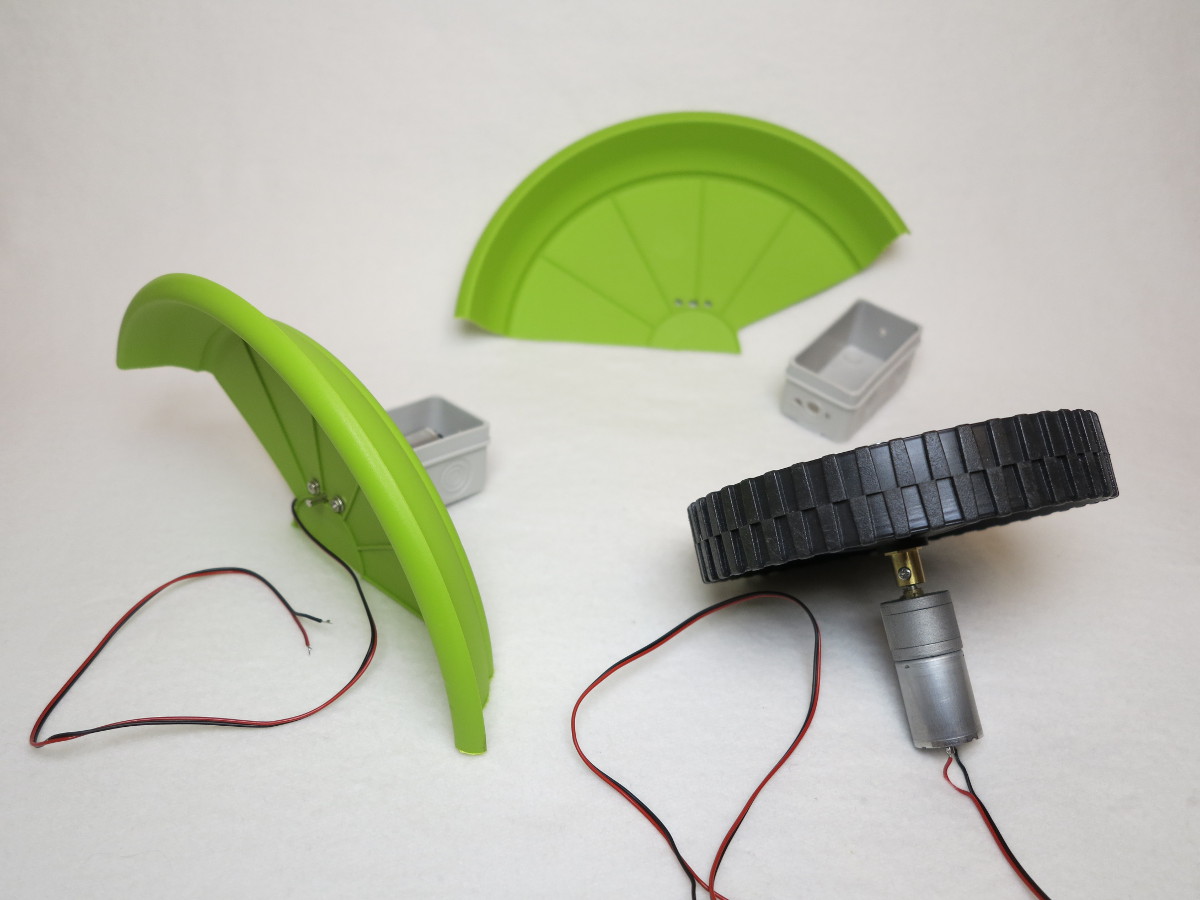
The foam is the base for all the parts. I am not sure if it is too soft. But I hope the plastic box with the electronic components will stabilize the foam. The next picture shows some parts and how I planned to assemble everything.

Raspberry Pi amphibious all terrain robot vehicle plastic box
The plastic box with the batteries and electronic components is very heavy for the foam. For the first test I will place the box in the middle of the foam. I hope the foam will float with the full loaded box on top and not sink.
Raspberry Pi amphibious all terrain robot vehicle floating plastic box
I mounted the two dc motor into the surface boxes. Then I attached one of the halve parts of the saucer on each surface box. This will hopefully protect the motors from too much splashing water. They should work like a
Raspberry Pi amphibious all terrain robot vehicle surface box and saucer
The next step is to mount the ready assembled motorized paddle wheels together with the halve saucer on each side of the foam. I will use the hot glue gun to stick the halve saucer and foam together.
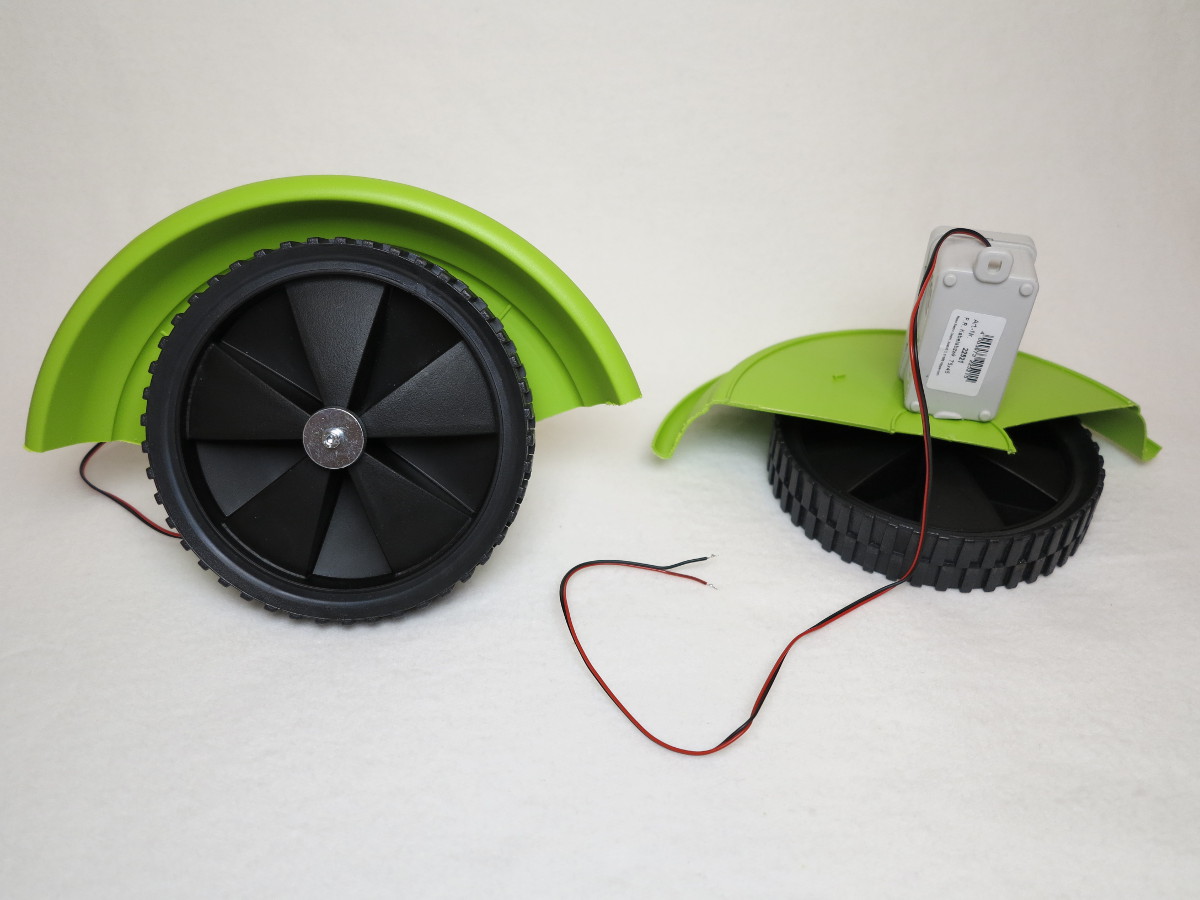
Raspberry Pi amphibious all terrain robot vehicle surface box and saucer finished
The foam which is normally used to isolate heating pipes should help the car to be faster in the water. I will glue some pieces on the front and back of the amphibious car. I hope that will make the car more streamlined in the water. But I had some problems to get the foram glued.
Camera
For the live video stream I installed a wide angle Raspberry Pi camera. I highly recommend to use a wide angle camera. The profile of the Raspberry Pi amphibious car is very low and with a normal camera you do not have a good overview of the surroundings.

Raspberry Pi amphibious all terrain robot vehicle surface box with camera
Floating test
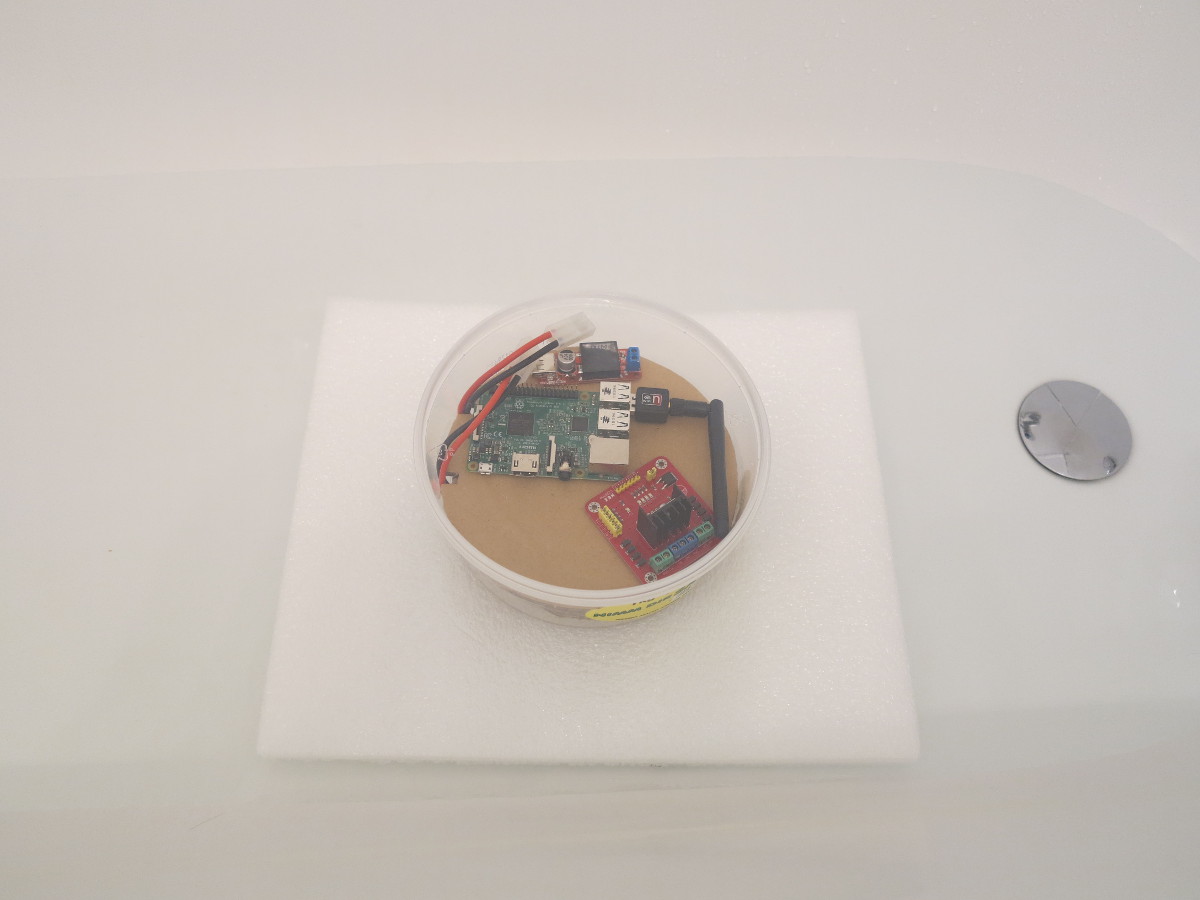
All components are installed and the Raspberry Pi is connected with jumper wires with the motor driver. Now it is time for a first test in the bath room. The box with the battery pack and Raspberry Pi is not yet glued on the foam. In case that I have to change the position of the heavy box to get the best weight balance I could move it around and then glue it.
The picture shows the first test in the bath tub.
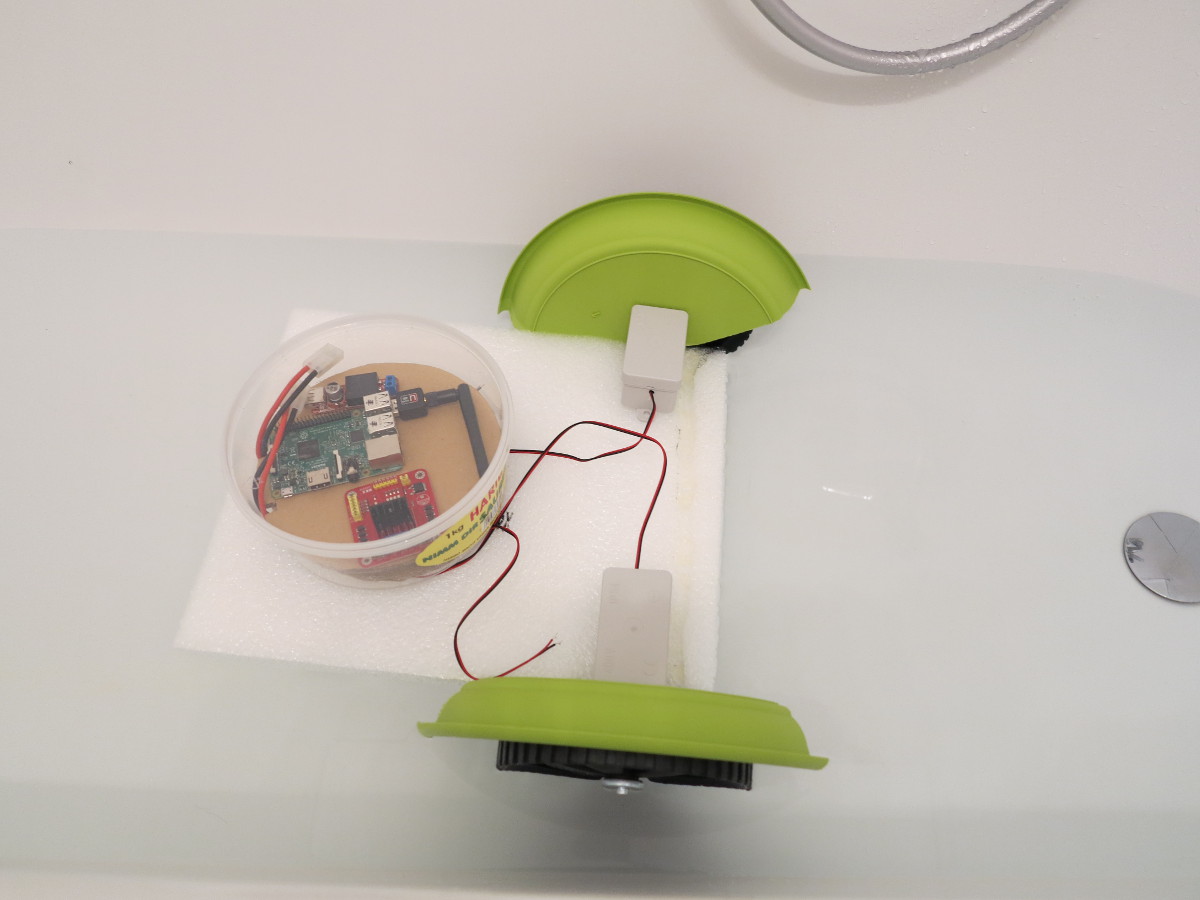
Raspberry Pi amphibious all terrain robot vehicle floating test
The video shows the first test if the foam if floating or not.

The next Video shows the robot in action in the bath tub.


Build your own robot car with the Raspberry Pi!
Step by step to your own robot carThis book guides you in two parts through the project phases with the aim of building an individual, autonomously driving robot car. In the first part of the book you will learn the basics of robotics and the interaction of hardware, electricity and software. You build the chassis and wire the individual components - details can be found in the appropriate, richly illustrated chapters. An introduction to software installation and programming with Scratch and Python completes the first part. You do not need any previous knowledge in robotics and programming. In the second part of the book, you will familiarize yourself with the sensors required for autonomous driving. With the acquired knowledge you can individualize and further develop your robot car as you wish. The knowledge you acquire in this book will enable you to implement your own projects with the Raspberry Pi.
This book offers you that:
- Simply get into robotics with the Rasperberry Pi without prior knowledge
- Numerous illustrations, tables, circuit diagrams
- Information boxes with useful tips also for other Raspberry Pi projects
- Project code with syntax highlighting
- Two car projects: remote-controlled robot car via WLAN and self-driving car
- Hardware tips and recommendations for suitable accessories - Extensive project material as download: Raspbian image, parts list, chassis artwork and code
- Special features: Easy and robust cabling, use of high-precision time-of-flight laser distance measurement sensors, introduction to servo motors and suitable servo controllers, control via gamepad, use of an OLED display
Ingmar Stapel studied computer engineering and is currently working internationally as IT project manager and enterprise technical architect; in addition, he has been intensively involved with Raspberry Pi and robotics for years. He likes to share this knowledge with interested people from the tinkering scene at meet-ups on robotics. On his private blogs he also writes about many current technology trends.


Recent Comments