

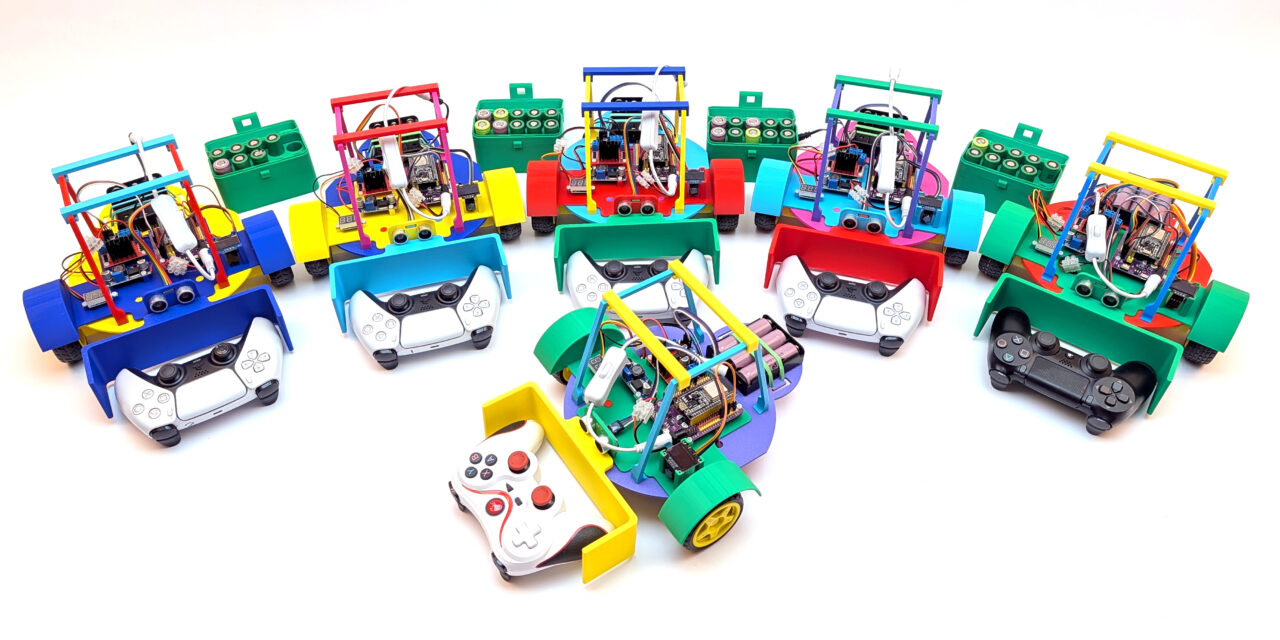
Some days stay with you. The talent day at my daughter’s primary school in early May 2026 was one of those days. For the second year in a row, I was allowed to run a workshop with her around our ESP32 robot cars. Once again I saw how much enthusiasm technology sparks when you simply put it in the right hands.
An idea that came from my daughter this time
Once again, the wish came from my daughter. She really wanted us to do something with robot cars again, just like last year. Of course, a dad does not need to be asked twice.
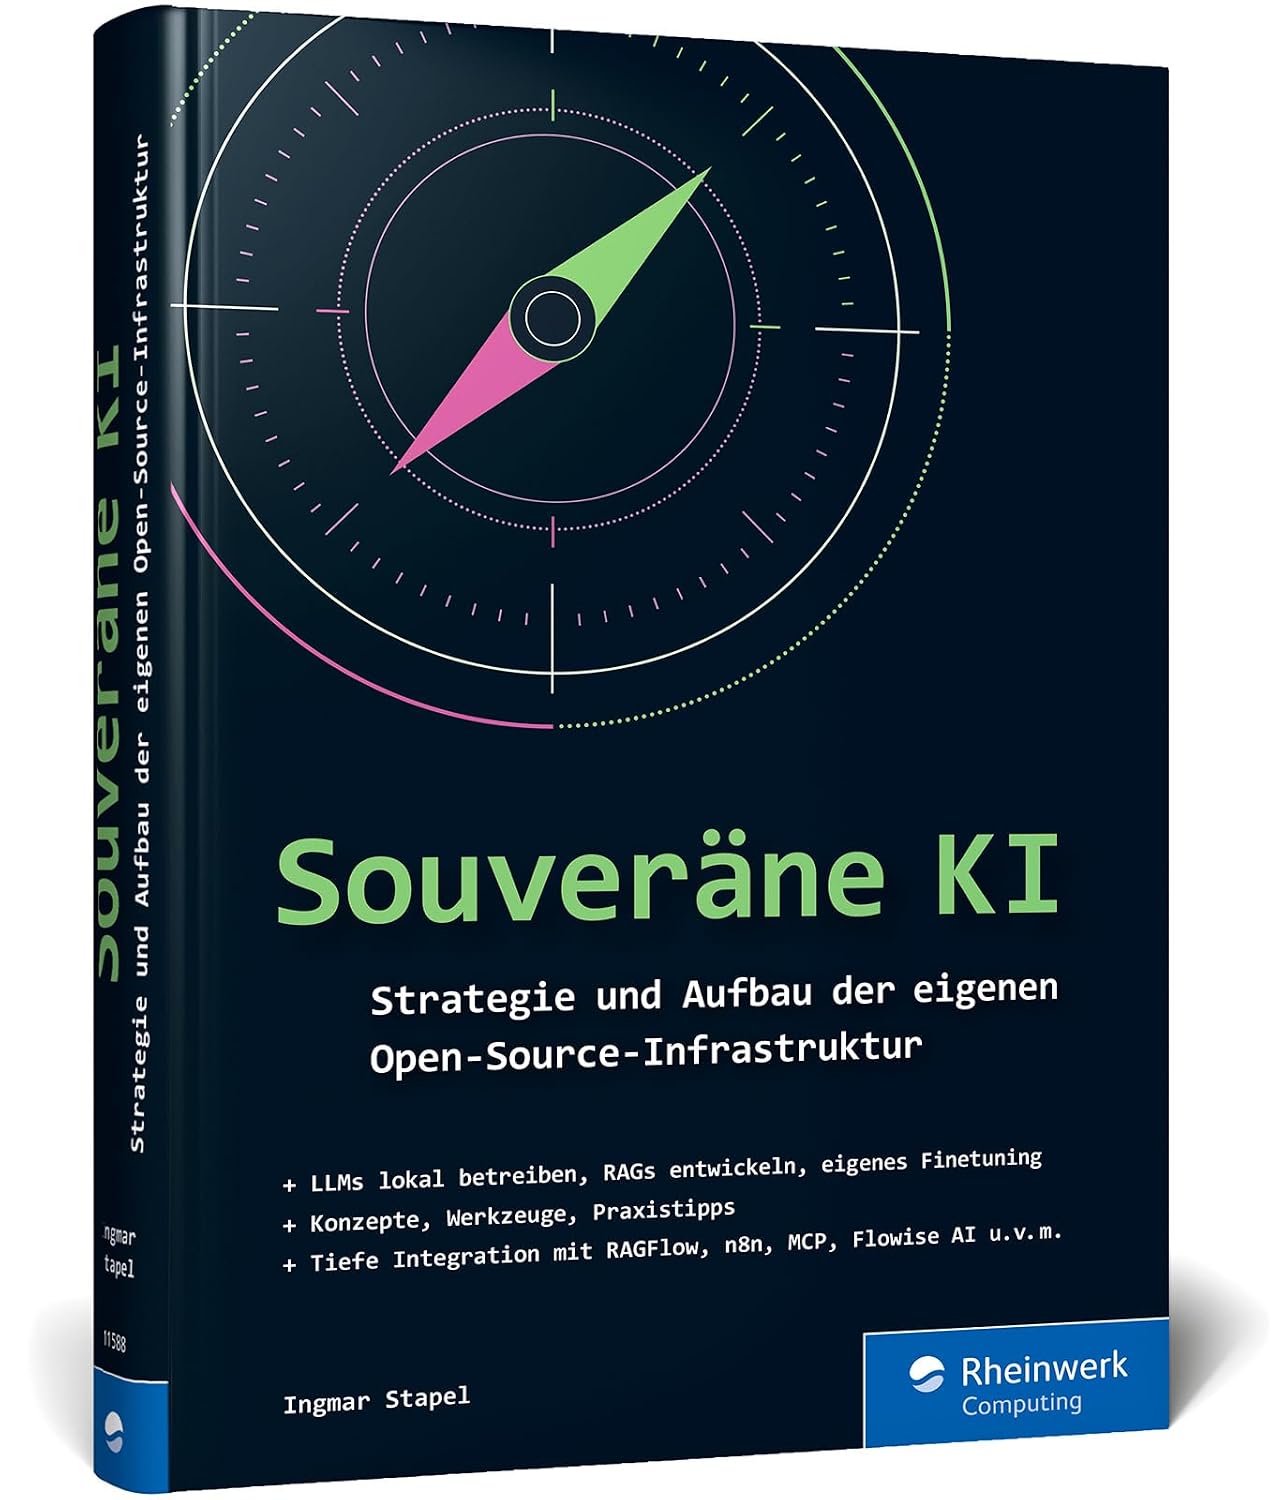
As the author of the book „Roboter-Autos mit dem ESP32“ published by Rheinwerk Verlag, I already had plenty of material. But I had learned from last year that things needed to be simpler. So I designed a new, deliberately simpler robot car. It is robust enough for many small hands and simple enough for the children to finish the almost fully assembled car step by step on their own.

Robot car ESP32 – school project
From one idea to six robot cars
In December 2025, the project only existed as an idea in the heads of my daughter and me. I wrote down the new hardware on paper first, because I wanted to make a few small changes. Over Christmas and the following months, it turned into something real: six finished ESP32 robot cars, each in its own color combination.
In between were many hours at the 3D printer, at the soldering iron and at my desk. I had to design and print the new chassis, install motors and electronics, solder cables, program the ESP32 controllers and finally test and calibrate each car individually. The moment on Sunday evening when all six stood side by side on the table, ready to go, was honestly one of the best of the whole weekend. And in my mind I could already picture the children.

Robot car ESP32 – fully assembled
The workshop: „Talents – Discover what is inside YOU“
The GS Ismaning am Kirchplatz primary school had put its project week under the motto „Talents – Discover what is inside YOU“. My workshop was part of the „logical-mathematical“ category for 3rd and 4th grade. We split the registered children into small teams of two or three. Each team finished one car together, got to know it and, of course, drove it a lot.
Four things on the program made their eyes light up:
Remote control with the PlayStation controller
In my experience, every child gets the hang of this classic among controllers right away.
Calibrating straight-line driving
Two motors never run exactly the same. So the car pulls to one side at first. The children learned how to notice and correct this themselves. Suddenly their robot was really „their“ robot.
Avoiding obstacles autonomously
With the ultrasonic sensor, the car detects obstacles and turns away on its own, in a random direction. This caused lots of laughter and surprises.
Driving competition through the obstacle course
At the end, of course, it was time to race. With lots of cheering, a few small crashes and great pride.
Hands-on STEM
What impressed me most was the curiosity of the children. Many did not just want to drive. They wanted to understand, and in detail. How does the ultrasonic sensor work? What does this small microcontroller actually do? And why does the robot sometimes turn left when driving autonomously?
That is exactly what STEM in practice means: no textbook theory, but touching, trying, asking and connecting cables. The children should grasp with their own hands what happens inside a robot. And they should experience that they can shape and even repair technology themselves.
And when my daughter stood proudly next to me and explained to the other children how the ultrasonic sensor measures distance, I knew why I had spent all those hours at my desk, at the 3D printer and at the soldering iron.
A big thank you
A big thank you goes to the project team and the entire school management for the great organization of the talent week. Without this commitment, a day like this together with the parents would not be possible. And along the way, we participating parents learn a lot about everyday school life today in this short time.
And the technology?
I deliberately kept this post not too technical. Here the joy of the project should come first. But if you want to know exactly how such an ESP32 robot car is built, programmed and controlled, you will find all the details, circuit diagrams and the complete code in my book „Roboter-Autos mit dem ESP32“ published by Rheinwerk Verlag.
Conclusion
It was a wonderful day full of curiosity, shining eyes and small aha moments. My daughter’s wish turned into six robot cars and a morning that, I hope, many children will remember. Technology inspires. You just have to put it in the right hands. And maybe my daughter and I will simply sign up again next year.
Component overview:
For everyone who wants to get started now, here is the list of components I used in these robot cars.
ESP32 microcontroller
Quantity: 1x

Dev board for easier wiring
Quantity: 1x

I2C OLED display to show values such as the measured distance
Quantity: 1x

A cable with switch
Quantity: 1x

The L298N motor driver to control the two motors
Quantity: 1x

The voltmeter to set the correct voltage of about 7 V for the small motors
Quantity: 1x

The step-down converter to get from about 11 V down to about 7 V
Quantity: 1x

The 3 x 18650 battery holder (unfortunately without the matching plug). I could no longer find the one I used on Amazon.
Quantity: 1x

The yellow TT motors as a kit with jumper cables and motor driver
Quantity: 2 motors with wheels

The yellow TT motors
Quantity: 2 motors with wheels

The jumper cables needed for the logic wiring
Quantity: 1x

Suitable stranded wire for the power supply
Quantity: 1x

A few terminal blocks never hurt.
Quantity: 1x

The ultrasonic sensor to measure distances
Quantity: 1x

The caster wheel that is mounted at the back and trails along
Quantity: 1x

50 pieces M3 x 35 mm countersunk screws
Quantity: 1 pack

100 pieces M3 hex nuts
Quantity: 1 pack

You can find the 3D print files for the chassis on MakerWorld: ESP32 robot car school edition



Recent Comments