

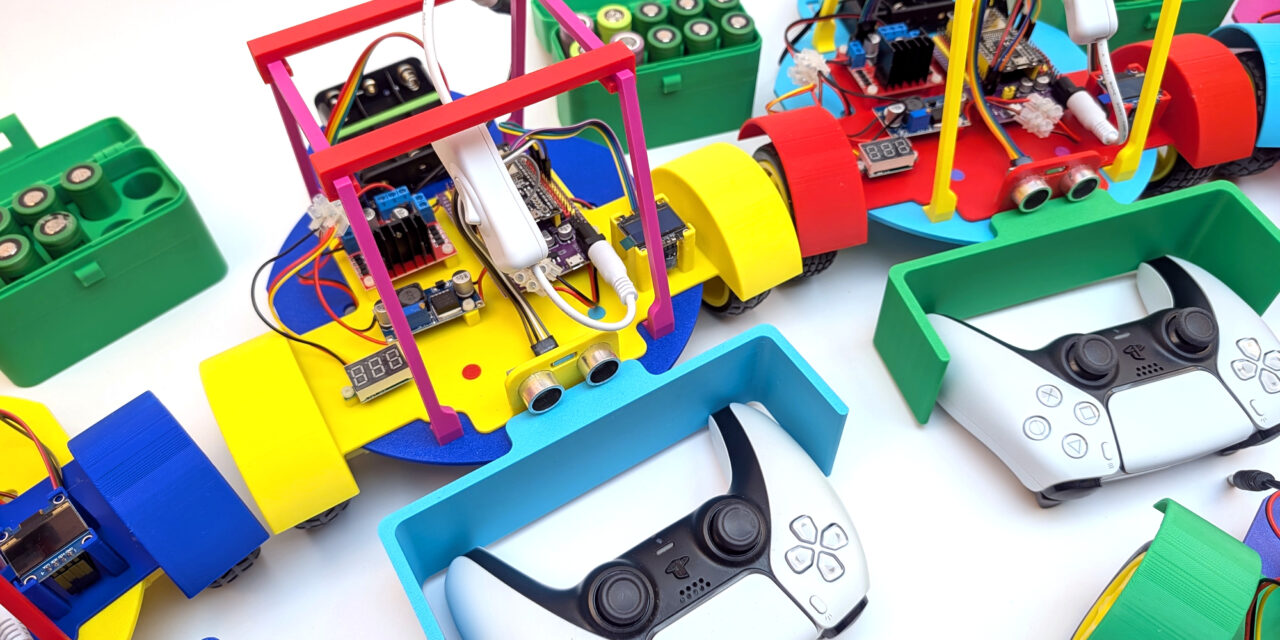
The robot car from my book „Roboter-Autos mit dem ESP32“ is a great project. For a project day at a primary school, however, it is too extensive. That is why I developed a simplified school version. I already described how the workshop itself went in my post about the talent day at my daughter’s primary school. This post is about the technology.
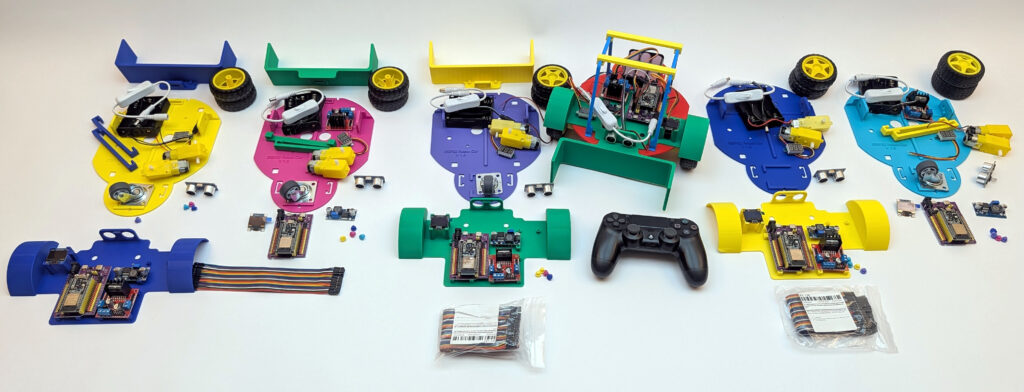
robot car ESP32 school project 2026 – assembly
Phase 1: The goal
The children in 3rd and 4th grade should finish their car on their own in a short time. No soldering. No programming on a laptop. And still they should understand what happens inside.
This led to three rules:
- As few components as possible.
- As few cables as possible for the children to plug in themselves.
- A controller that every child understands right away.
Phase 2: The components
To explain them, I linked each component to a picture. This worked very well with the children.
- ESP32 as the brain: The microcontroller sits on a breakout board. This makes it easy to plug in the jumper cables.
- L298N motor driver as the muscles: The brain gives quiet commands. The motor driver gives the motors the power they need.
- Two TT gear motors: The yellow motors drive the two wheels. A small furniture caster runs along at the back.
- 3 x 18650 batteries: They deliver around 11 V.
- LM2596 voltage converter with voltmeter: It reduces the voltage for the motors to about 7 V. The small display shows the value directly.
- HC-SR04 ultrasonic sensor: Like a bat, it measures the distance with a call and its echo.
- OLED display: It shows the name, connection status, mode and distance.
- Cable with switch: A simple ON/OFF switch for the power supply.
- PS5 controller: Every child knows how to use it.
The chassis comes from the 3D printer. It includes fenders, a roll bar and a front bumper. The bumper protects the ultrasonic sensor during the inevitable crashes.
You can find the chassis for printing here on MakerWorld: ESP32 robot car
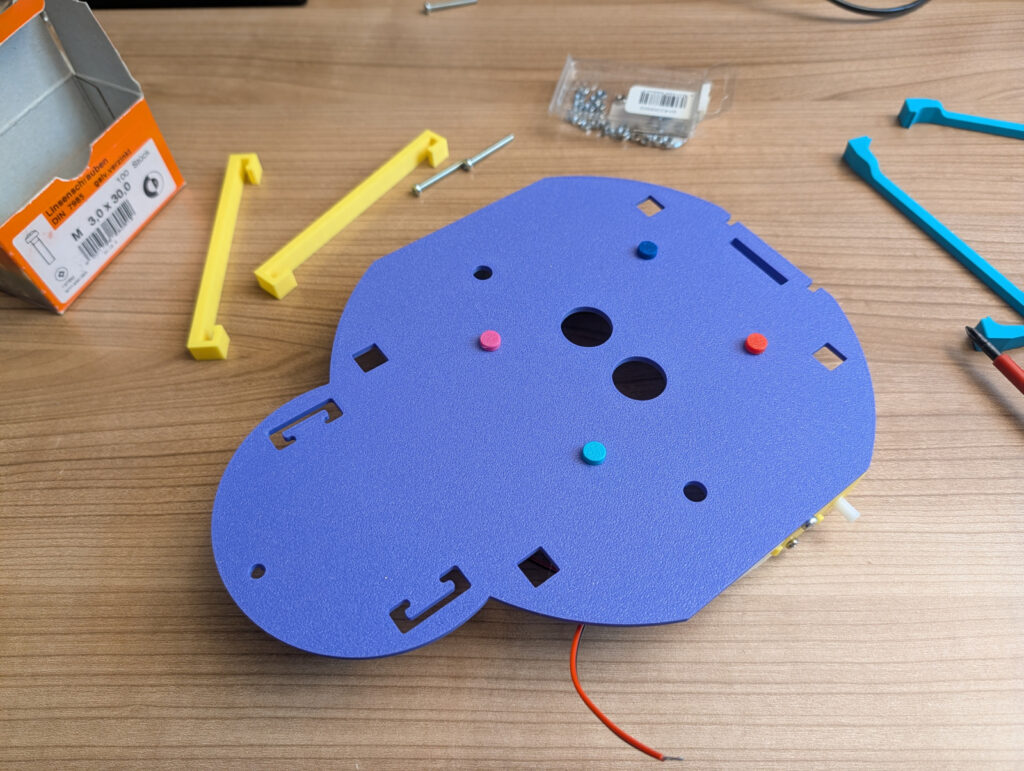
Robot car ESP32 – 3D print
Phase 3: What is different from the book?
I did not change much compared to the description in my book “Roboter-Autos mit dem ESP32“. The biggest difference is the drive with only two motors. Steering works like on a tracked excavator. If the left wheel turns faster than the right one, the car turns right. Children understand this immediately.
The second difference is the voltage converter. With it, the TT motors do not run at the full battery voltage. This keeps the cars controllable and protects the motors.
The third difference: At the start of the workshop, the cars are almost fully assembled. The power supply is soldered. The firmware is flashed. The children only do the steps they can really understand.
Phase 4: Assembly in 4 steps
- Wire the motor driver: Four jumper cables connect the motor driver to the ESP32. IN1 to P13, IN2 to P12, IN3 to P27 and IN4 to P33.
- Switch on: First there is a short check. Are the batteries seated correctly? Are all cables plugged in? Then flip the switch to ON.
- Set the motor voltage: Use a small screwdriver to turn the potentiometer on the voltage converter until the voltmeter shows about 7 V.
- Connect the controller: The teams connect their controllers one after the other. Otherwise a controller may connect to the wrong car.
After that, each team visits the small workshop. There I check the wiring and the straight-line driving. Two motors never run exactly the same. That is why the car pulls to one side at first. The children learn to notice this and correct it.
Phase 5: Three modes
With the square button on the controller, the children switch between three modes. The display always shows which mode is active.
- Manual: Drive and steer with the left stick. The display shows the power for left and right in percent.
- Distance: The car measures the distance to obstacles. The children measure walls, small and large objects and look for the maximum range.
- Auto: The car starts driving immediately and avoids obstacles on its own. So the rule beforehand is: Put the car on the floor!
In between, the children decorate their car with cardboard, paper and pens. Every car gets a face and a name. My favorite was „Blitzschnell“ (lightning fast).
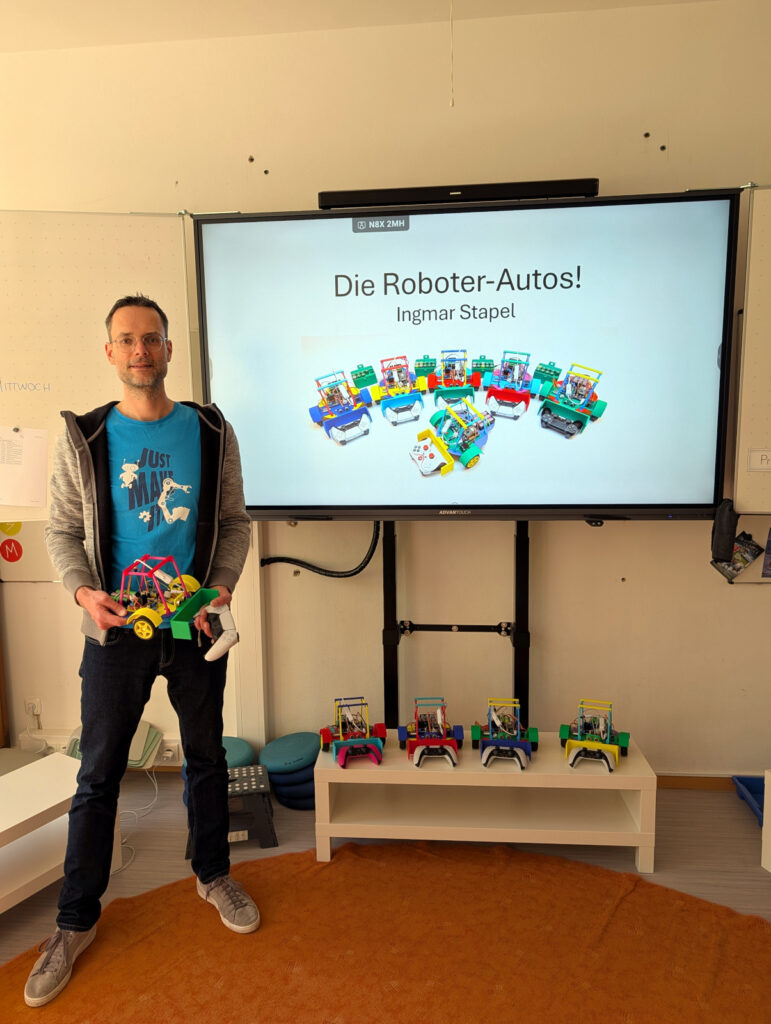
robot car ESP32 school project 2026 – project day
My conclusion
Less is more. This lesson from the first workshop was fully confirmed. With two motors, four signal cables and a voltage converter, there is still enough technology to marvel at. At the same time, there is enough time for driving, measuring and asking questions. And that is exactly what the children want.
If you want to go deeper, the book contains the full version with all circuit diagrams and the complete code. You can find ideas for your own chassis on the page Do-It-Yourself chassis ideas. The complete list of components is in the post about the talent day.




Recent Comments