
Chapter 3 – chassis:
The third chapter is about the construction of the Raspberry Pi chassis. As a first solution I tried to build a very cheap prototype to test the basic functionality of car like the control of the motors. I thought to myself the mechanical part of the construction is done very easy. But with the experience I have now it is better to buy a ready-made chassis. With a ready-made chassis you have more fun – trust me! I have no garage with tools at home but you should have if you try to build a chassis by your own. I would suggest now the Arexx robot chassis “Robby RP5/RP6”. You can buy it via internet for about 45 US $.
I decided to build the cheapest version of a chassis you can build by yourself. I used an old Ice Cream Packaging as chassis for my first version of the RaPi car. It was big enough for the four motors, the Raspberry PI and the L298H-Bridge. Now I have to think about where to mount the accu for the power supply of the RaPi inside the chassis.
Update 07.07.2014:
After a few tests and many setbacks I decided to buy the accu “XTPower® MP-10000 Powerbank“. The accu supplies the car with 5V for the Raspberry Pi and 9V for the L298H-Bridge.
Update 15.07.2014:
The accu “XTPower® MP-10000 Powerbank” made many problems so I decided to replace it by a PowerBank for the Raspberry Pi and an extra RC Race accu for the L298 H-Bridge.
Minimum tools you need:
- Scissors
- Soldering iron / soldering station
- Wire Stripper
- Hot glue gun
First I sting holes with the scredriver for the axes into the Ice Cram Packaging to mount the Gearbox / motors.
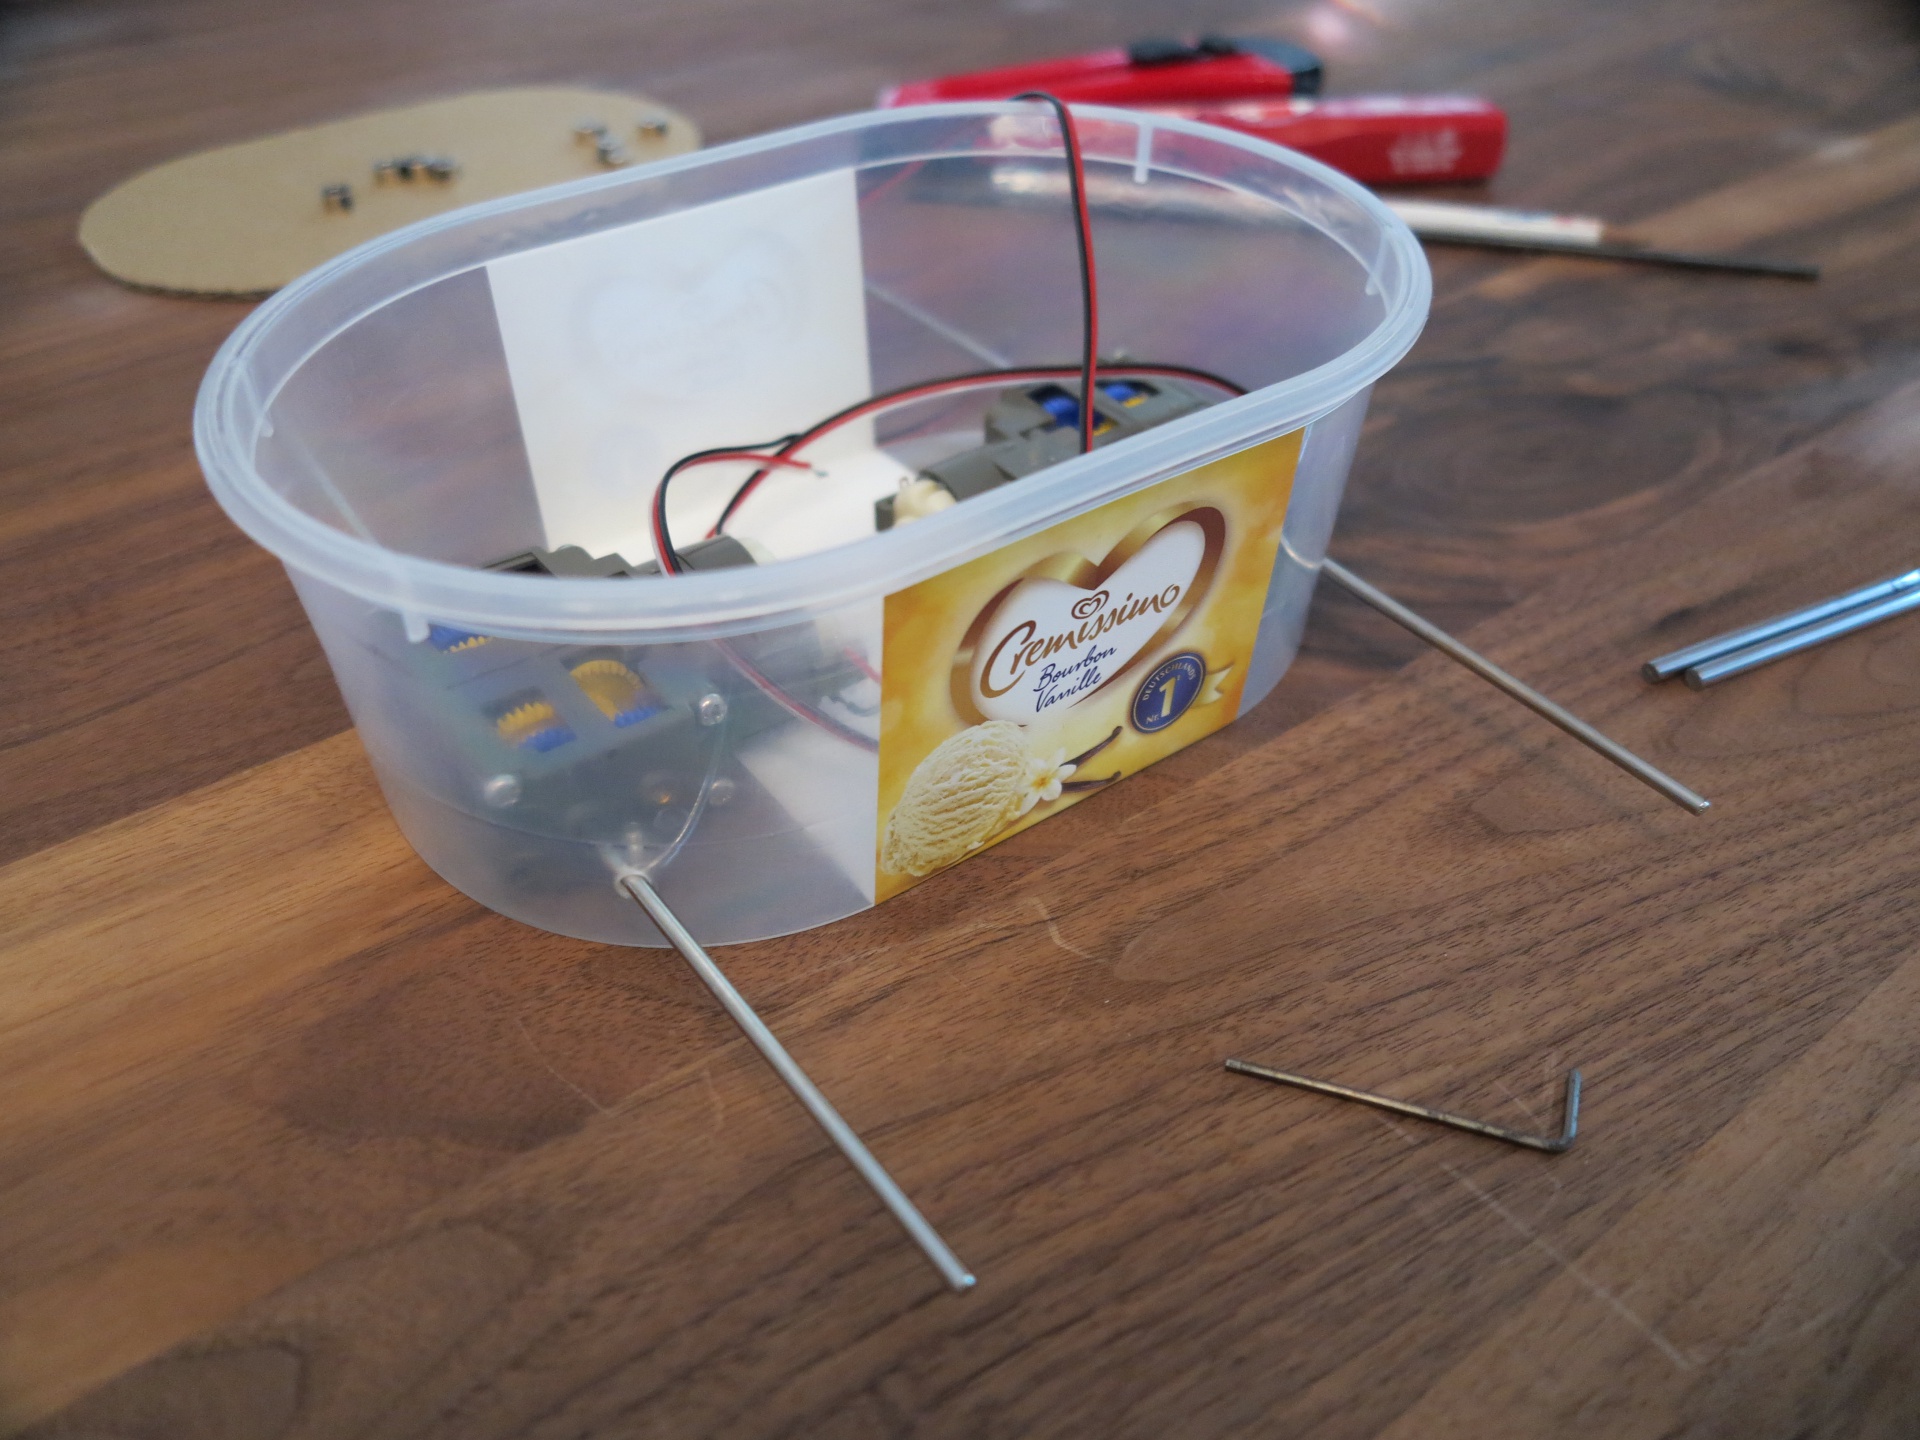
Raspberry PI – remote controlled car in a plastic box
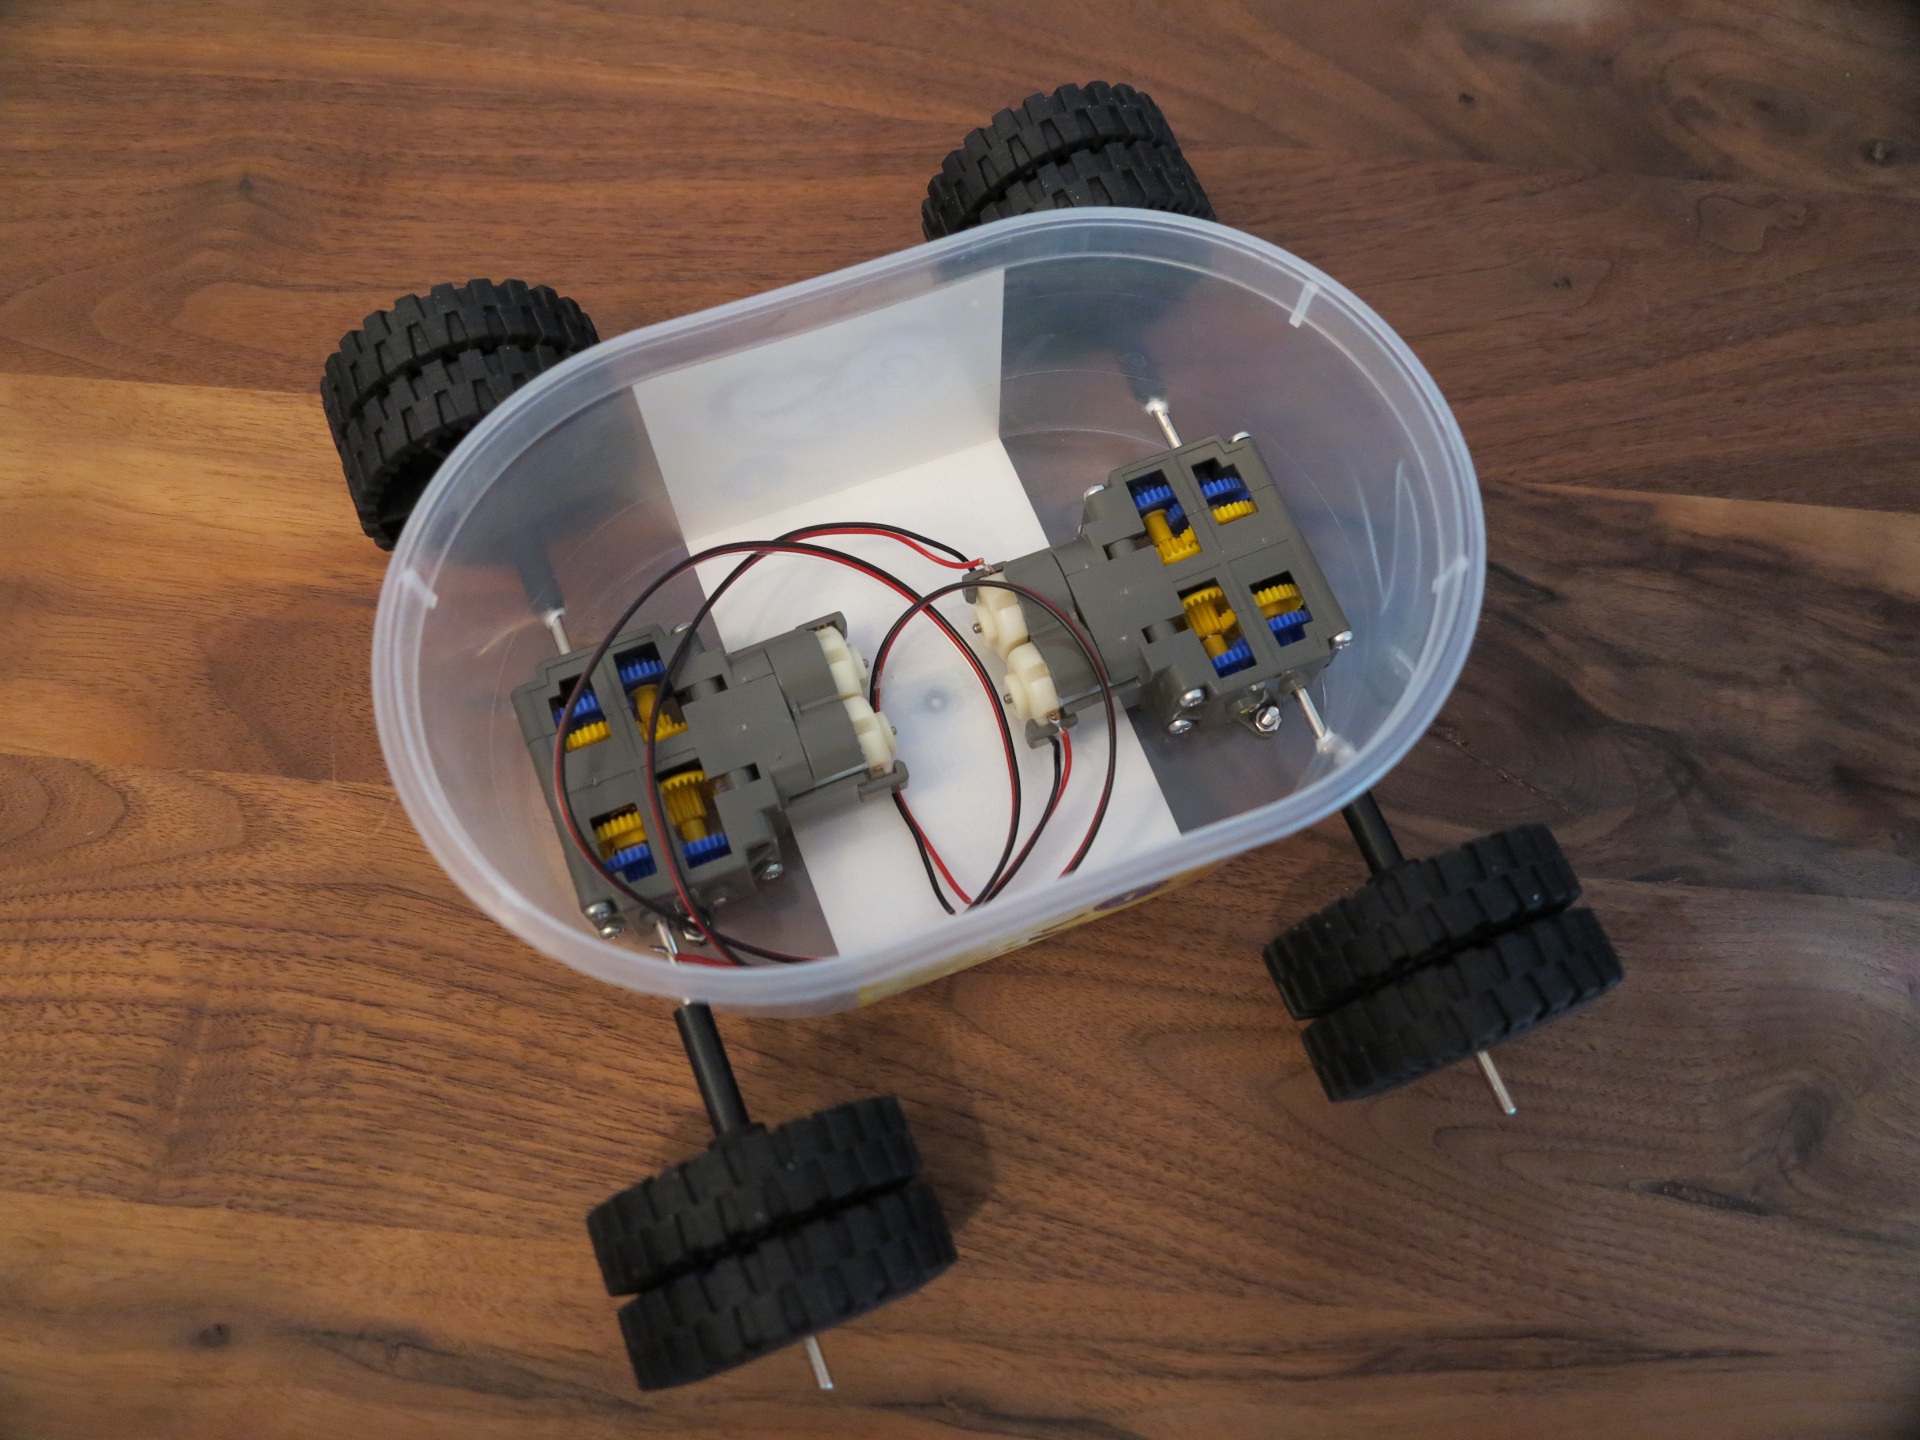
I mounted the two Gearboxes from Tamiya 70168 into the box as you see in the next picture. I replaced the original axis with extended axis. As I found the right place for the motors I screw down tight the motors. The screws to mount the motors are a part of the Tamiya kit.
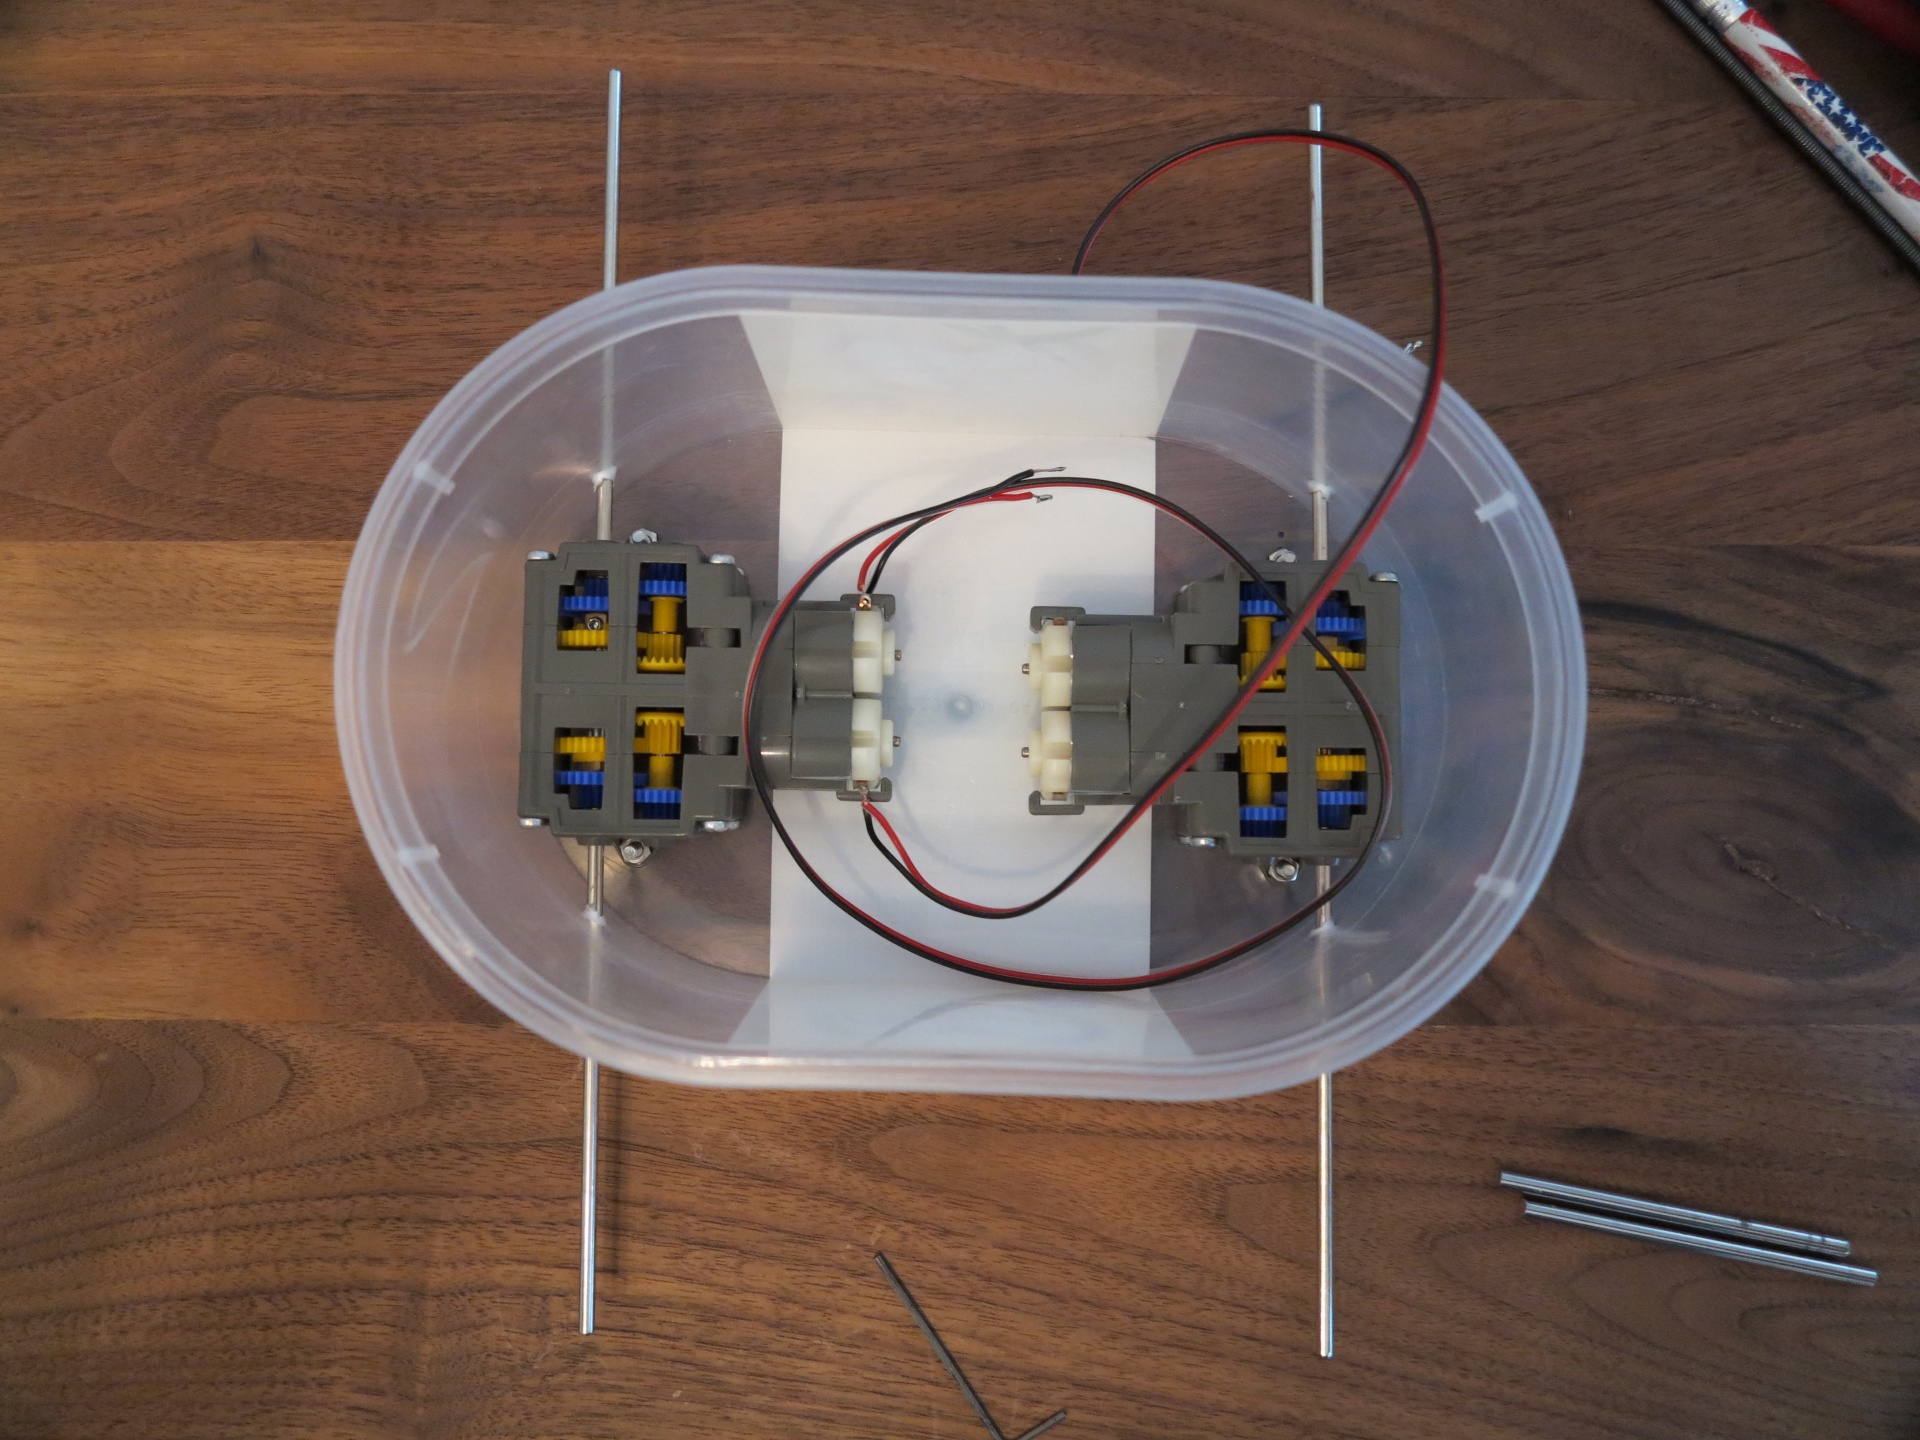
Raspberry PI – remote controlled car in a plastic box
Here you see the four tiers with the rubber Tracks I bought. Actual I don’t know if I will use the rubber Tracks. The tension on the axis of the rubber Tracks is too strong for the plastic Gearboxes. I have to search for a solution how I can mount the rubber Tracks but to minimize the tension of the rubber Tracks on the Gearboxes.
Unfortunately the ball bearings I bought do not fit for the axis. Now I am sure it makes more sense to buy a ready built chassis for a tracked vehicle like the Arexx robot chassis “Robby RP5/RP6”.
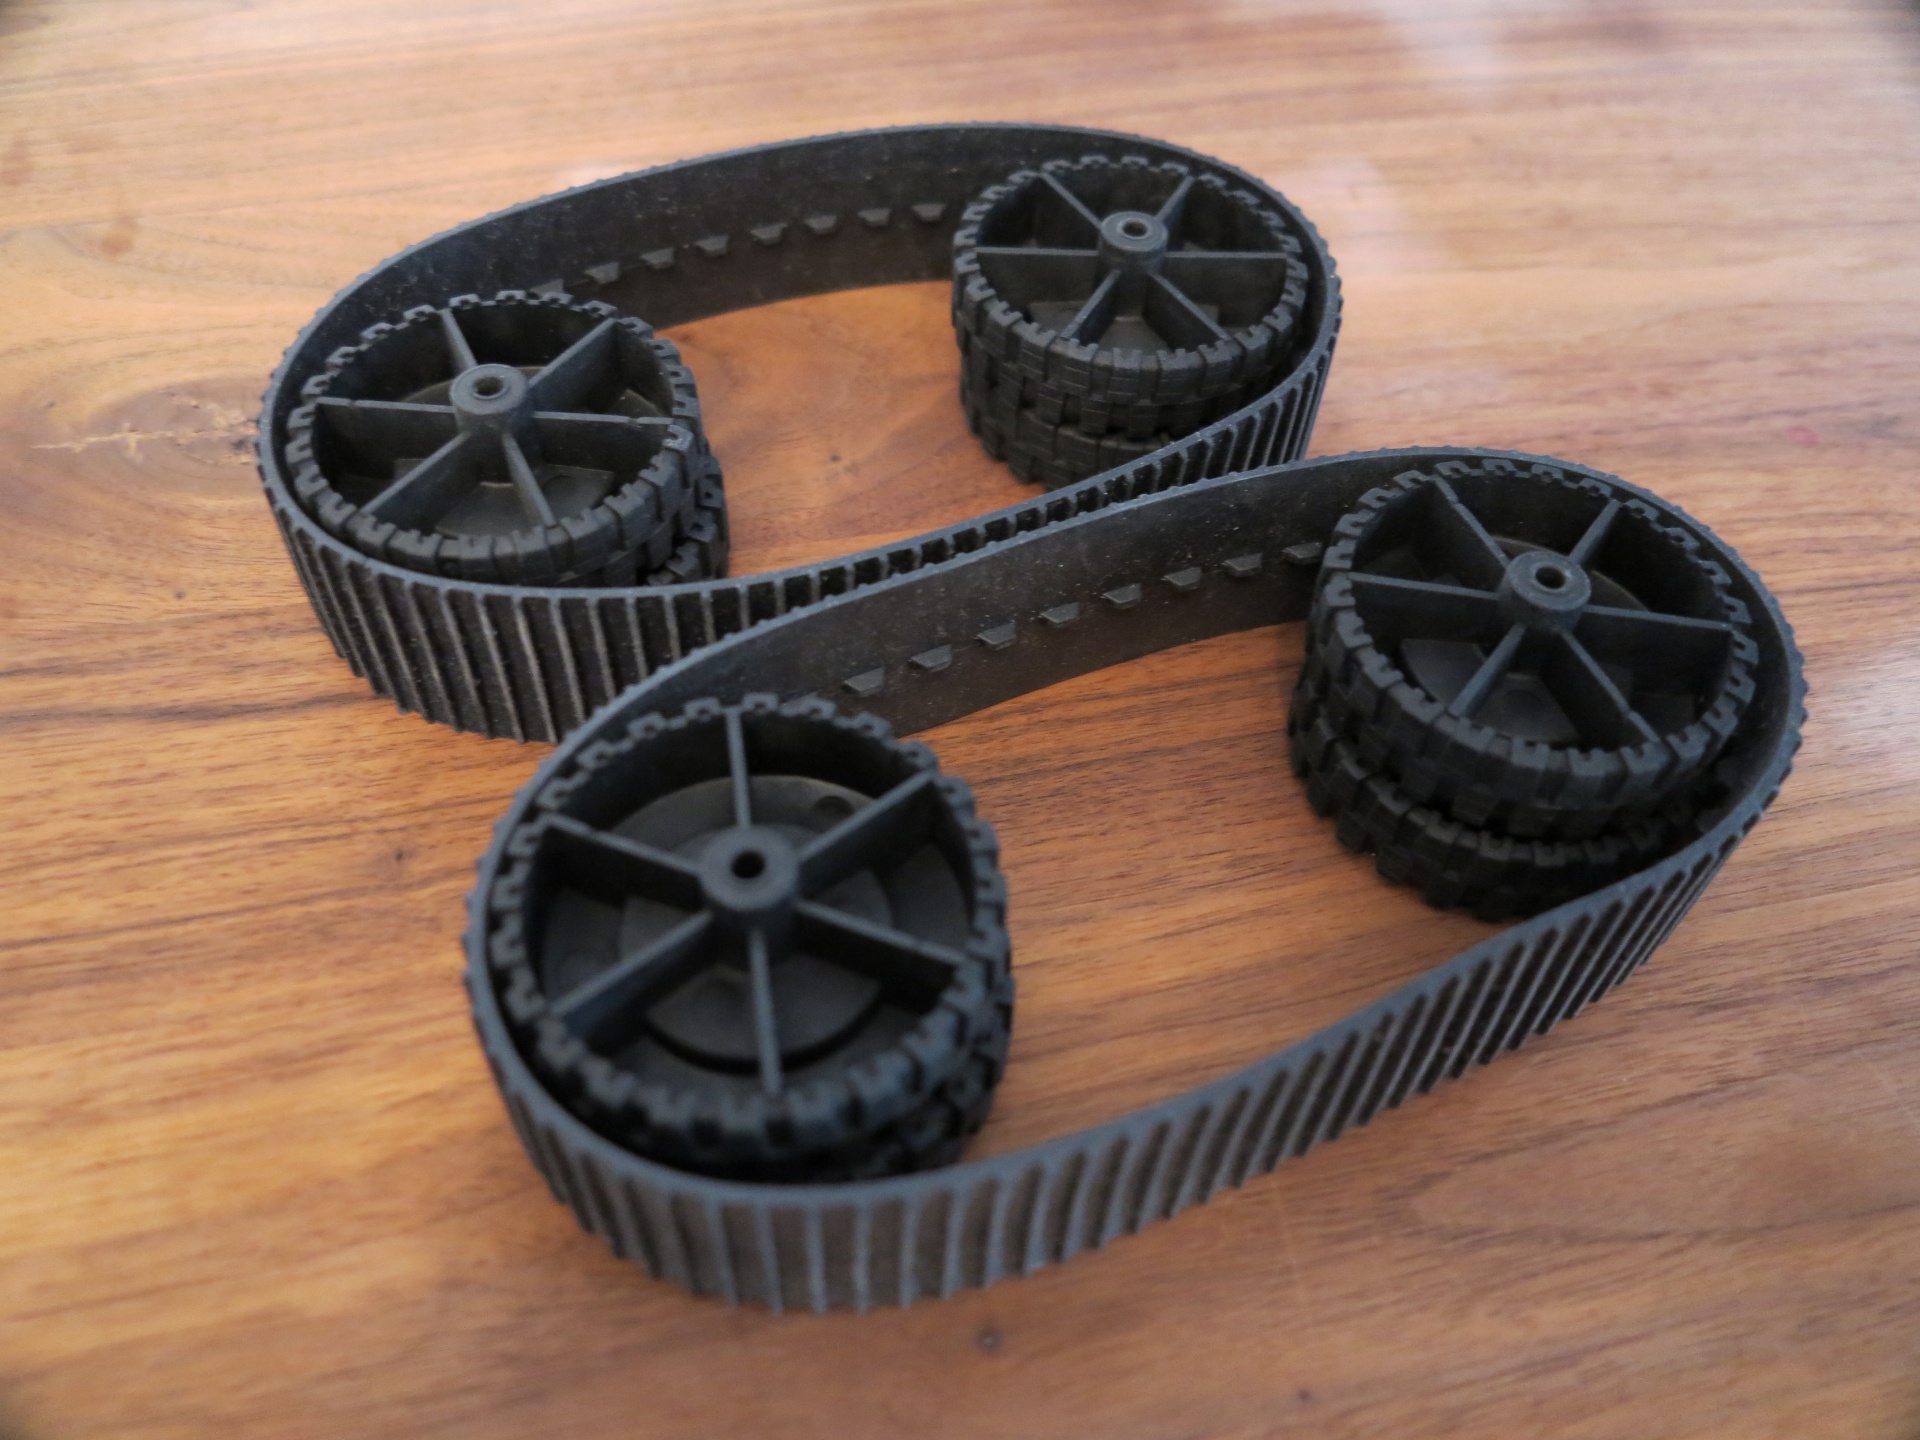
Raspberry PI – remote controlled car with tracks
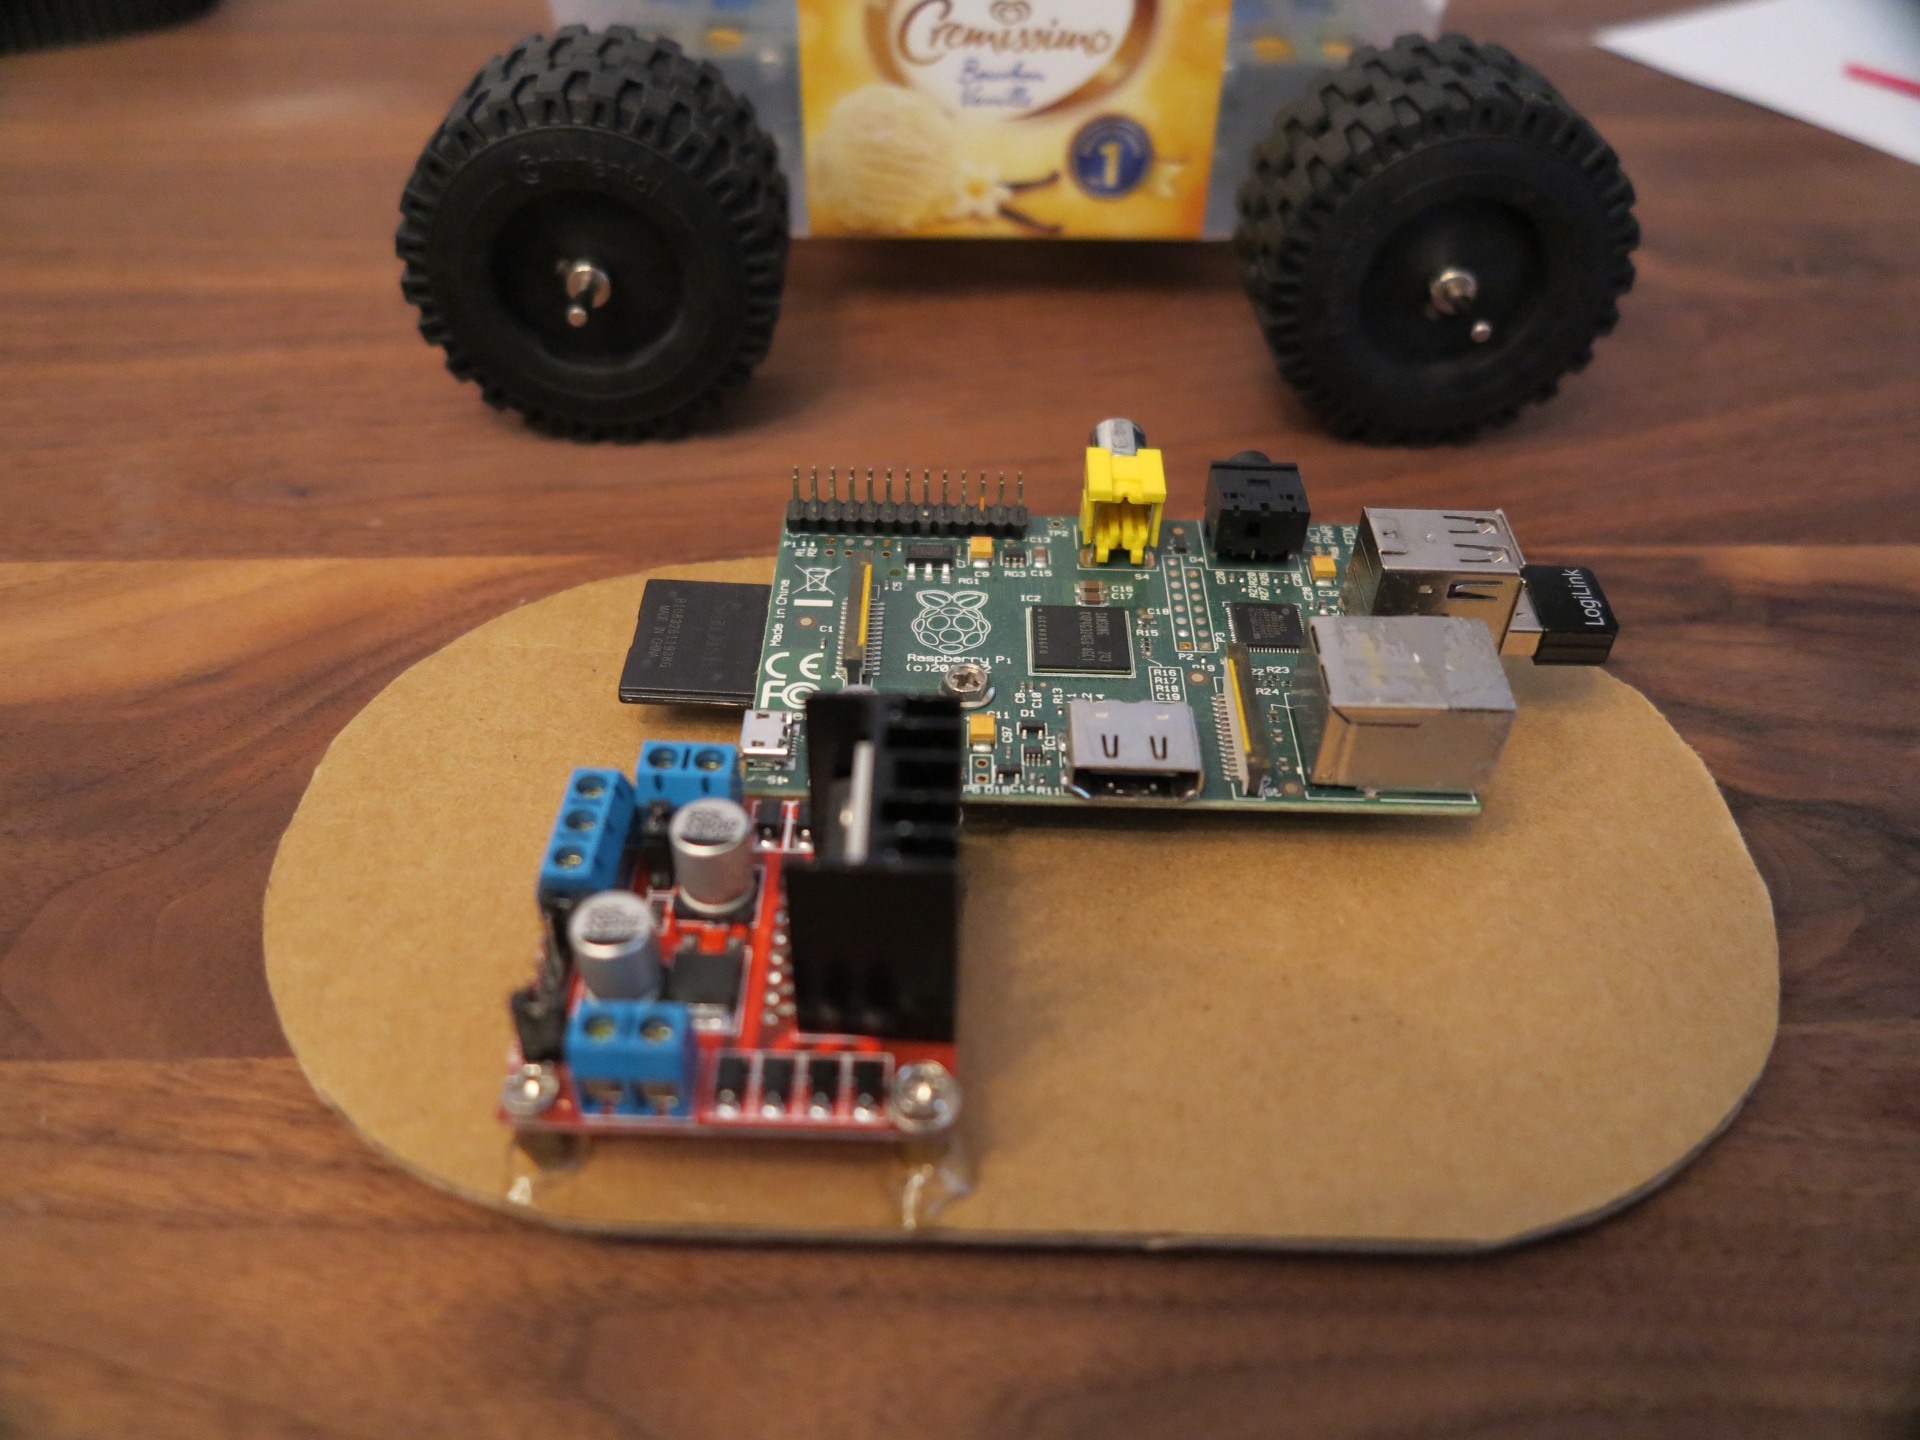
As a next step I used cardboard to attach the electronic parts. To ensure the correct fitting of the Raspberry Pi, L298 H-Bridge and the WIFI module in my RaPi Car I tested the constructions a few times. Important in this step is to place all parts in a way that all connectors are accessible for wiring.
Update 07.07.2014
I moved the Raspberry Pi a little bit to the right to get more space for the USB connectors. Unfortunately the HDMI connector is no longer accessible.

Raspberry PI – remote controlled car with WIFI
After all parts have found their right place I inserted little metal pins into the cardboard with my hot glue gun to mount the boards later. The metal pins were originally used in an old computer to mount the mainboard. The pins are ideal to mount the boards for the RaPi car. With the pins all components are now secured very well.
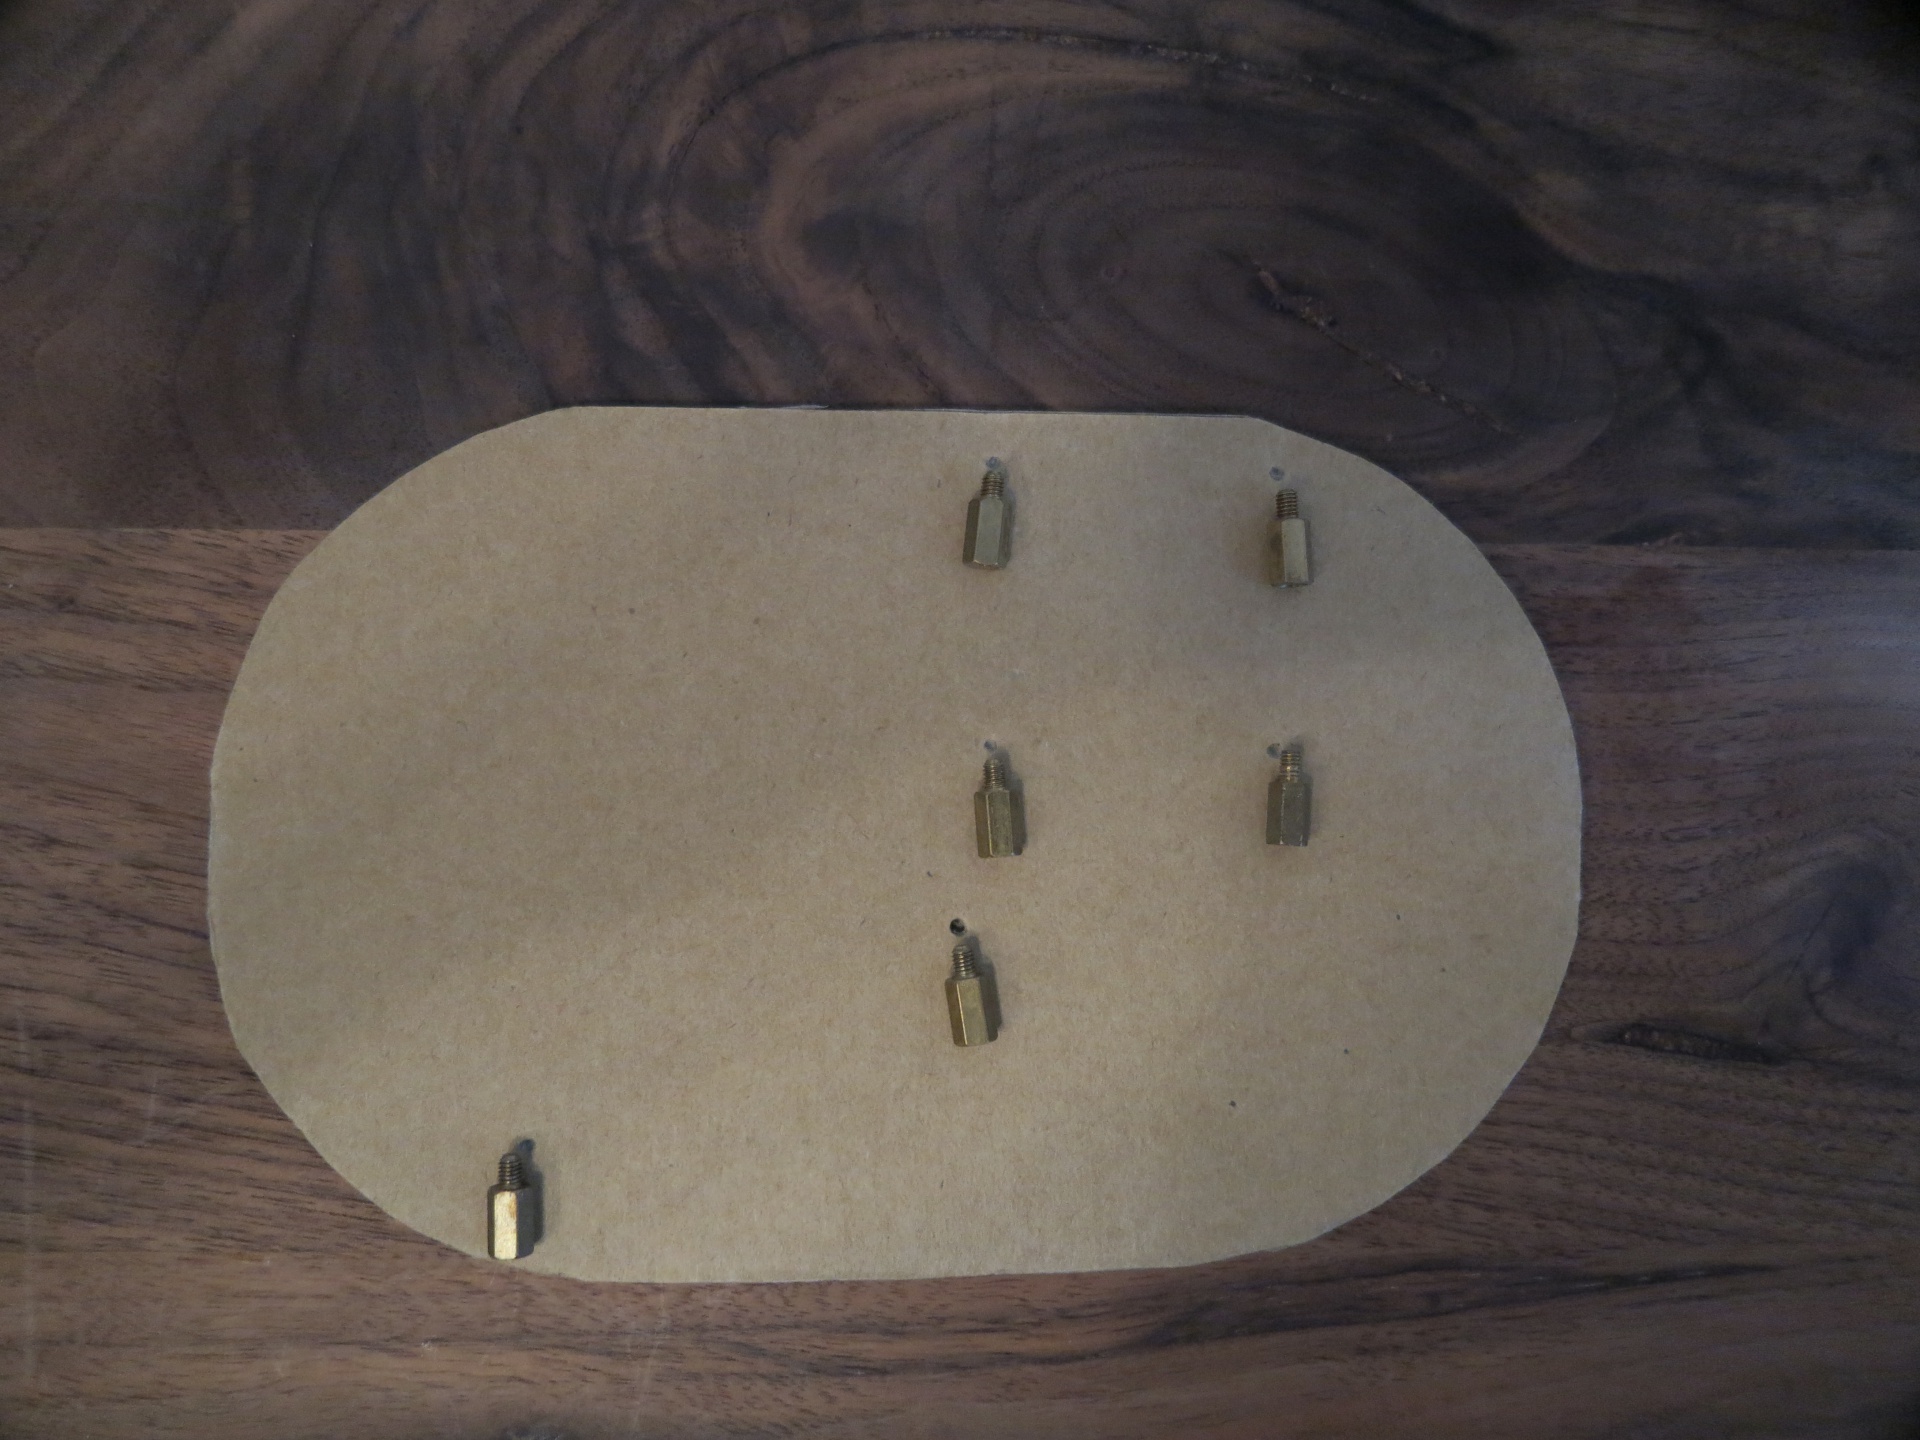
Raspberry PI – remote controlled car mounts
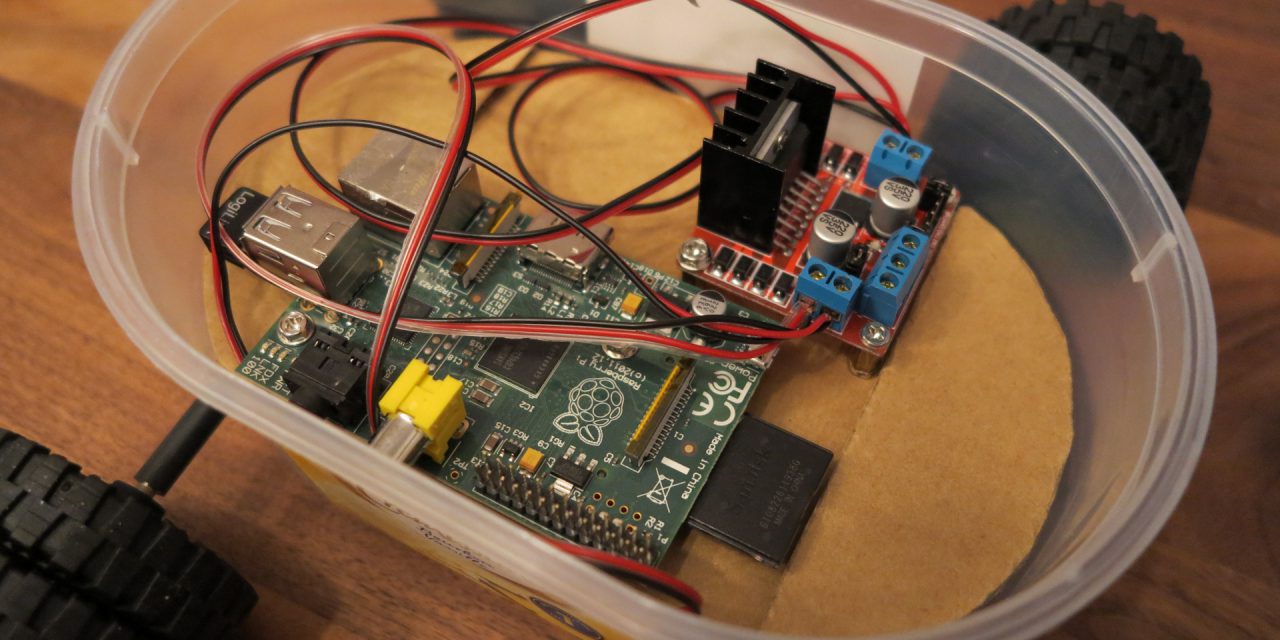
This is a picture of the cardboard and the electronic components. A little space on the right side is available for maybe an accu. I have to search for one in the internet which fits best.
Raspberry PI – remote controlled car electronics
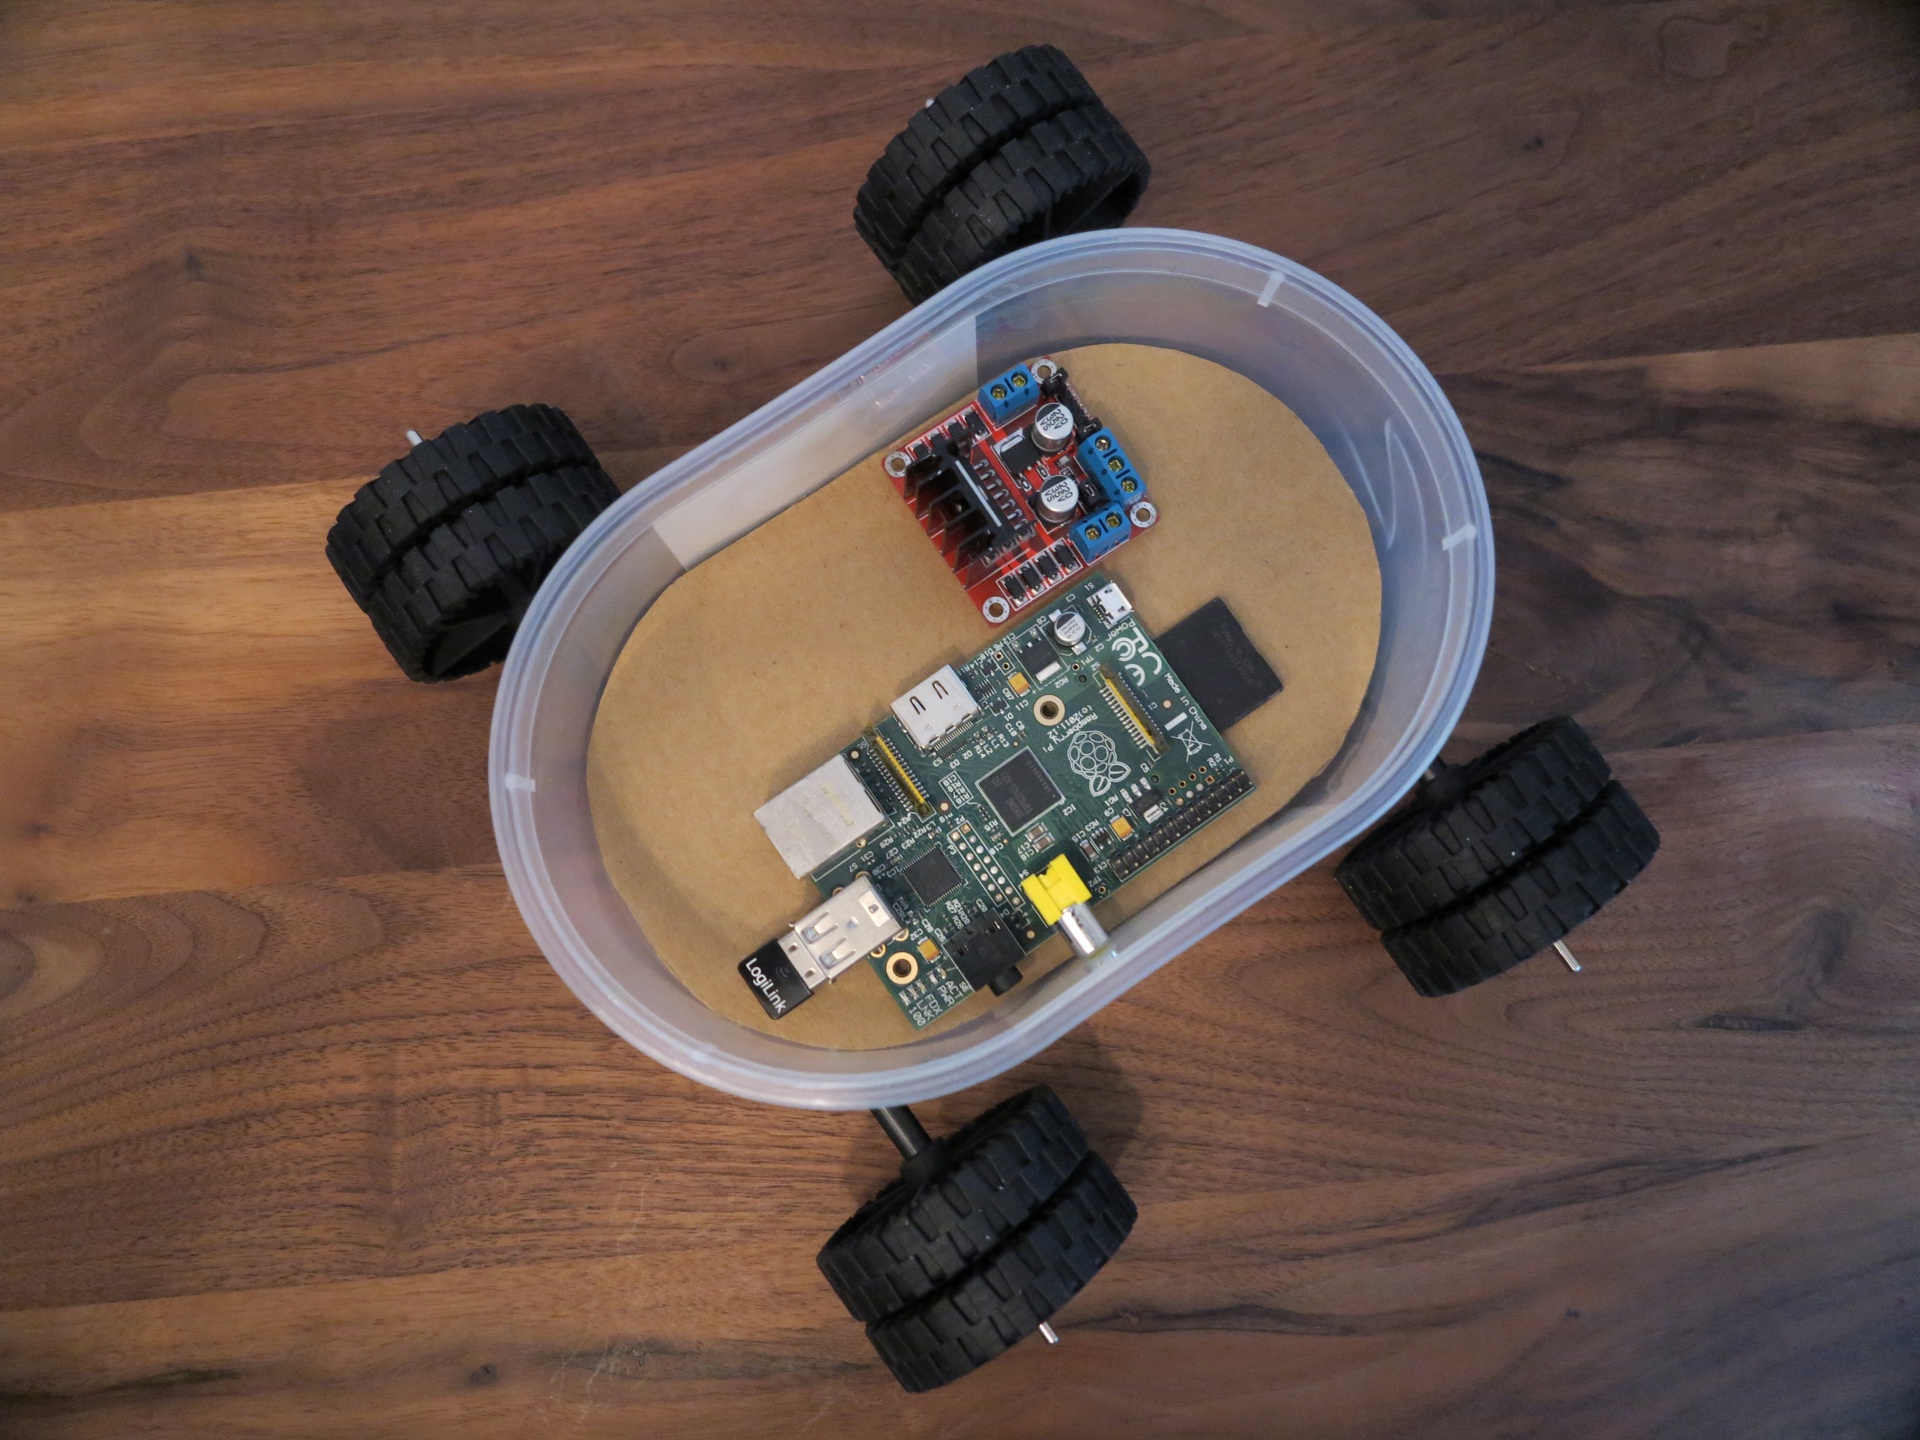
I mounted the wheels with a spacer between the chassis and the wheels. The wheels are spinning very well and the directional stability of the car is also very good.
Raspberry PI – remote controlled car with a Raspberry Pi with four dc motors
The next picture shows the chassis with the wheels and the cardboard with the electronic modules. Everything fits very good.
Raspberry PI – remote controlled car wiht four dc motors
Now I wired the four motors together with the L298 H-Bridge. The female-female wires for connection the Raspberry Pi with the L298 H-Bridge are still missing. I ordered them via Amazon but they are still on their way.
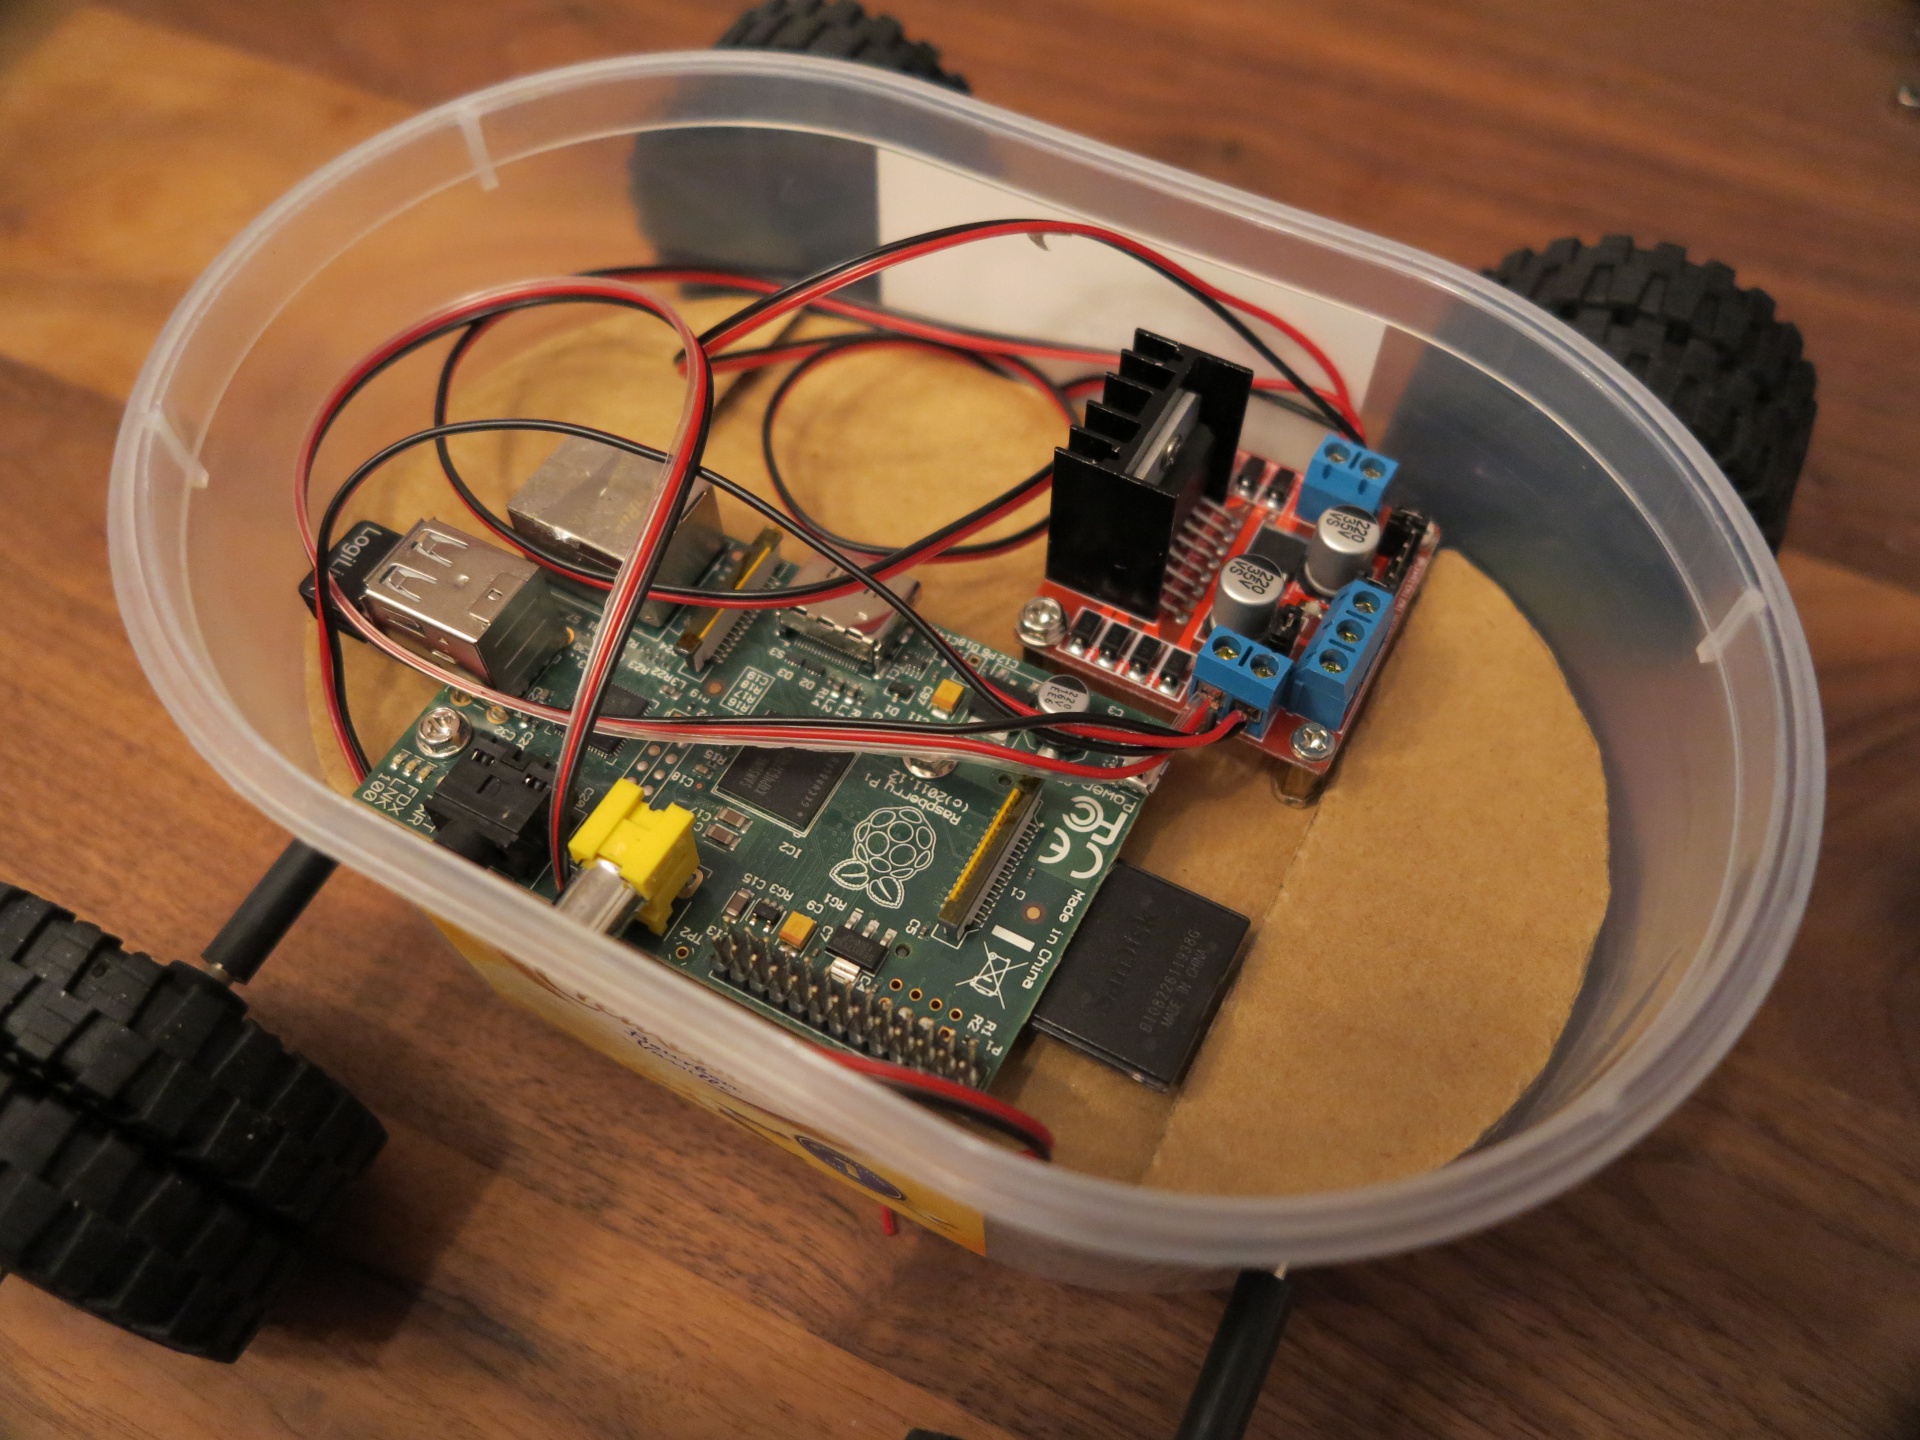
Raspberry PI – remote controlled car with a Raspberry Pi with connected wires
Conclusion:
Until now the Raspberry Pi cars moves straight forward or backwards when I power up the motors. Without the Raspberry Pi connected to the L298 H-Bridge the car is not able to drive curves. The Software needed to program the controlling script is missing. In the next chapter I will explain how we have to wire the Raspberry Pi together with the L298 H-Bridge module.
Contents:
Chapter 1: Raspberry Pi WIFI radio controlled rc vehicle – introduction
Chapter 2: Raspberry Pi WIFI radio controlled rc vehicle – component list
Chapter 3: Raspberry Pi WIFI radio controlled rc vehicle – chassis
Chapter 4: Raspberry Pi WIFI radio controlled rc vehicle – wiring
Chapter 5: Raspberry Pi WIFI radio controlled rc vehicle – software installation
Chapter 6: Raspberry Pi WIFI radio controlled rc vehicle – power supply
Chapter 7: Raspberry Pi WIFI radio controlled rc vehicle – programing
Chapter 8: Raspberry Pi WIFI radio controlled rc vehicle – live video streaming
Chapter 9: Raspberry Pi WIFI radio controlled rc vehicle – web-interface and smartphone
Chapter 10: Raspberry Pi WIFI radio controlled rc vehicle – cooling with passive heat sinks
Chapter 11: Raspberry Pi WIFI radio controlled rc vehicle – startup scripts
Chapter 12: Raspberry Pi WIFI radio controlled rc vehicle – cardboard car model
Chapter 13: Raspberry Pi WIFI radio controlled rc vehicle – power consumption


Recent Comments