


For some years now I have been thinking about building a small robot that is powered by solar energy. In 2016 I participated in a project on Kickstarter and supported it. The project was the Autonomo: The Solar-Powered Thing! and I also got such a small microcontroller with a solar cell. But since it is in my cellar I never tried it. So now it was time to get started. From my small robot series with the NodeMCU I have several setups at home and now only one solar cell was missing. I ordered a solar cell with USB connection from Ali-Express. The model should have 6W and my hope was that 6W would be enough to power the ESP8266 and some components.
I always thought that such a setup will not be easy but with a solar cell with a converter that has a USB port the setup is technically a breeze. The following picture shows the solar cell and in the shadow behind the solar cell is the ESP8266 with OLED display, servo controller and GPS receiver. This is similar to the component setup for a robot car. The motors and the ultrasonic sensor are of course missing from this setup.
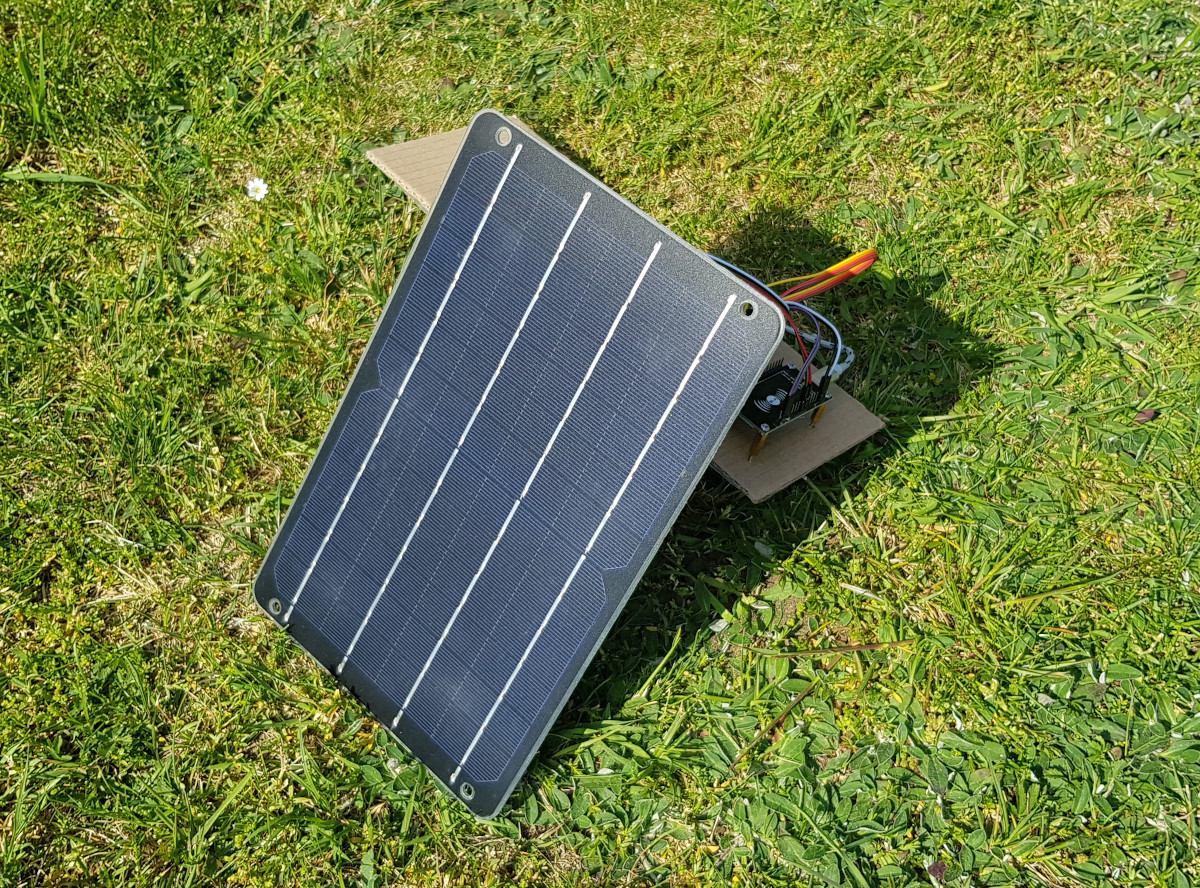
ESP8266 NodeMCU solar power panel
technical data of my solar cell
| Type | Polycrystallin |
| Dimenstion | 175 x 270 mm |
| max Power | 6W |
| Voltage | 5V |
| Amper | 1200 mA |
| Connector | USB + DC Spannungregulator |
| cable | 20cm / 22awg |
For all those who do not want to order now in China as usual the Amazon Affiliate Link to a similar product with slightly more power than the solar cell I use.
As I had to realize, the indicated 6W of the solar cell is just enough to run my setup in full sunlight. If the sun is a bit darker or I put a shadow on the solar cell with my hand, the display goes off and the ESP8266 NodeMCU gets stuck. If the sun shines on the solar cell again, I have to pull the micro USB plug on the NodeMCU and restart it. Otherwise it will hang in an undefined state.

ESP8266 NodeMCU solar power setup
Here once again a picture taken in full sunlight in the garden. You can clearly see that the OLED display is constantly updated by the NodeMCU, because the camera was only able to capture a part of the image. If the sun shines constantly on the solar cell the setup works without problems and the GPS coordinates and time are always shown on the OLED display.
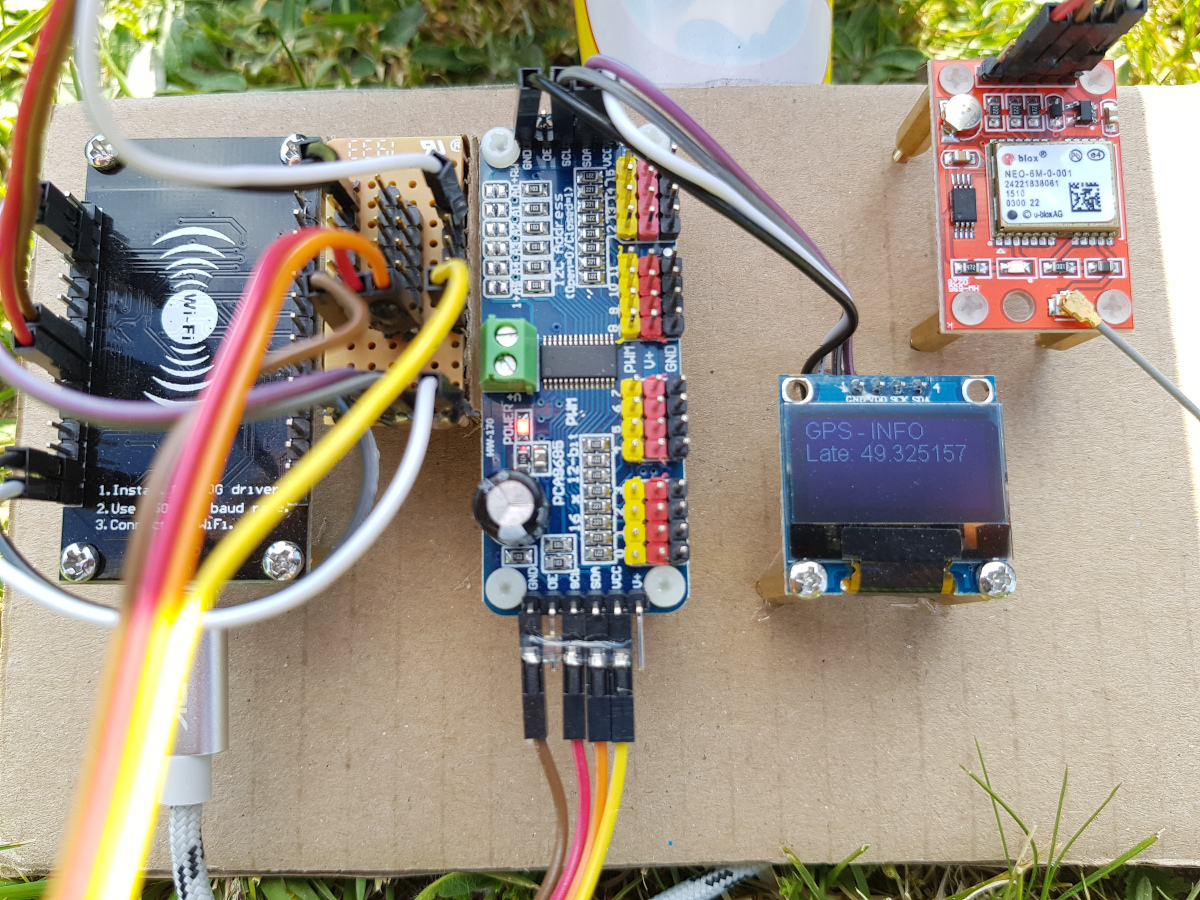
ESP8266 NodeMCU solar power components
As a next step I would try to get a bigger solar cell and a LiPo charger with a small battery. Because it would be important that the NodeMCU does not always get stuck when the sun goes down for a short time or when a curious cat comes along and leaves a shadow on the solar cell.
Summary
Even though I didn’t really do much tinkering, the small project has aroused my curiosity and I would like to play a little more with solar island solutions. I think I can’t avoid to buy a bigger solar cell with a corresponding solar charger and a small LiPo battery. I already have such a small LiPo battery from a model car and if it still works it would be worth a try to push the project further. Voltage would also be to measure the energy delivered by the solar cell and the consumption and charge level of the battery. Let’s see if I dare to try such a setup.


Recent Comments