

Chapter 6 – power supply
The sixth chapter is about the power supply of my Raspberry Pi RC car. With the power supply I had unexpectedly the most problems. The Raspberry Pi reacts very sensitive to variations in the power supply. The main problem was that the Raspberry Pi crashed every time when I started the four electro motors with full speed and also with half speed. These trials were very annoying. During the construction of the RaPi car I had to solve the two main power supply challenges. You have to supply the Raspberry Pi with a constant power as well you have to power up the L298 H-Bridge to control the four motors with enough energy. The Raspberry Pi in combination with the NoIR camera module needs 5V and 1A. The L298 H-Bridge need 7.2 to 9 V with 2 A to have enough power to supply himself with energy as well the four motors. I tested various setups to find the best solution for the car.
Experiences with the power supply of the L298 H-Bridge:
I started with the idea to use only one battery to supply the RaPi car with energy. The idea was to use the 5V out of the L298 H-Bridge. As explained next I used different setups to release this idea.
- Attempt 1:
- The first try to use an USB smartphone charger failed. The charger had 5V out but only 500 mA current out. This was much to less power for the setup.
- Attempt 2:
- The second USB charger had 5 V out and 900 mA. The 900mA should be enough to power up the Raspberry Pi but it was not enough for my setup.
- I measured the 5V out on the L298 H-Bridge and only 3.83 V are availabe. This was also much too less to power up the Raspberry Pi.
- Attempt 3:
- I also had a charger with 6V and 2A. I used this charger for the third test. On the 5V out of the L298 H-Bridge I measured 4.89 V. This was enough to power up the Raspberry Pi but normally the RaPi needs 5V.
Update power supply 07.07.2014
From my experiences the 5V out of the L298 H-Bridge is not useable as power supply for the Raspberry Pi. I had to struggle with crashes all the time. So I decided to use a second power supply for the Raspberry Pi. I bought an accu with 5V out and 9V out.
Update power supply 30.08.2014
Unfortunately the Powerbank XTPower® MP-10000 is not useable to supply the L298 H-Bridge with 9V and 1A / 2A current. If I started the motors to spin the PowerBank shut off himself.
Attention:
A very well working power supply which works fine for weeks was realized by two different accus. One accu for the Raspberry Pi and one for the motor driver. The components I actual use are listed in the following shopping list:
My shopping list of components:
This is the link to the list of components I actual use in my Raspberry Pi car: component list
Solution 1 – power plug charger (stationary)
The solution with the 220V power plug worked very well for the stationary tests. I adjusted the charger that output voltage was 9 V. This was a single charger setup so I had to use the 5V out from the L298 H-Bridge. As already explained the voltage / current from the output was not stable enough to supply the Raspberry Pi with energy. Always when I switched on the motors the Raspberry Pi crashed after a few seconds. With a multimeter I could measure the current fluctuations and they were vastly when the motors where spinning fast. This is the reason why the Raspberry Pi always crashed.
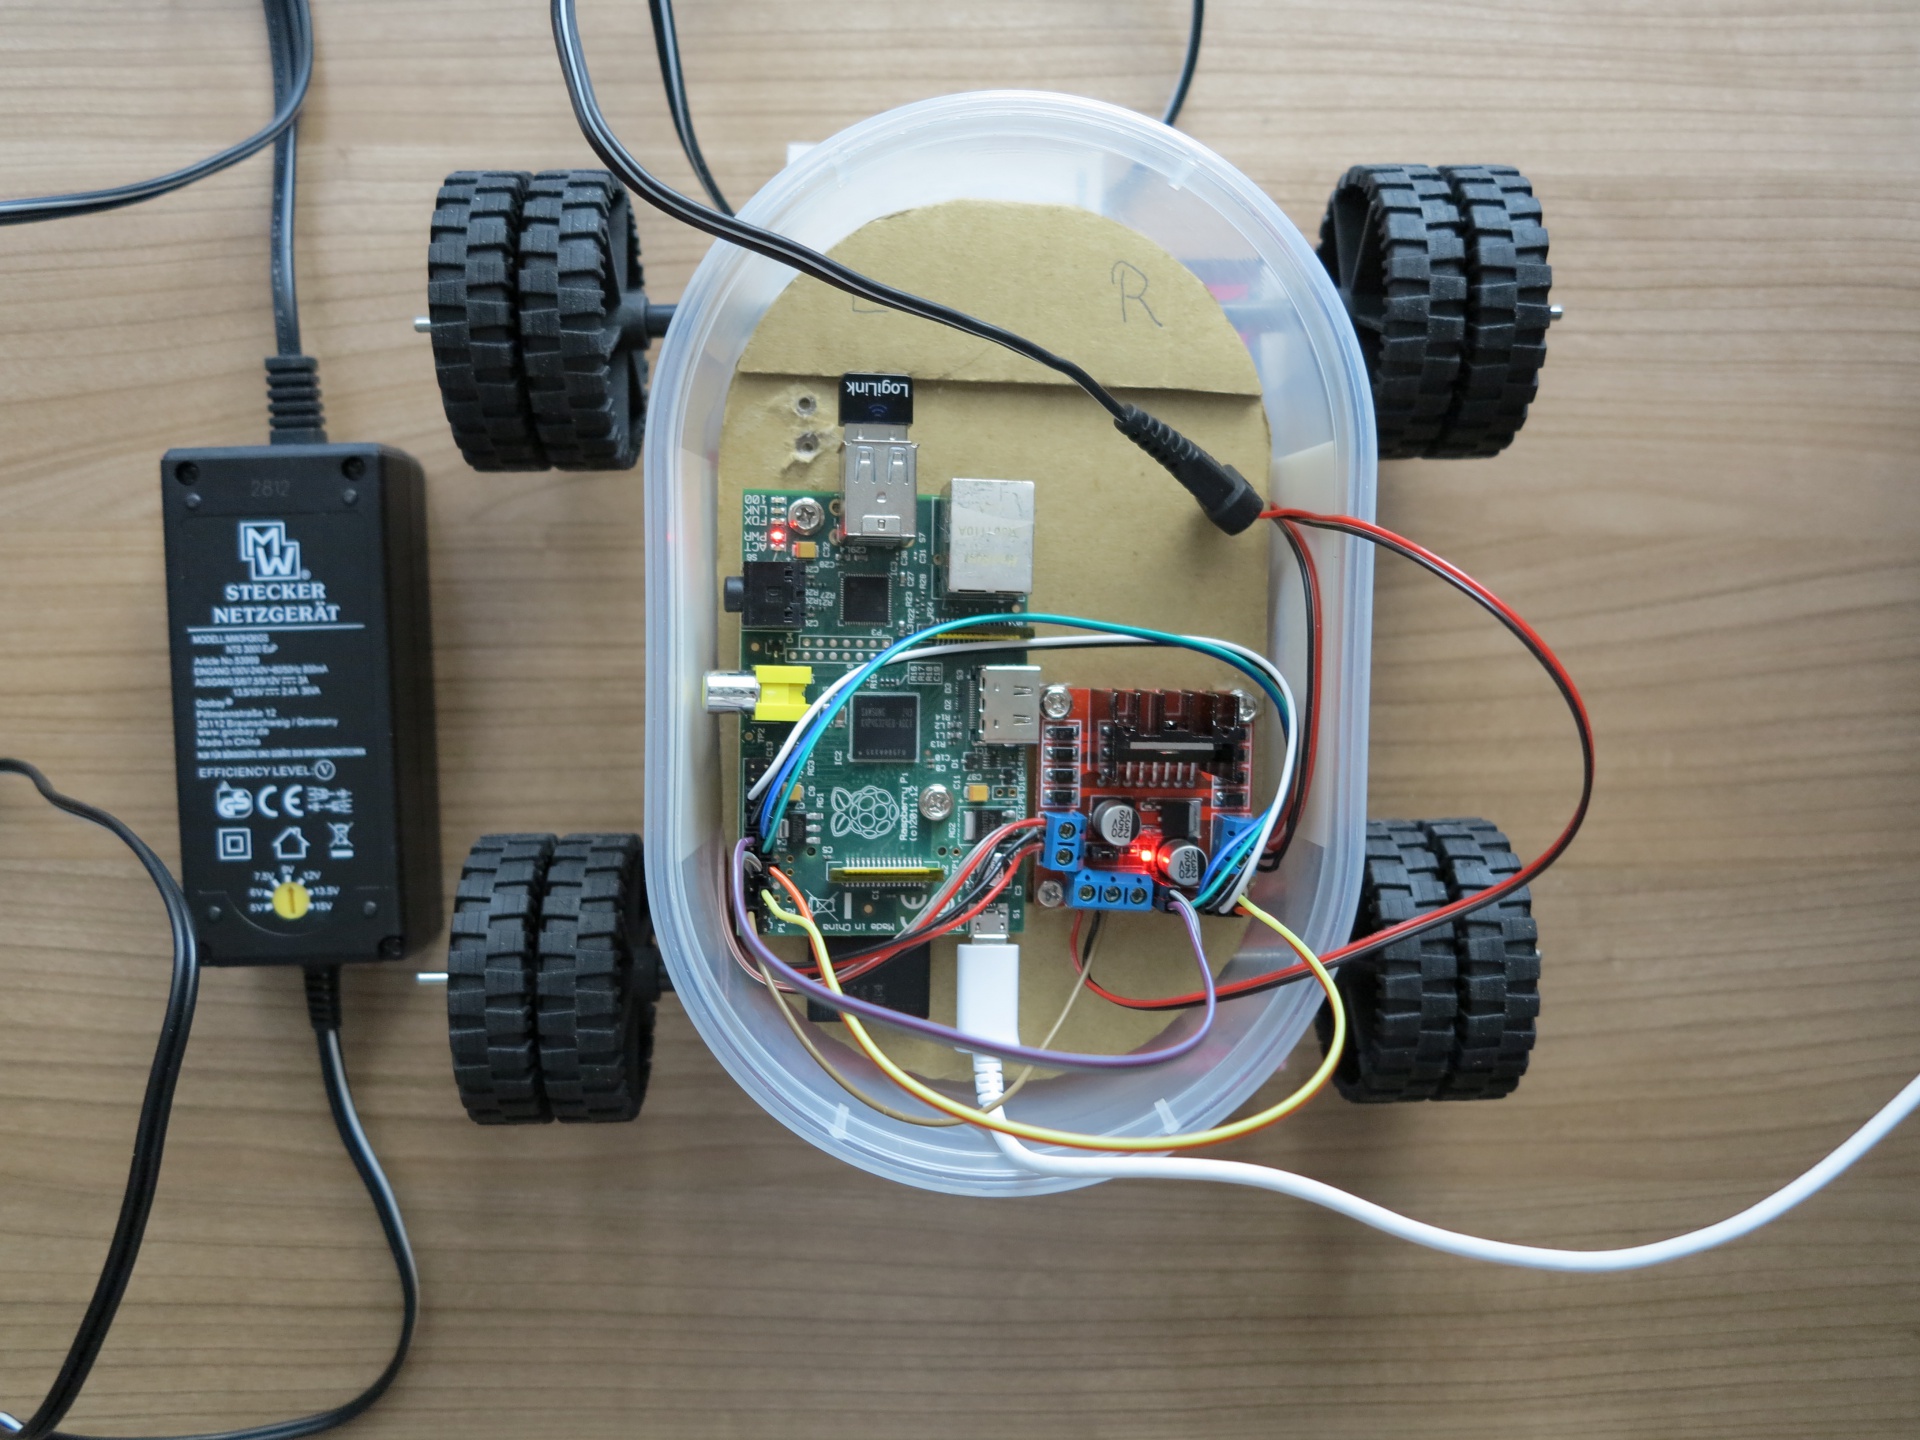
Raspberry PI – remote controlled car with a Raspberry Pi power supply
Solution 2 – PowerBank (mobil – not really working)
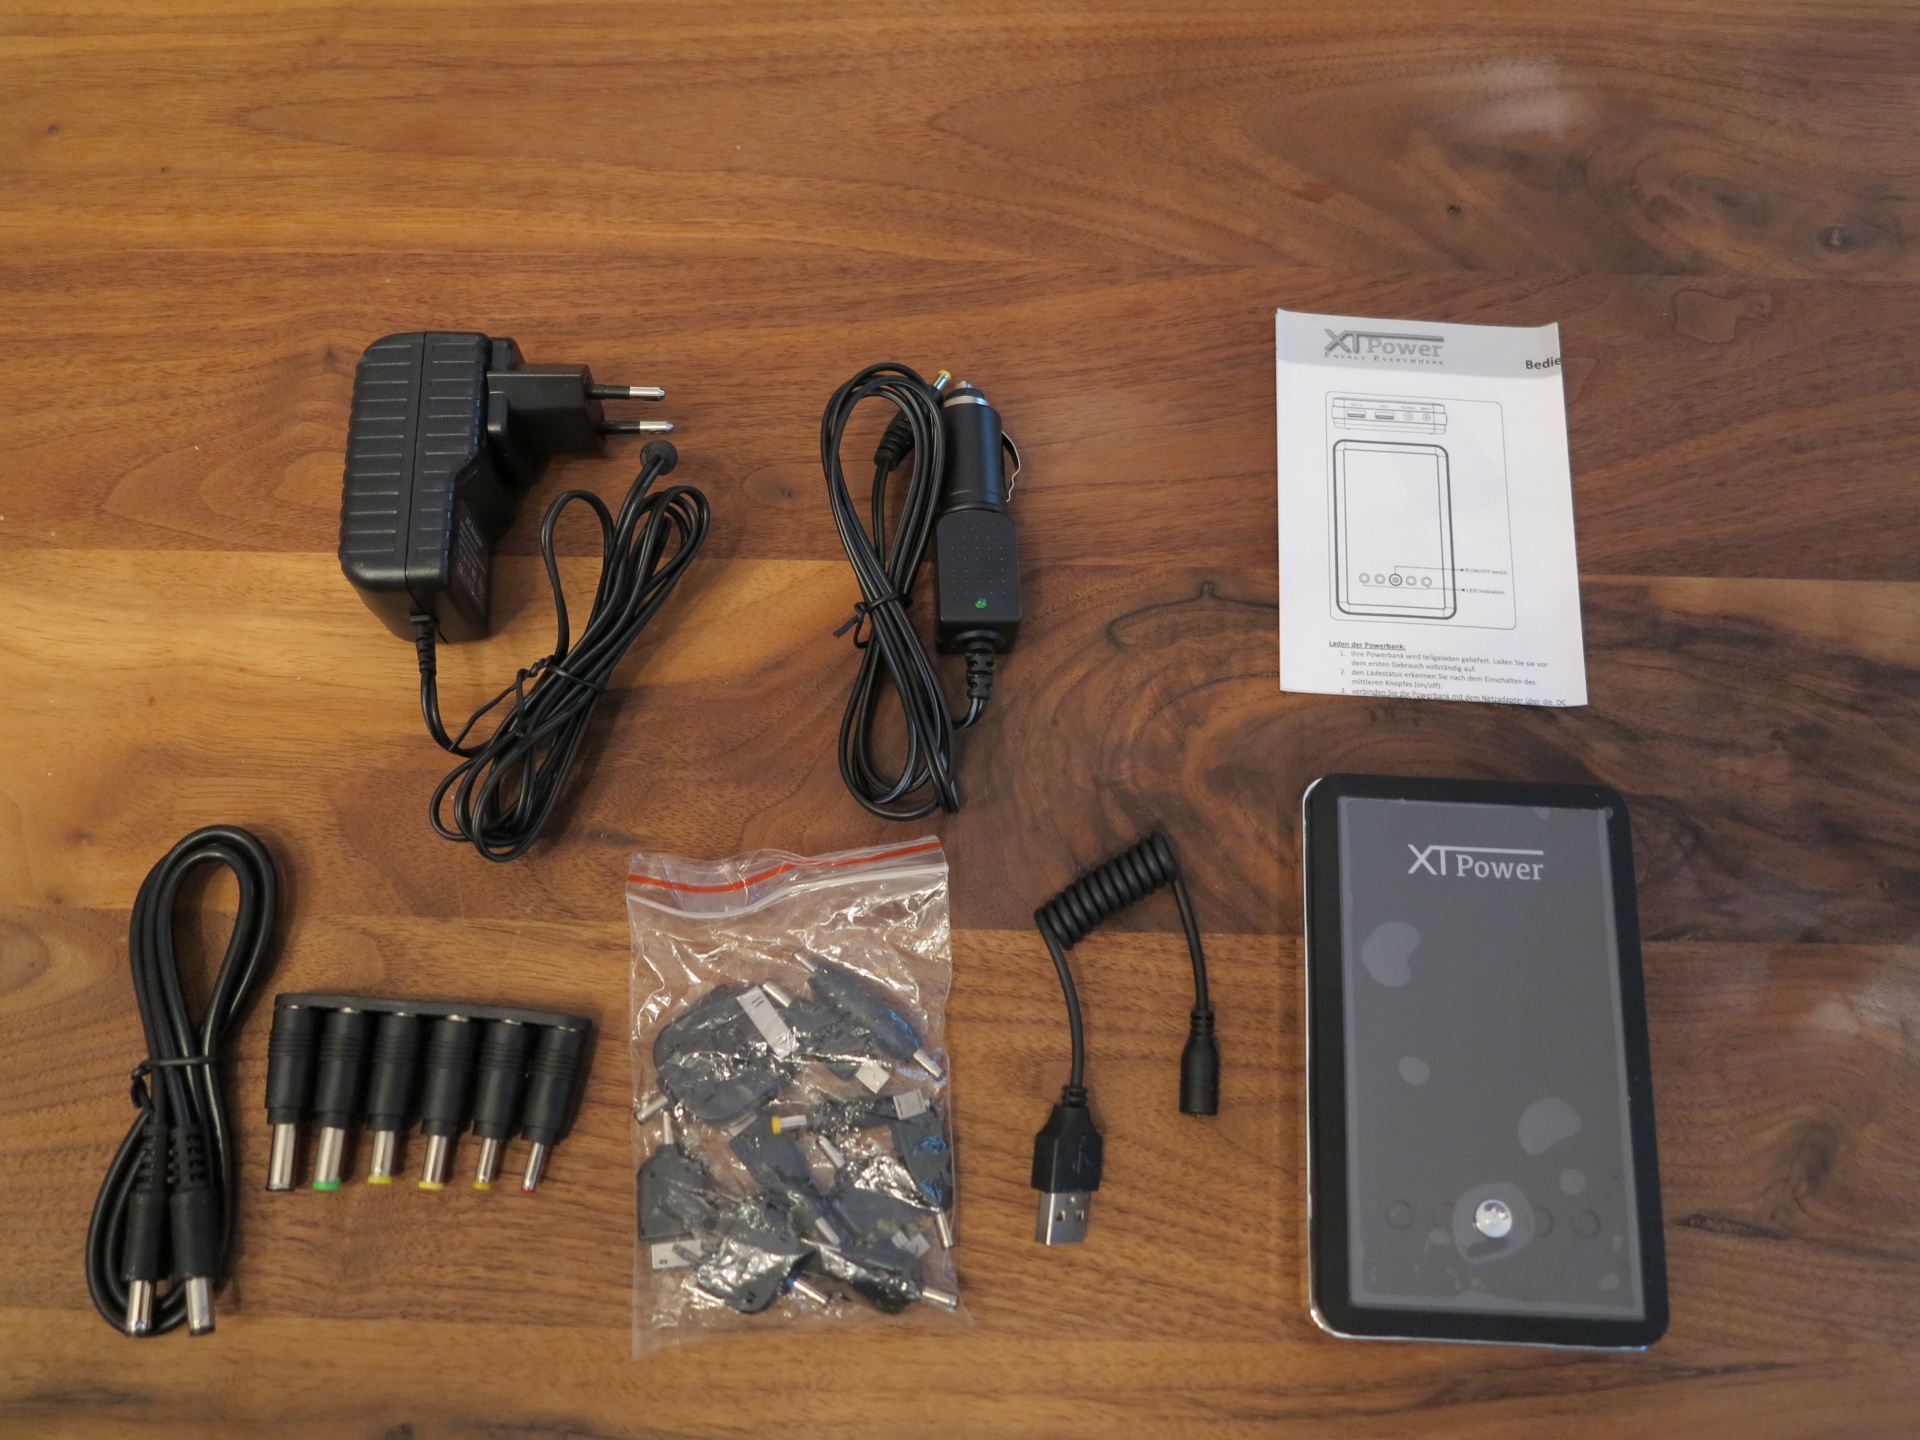
As a second try I bought a big PowerBank with a 5V out and a 9V out. Everything worked fine until I have not used the motors at full load. If the motor where spinning free-wheel everything looks good. But if I put the RaPi car on the floor and tried to move it with the motors the PowerBank switched itself off. I think this was the overload protection of the PowerBank. The input of the RaPi car was too much for the PowerBank. The idea to buy a PowerBank with 5V and 9V out was tempting but did not work as power supply for the car. Such a power bank is universally applicable for e.g. a hiking tour so charge your smartphone or GPS.
Raspberry PI – remote controlled car with a Raspberry Pi power supply 2
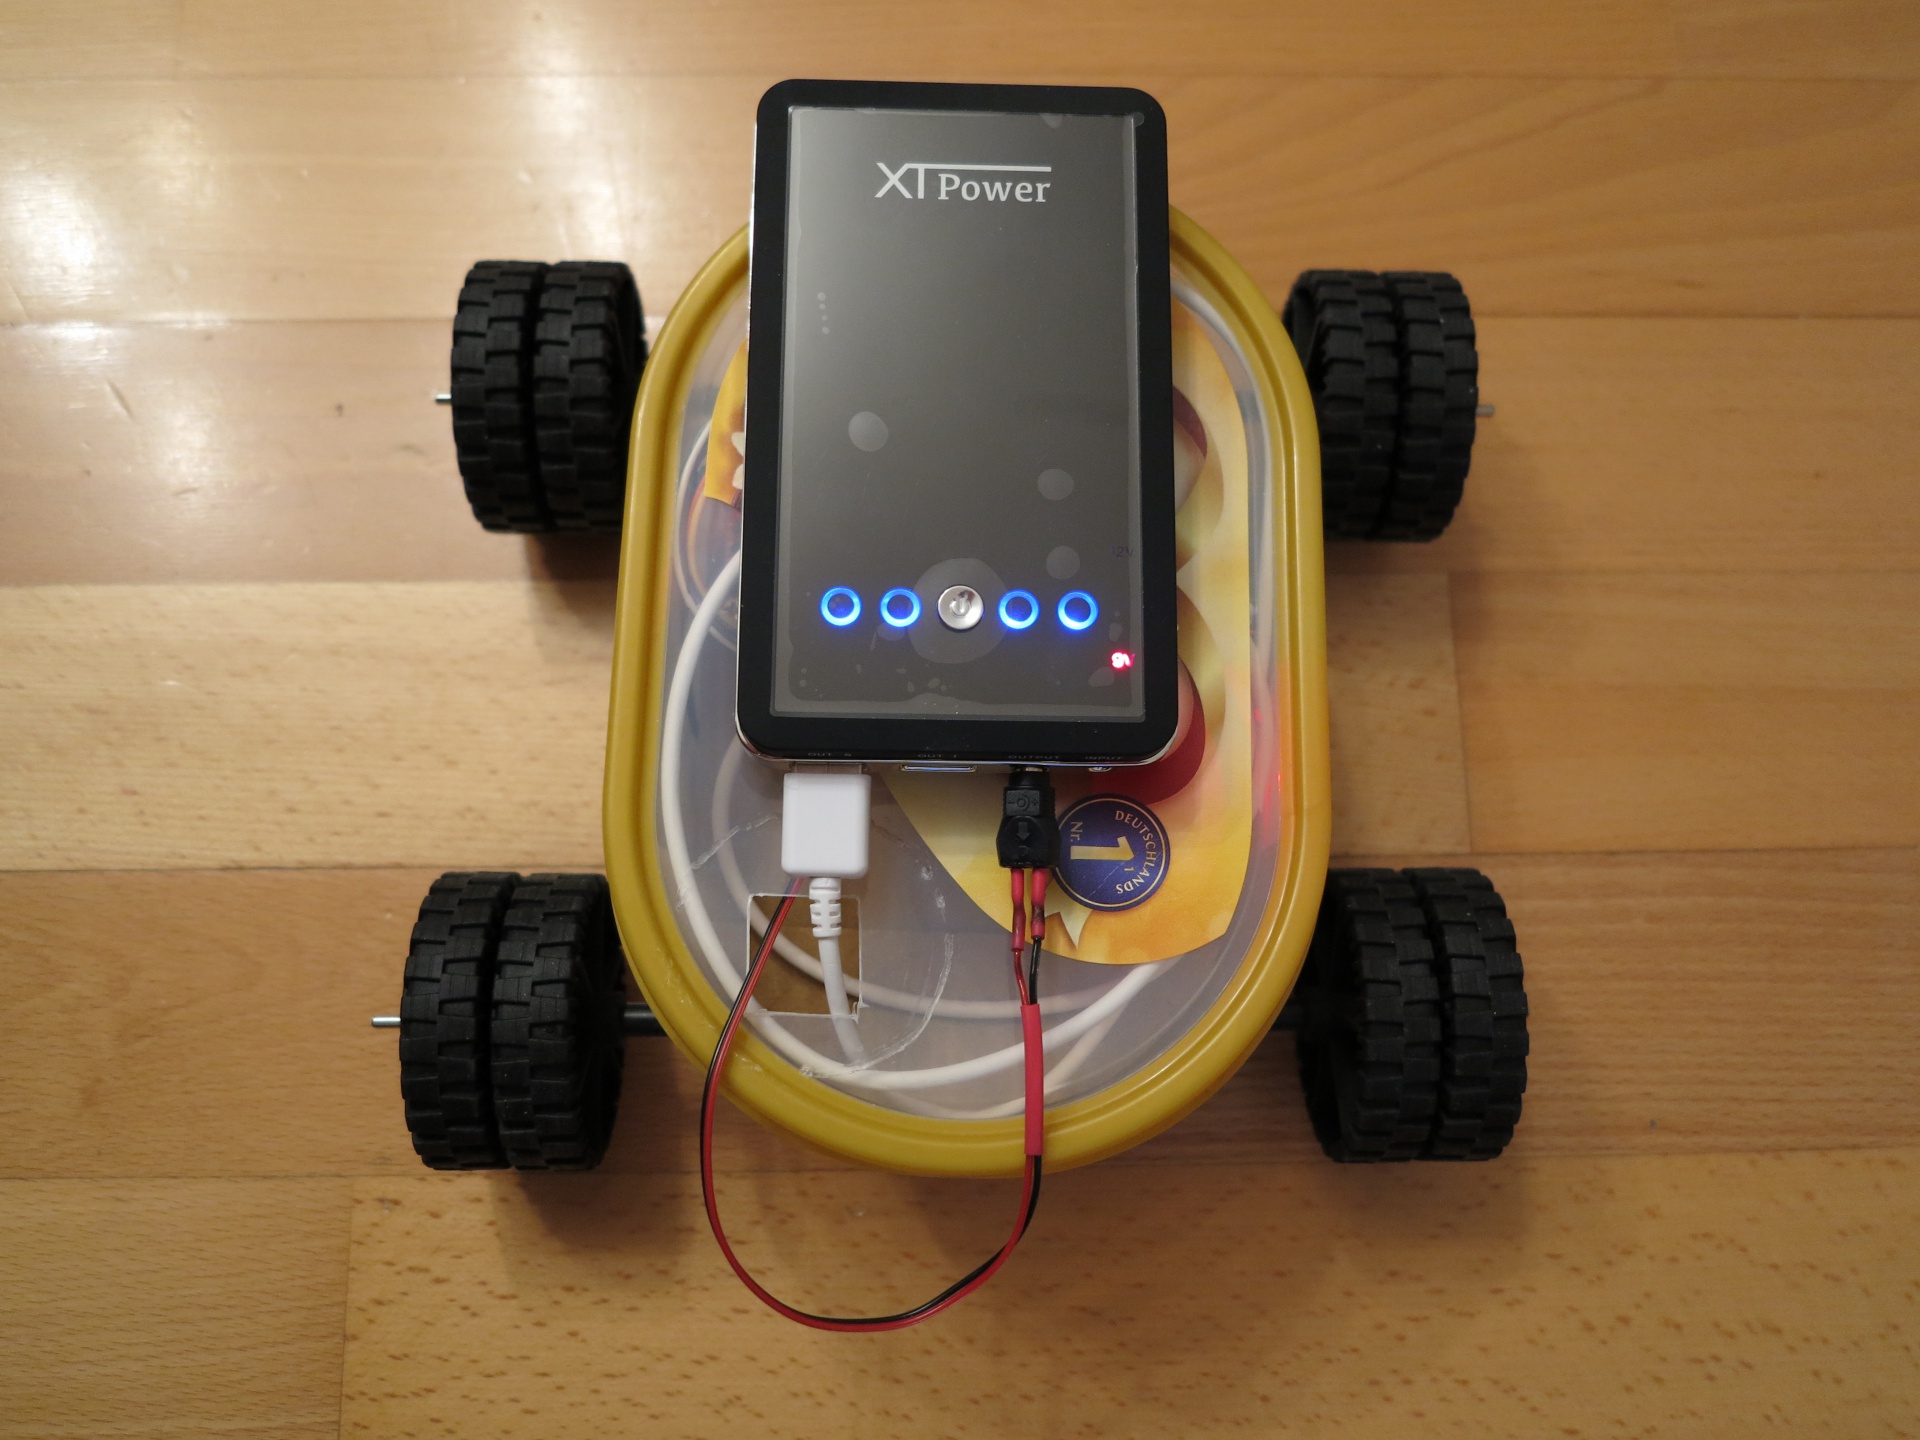
The next picture shows the setup with the PowerBank. I used the USB cable to power up the Raspberry PI and a self-made cable to supply the L298 H-Bridge with 9V. In relation to the chassis of my car the PowerBank was very big.
Raspberry PI – remote controlled car with a Raspberry Pi power supply 3
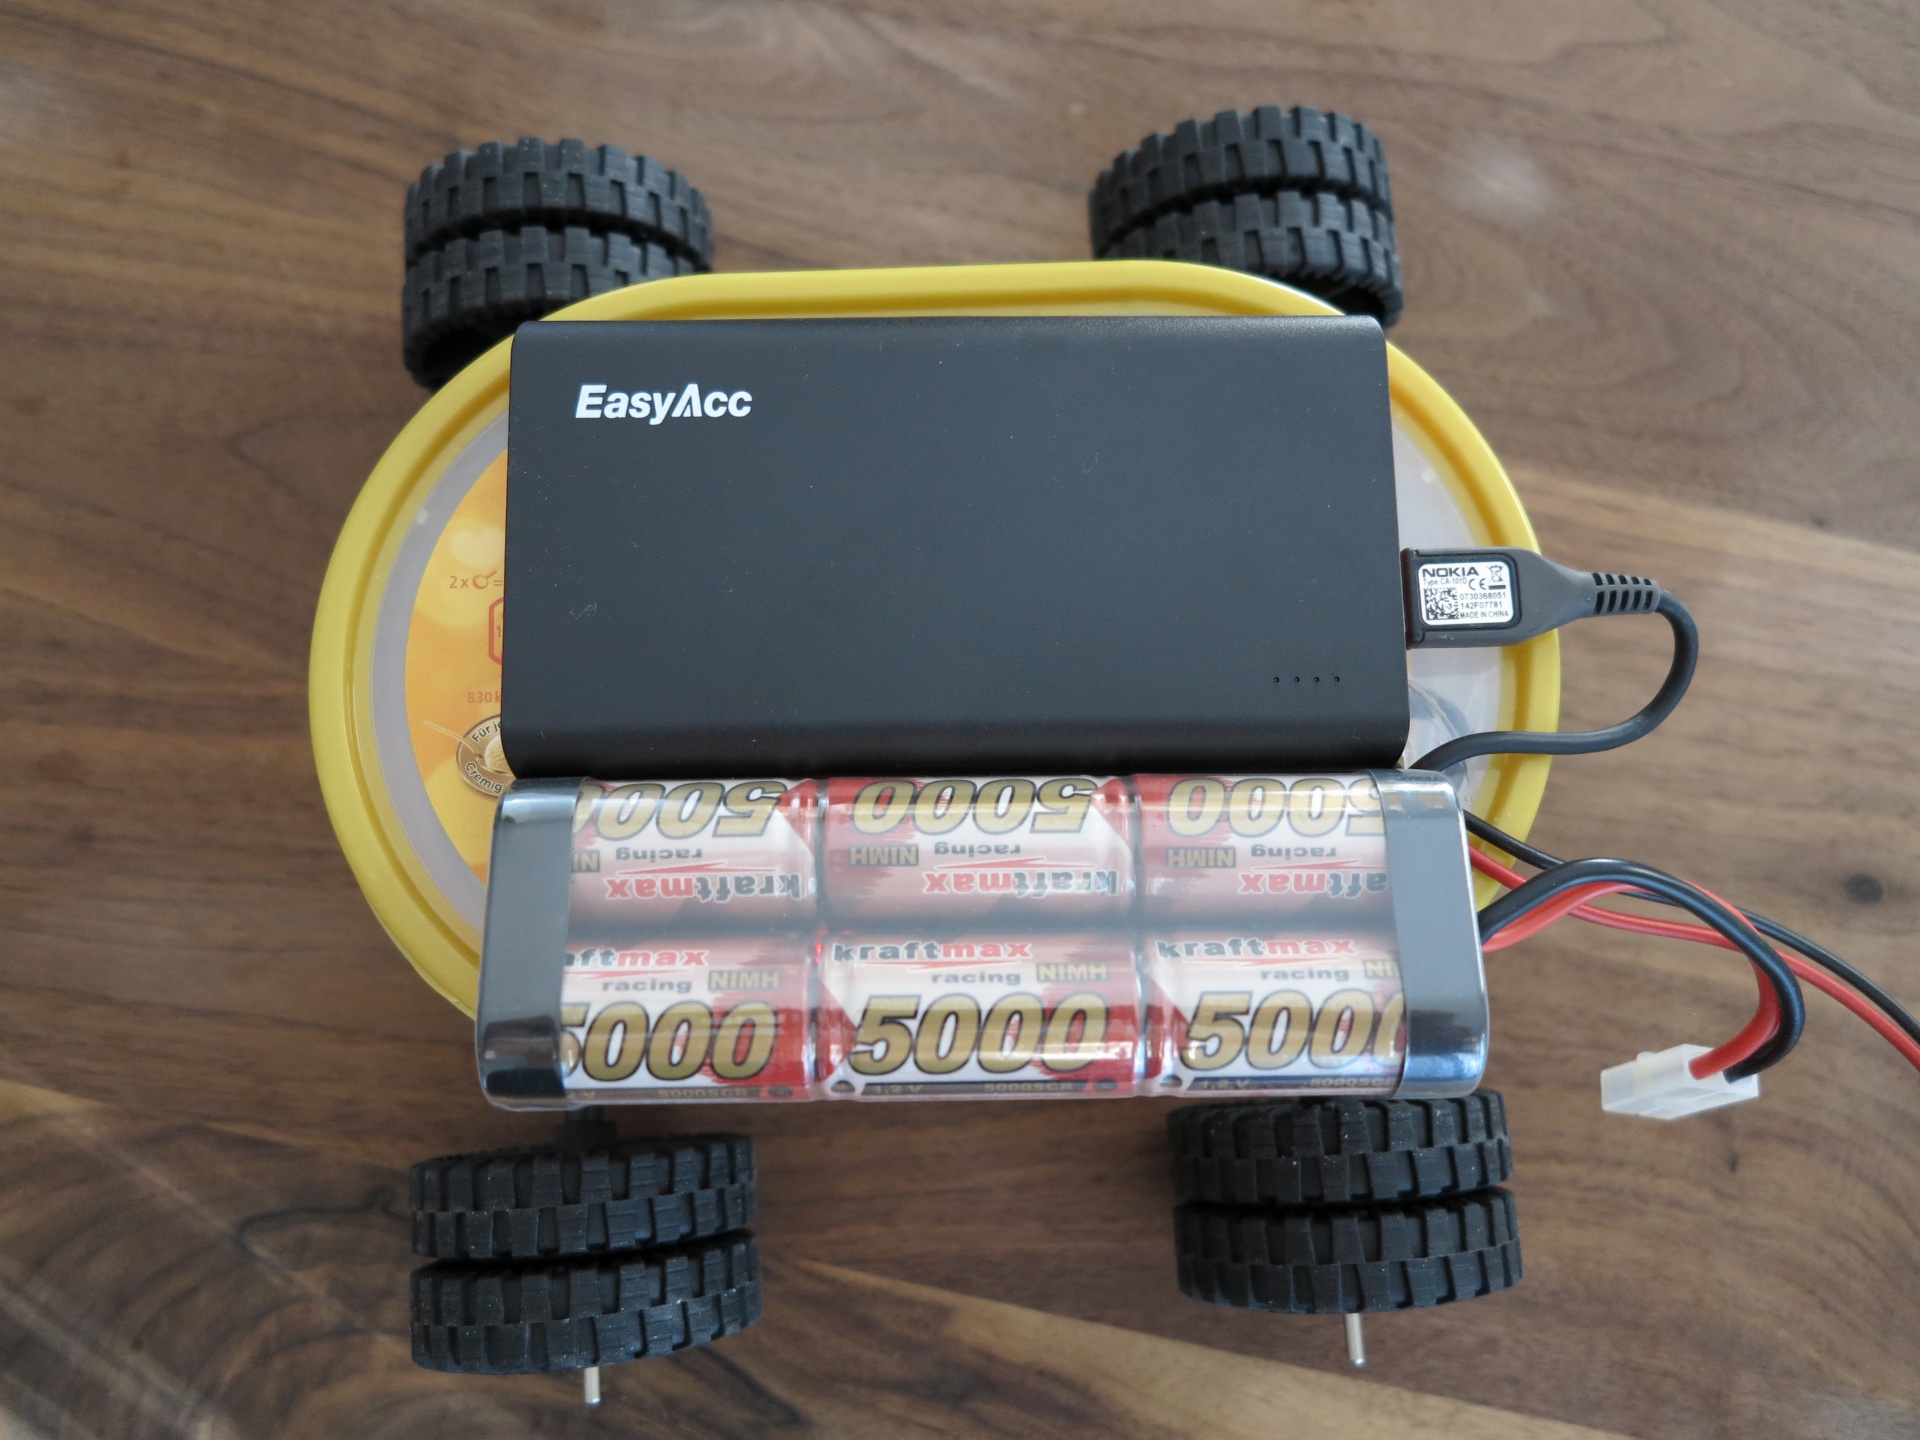
Solution 3 – PowerBank & accu (mobil)
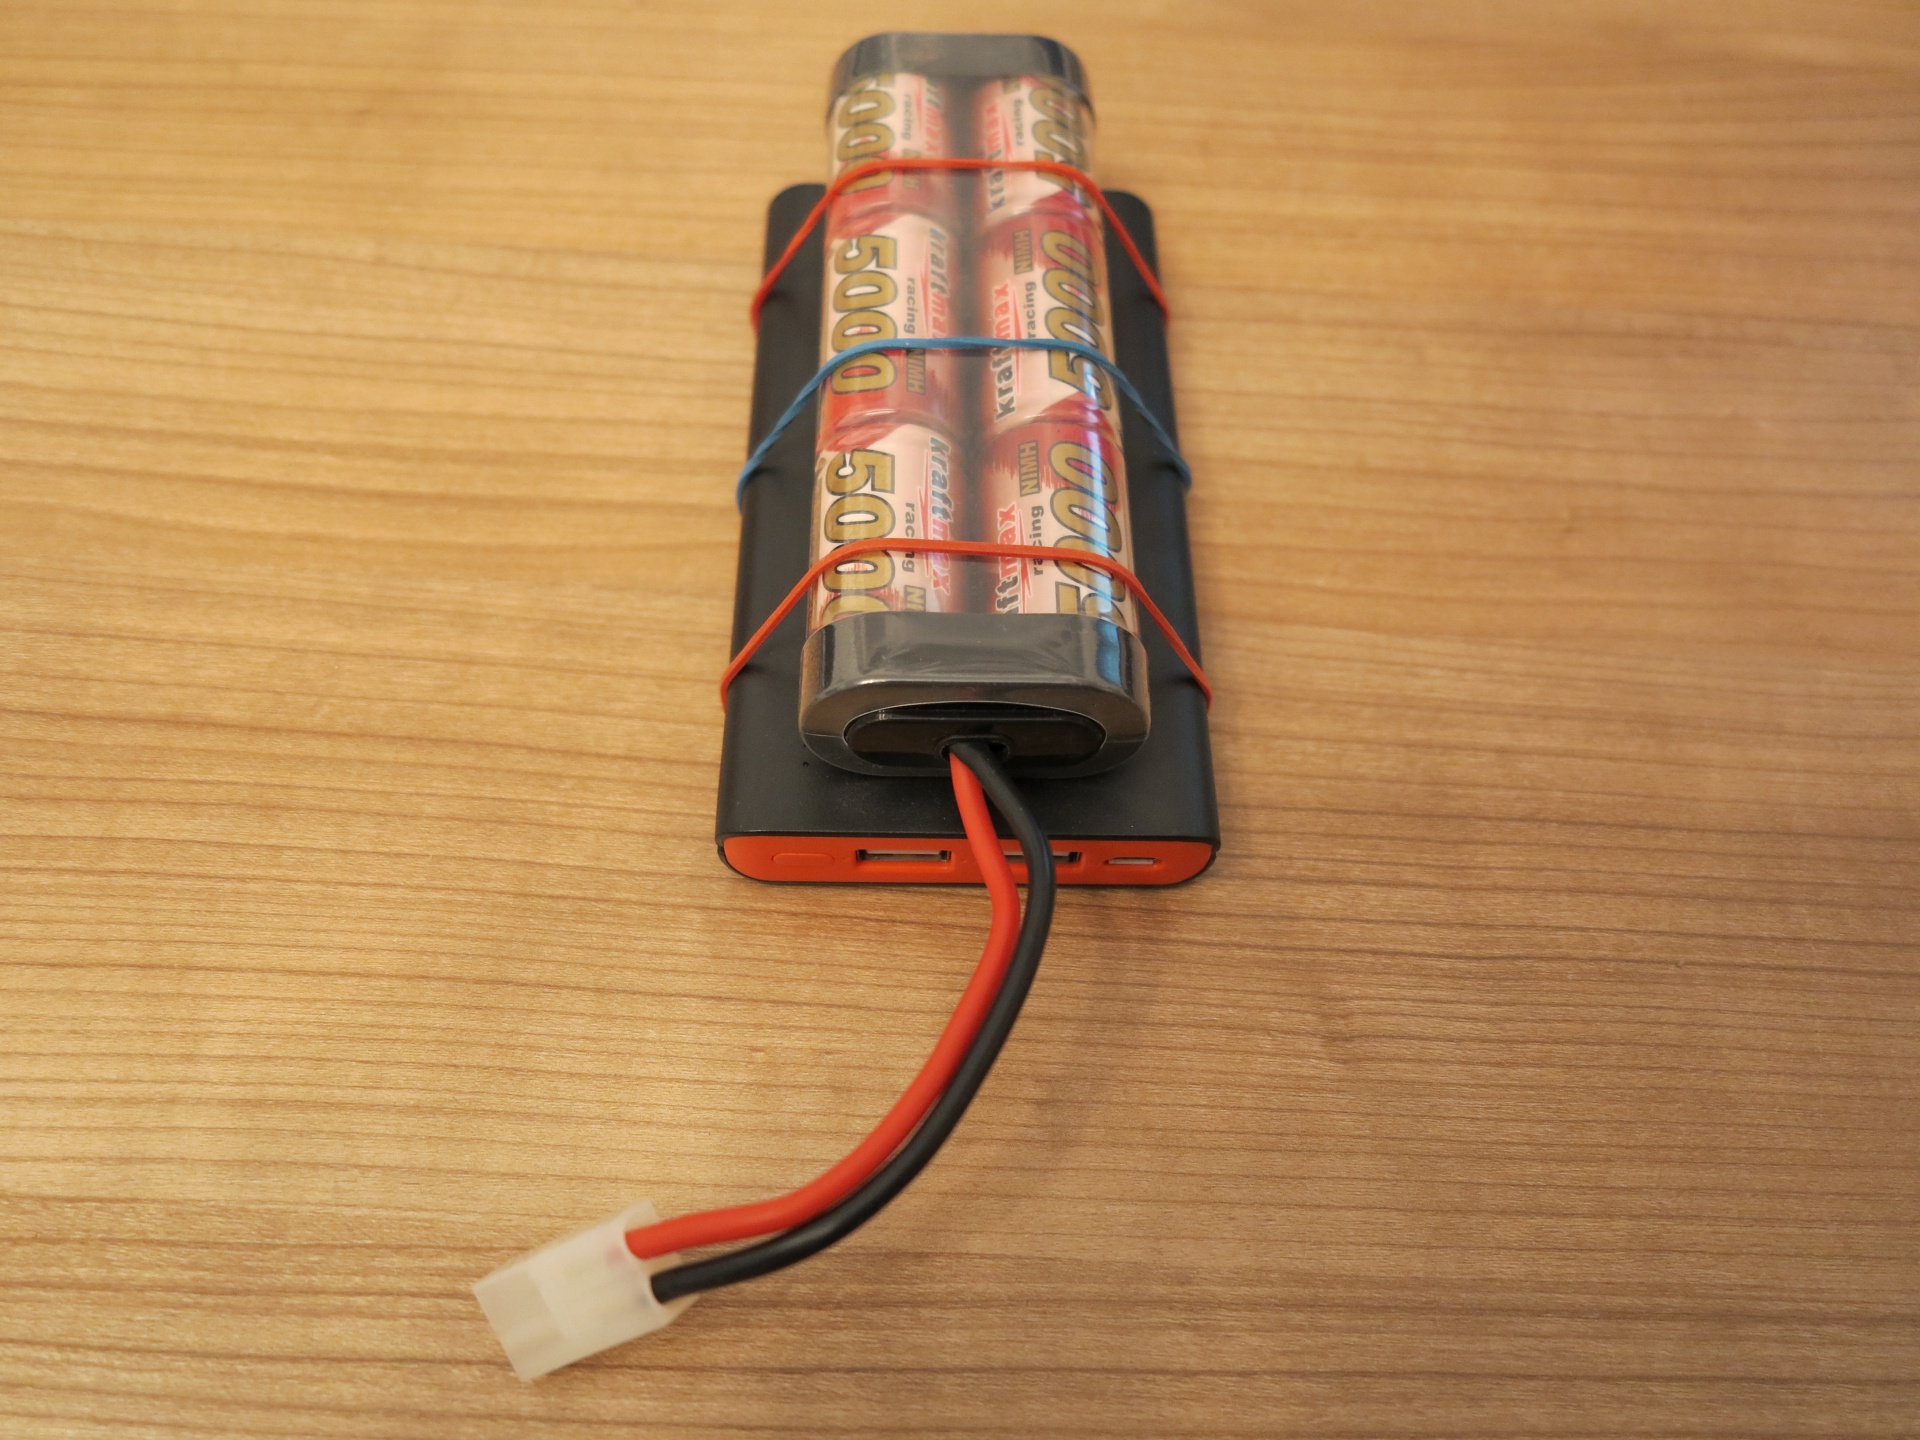
In the third solution I used a 10.0000 mA PowerBank to power up the Pi and a 7.2 V Racing accu to power up the electronic drive unit. Unfortunately I had to buy a special charger to charge the racing accu.
- 5V / 10 000 mA PowerBank
- 7.2 V / 5 000 mA accu
- charger (a cheap used charger)
Here you see both accus one above the other. With the gums I tried to stick both accus together.
Raspberry PI – remote controlled car with a Raspberry Pi power supply 4
The next picture shows both accus on top of the prototype. The car is very fast with the 7.2 V and 5 000 mAh racing accu in my apartment.
Raspberry PI – remote controlled car with a Raspberry Pi power supply 5
Conclusion:
At the beginning of the project I thought the mobile power supply would we one of the easiest things I have to solve. But this was one big fool I did and I had to try a few solutions to find the best working solution for the Raspberry Pi RC car. At the end I used two types of accus. One PowerBank with 5V and 10.000 mA and one accu with 7.2 V and 5.000 mA for the electronic drive unit L298 H-Bridge.
Update: 19.07.2014
The solution with the two different accus works very well for the RaPi car.
Contents:
Chapter 1: Raspberry Pi WIFI radio controlled rc vehicle – introduction
Chapter 2: Raspberry Pi WIFI radio controlled rc vehicle – component list
Chapter 3: Raspberry Pi WIFI radio controlled rc vehicle – chassis
Chapter 4: Raspberry Pi WIFI radio controlled rc vehicle – wiring
Chapter 5: Raspberry Pi WIFI radio controlled rc vehicle – software installation
Chapter 6: Raspberry Pi WIFI radio controlled rc vehicle – power supply
Chapter 7: Raspberry Pi WIFI radio controlled rc vehicle – programing
Chapter 8: Raspberry Pi WIFI radio controlled rc vehicle – live video streaming
Chapter 9: Raspberry Pi WIFI radio controlled rc vehicle – web-interface and smartphone
Chapter 10: Raspberry Pi WIFI radio controlled rc vehicle – cooling with passive heat sinks
Chapter 11: Raspberry Pi WIFI radio controlled rc vehicle – startup scripts
Chapter 12: Raspberry Pi WIFI radio controlled rc vehicle – cardboard car model
Chapter 13: Raspberry Pi WIFI radio controlled rc vehicle – power consumption


Recent Comments