
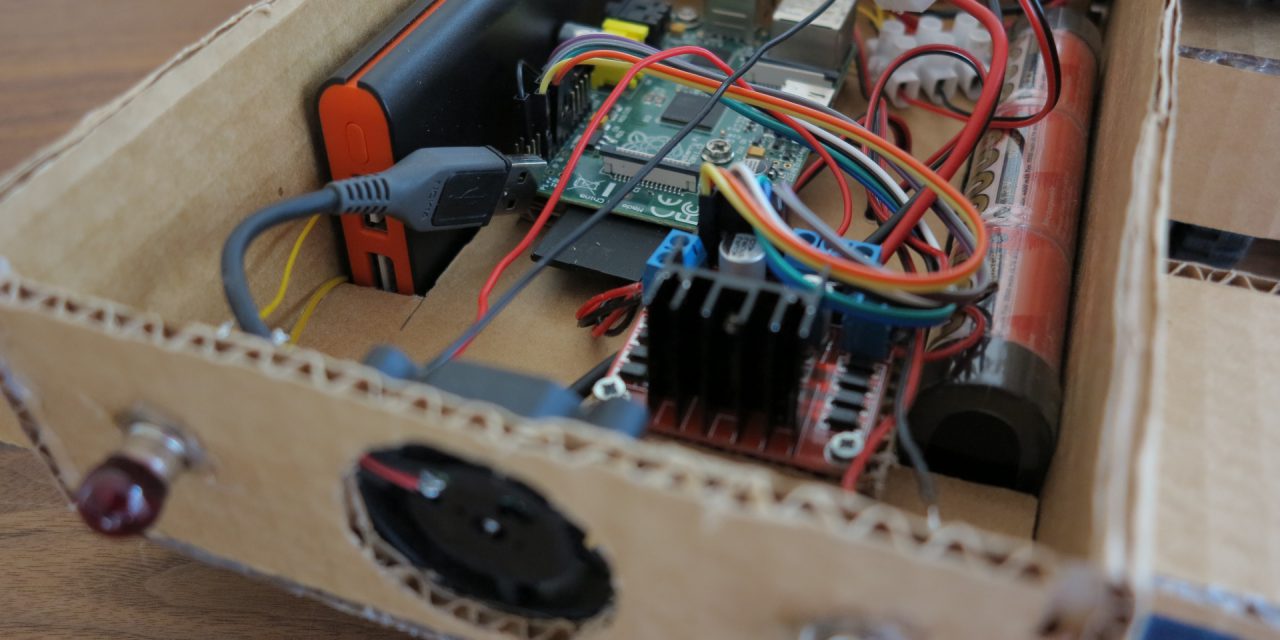
This article is about the power consumption of the Raspberry Pi car. I made the experience that I had problems that the input was too high and in some cases the electronic components get over heated. It also happened that the protection circuit has been activated for example from my PowerBank with the 9V output and the PowerBank switched off. In this case the amperage was too high for the PowerBank. At the beginning of the construction of the Raspberry Pi car I had never calculated the power consumption of the RC car. But it still worked very well. But with additional electronic components like the DFRobot SSC-32 Servo-Controller or a more powerful WIFI USB Stick I had to deal with the topic of parallel and series connections.
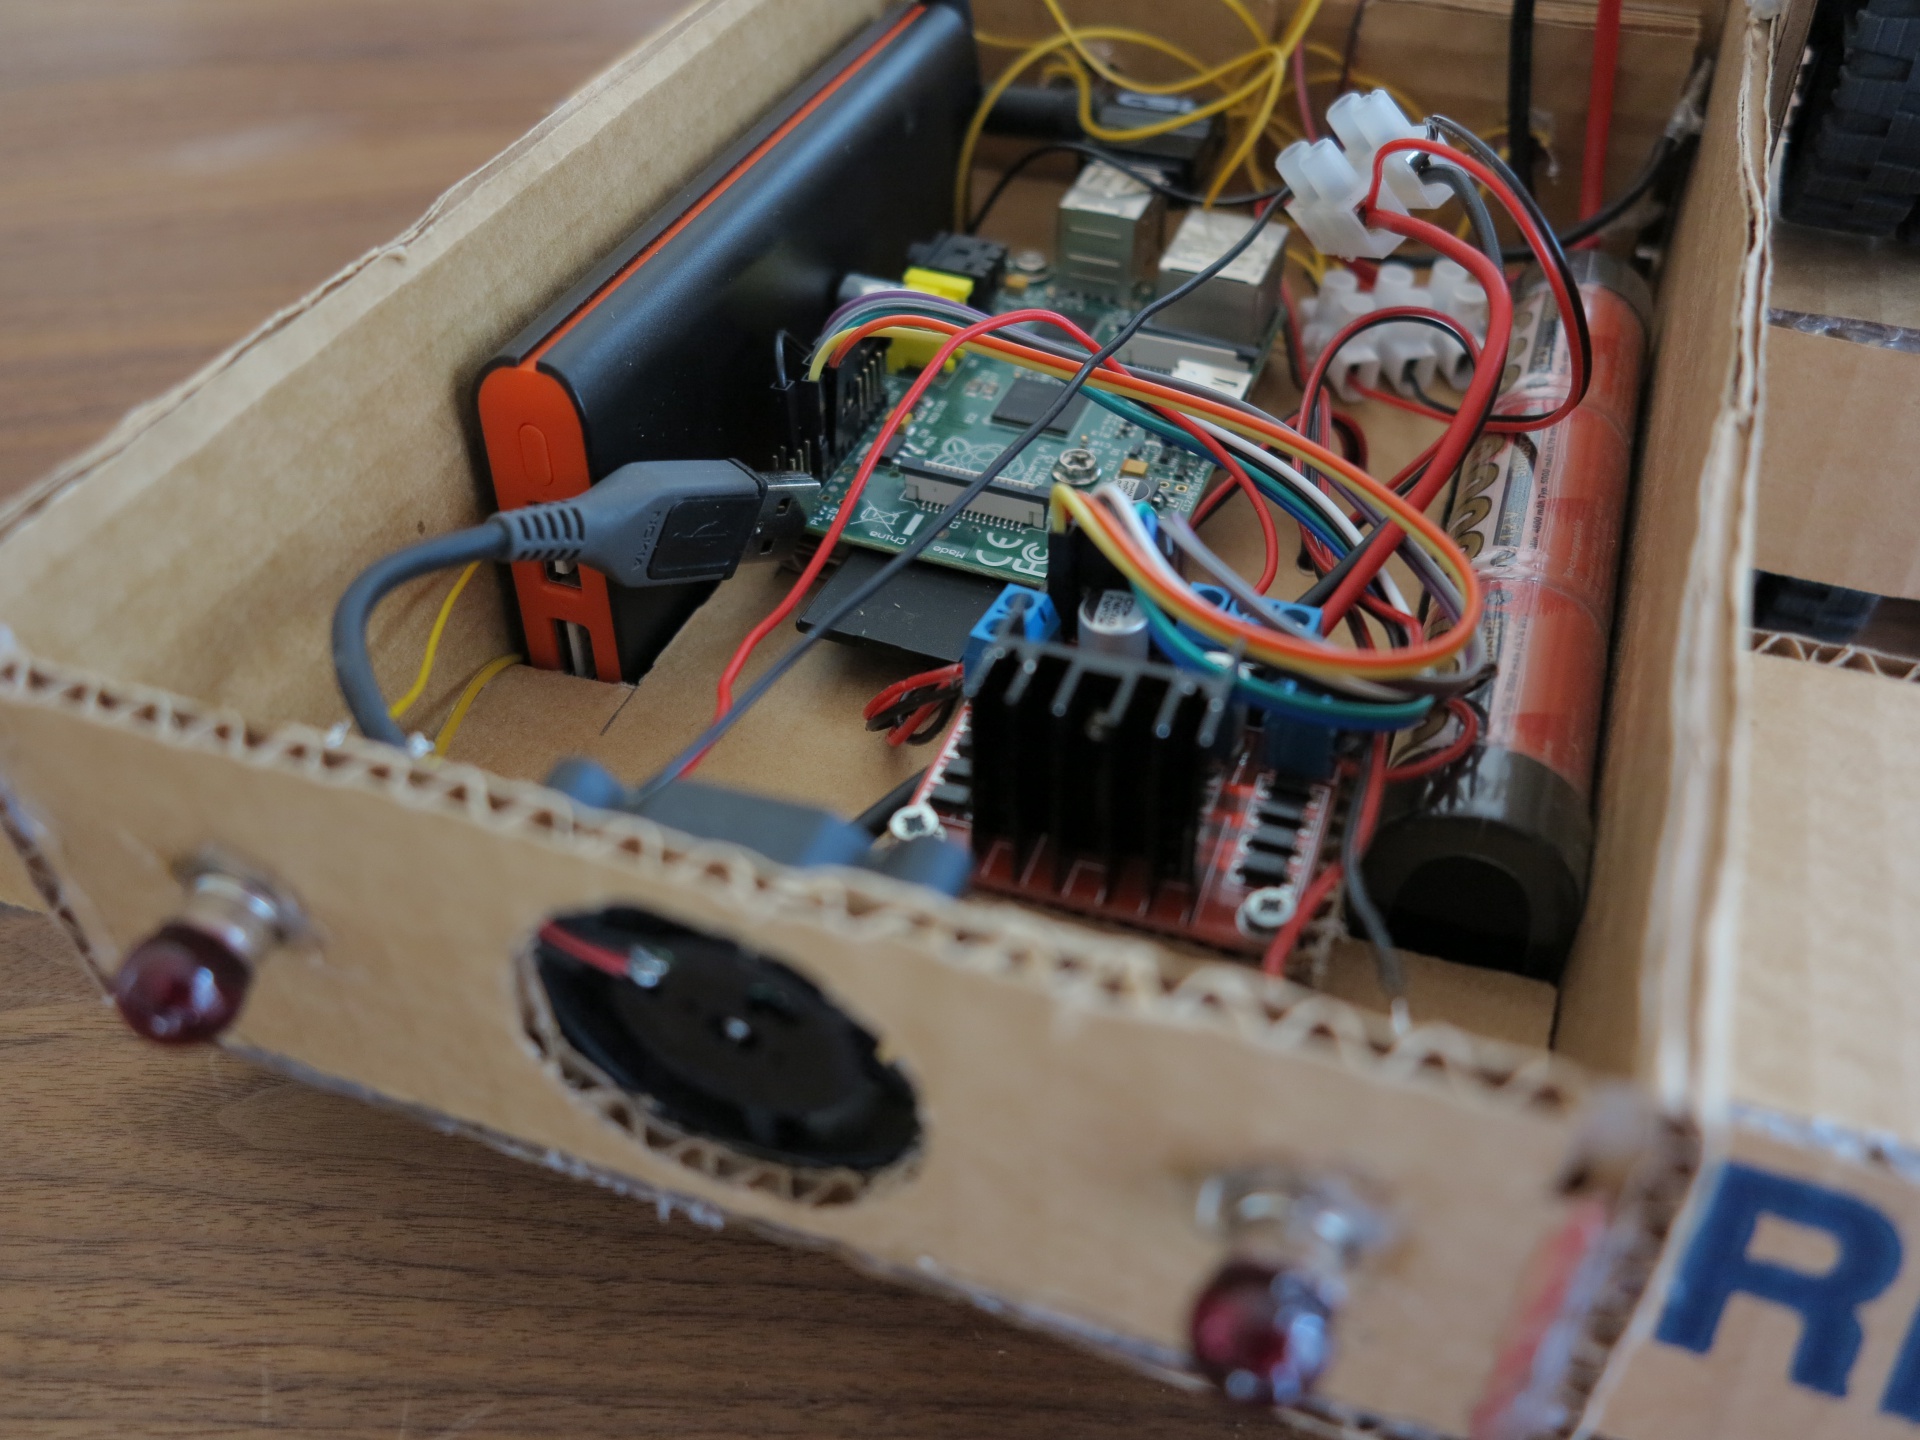
Raspberry PI – remote controlled car with a Raspberry Pi van
Formulas
The Formulas are very simple and you have to distinguish if a parallel or series connections is used for your electronic circuit.
Series connection
R = R1 + R2 + R3 + … + Rn
U = U1 + U2 + U3 + … + Un
I = constant
Parallel connection
1/R = 1/R1 + 1/R2 + 1/R3 + … + 1/Rn
I = I1 + I2 + I3 + … + In
U = constant
With this formulas for a series or parallel connection it is possible to calculate the power consumption for example of DC-Motors used in the Raspberry Pi car.
Ohm’s Law
It also happens again and again that the dimension of a resistance has to be calculated. For this calculation you need the Ohm’s law. You need the formula to calculate the resistance for a LED light.
U = R * I
Electric power
The electric power our car or circuit consumes can be calculated with the following formula.
P = U * I
Example calculation
With this example calculation the electric power consumption of the four Tamiya gear motors used in the Raspberry Pi car is calculated.
| typica voltage: | 3V |
|---|---|
| typical min. current consumption@ 3V: | 150 mA |
| typical max. current consumption@ 3V: | 2100 mA |
Series circuit
If a series circuit is used for the four Tamiya motors the current consumption is constant and the total voltage U increments. Two Tamiya motors in series for one side will be calculated like this:
U = U motor 1 + U motor 2
U = 6 V
For this series connection of the two DC-motors the accu should deliver 6V voltage (U = 3V + 3V) at a maximum of 2.1 amper (I = constant). The power consumption of two DC-motors in a series circuit is calculated like this:
P = U * I
P = 6V * 2.1A
P = 12.6 W
Parallel circuit
If a parallel circuit is used for the motors the voltage U is constant and the ampere increments. The next example calculation shows this for a two DC-motors:
I = I motor 1 + I motor 2
I = 4.2 A
For this parallel circuit the accu should deliver 4.2 ampere ( I = 2.1 A + 2.1 A) and a voltage of 3V ( U = constant). The power consumption of two DC-motors in a parallel circuit is calculated like this:
P = U * I
P = 3V * 4.2 A
P = 12.6 W
Summary
The power consumption is always the same. The different are in the used voltage or ampere depending on the setup of the circuit. Accordingly to the setup of the circuit the components have to be selected. Beside the four DC-motors the Raspberry Pi B+, the Raspberry Pi camera module and the USB WIFI stick consume electricity. I measured 0.8 A ampere and 5V voltage for my Raspberry Pi Car setup. The 0.8 A ampere are only used by the Raspberry Pi CPU if the video encoder has to encode fast movements.
P = U * I
P = 5V * 0.8A
P = 4 W
At the end the Raspberry Pi car Junior consumes roundabout 16.6 W at a maximum spinning speed of the four DC-motors. But this would be only the case if all motors reached the max. stall ampere consumption of all motors. In total the power consumption of the Raspberry Pi car Junior is much lower.
Contents:
Chapter 1: Raspberry Pi WIFI radio controlled rc vehicle – introduction
Chapter 2: Raspberry Pi WIFI radio controlled rc vehicle – component list
Chapter 3: Raspberry Pi WIFI radio controlled rc vehicle – chassis
Chapter 4: Raspberry Pi WIFI radio controlled rc vehicle – wiring
Chapter 5: Raspberry Pi WIFI radio controlled rc vehicle – software installation
Chapter 6: Raspberry Pi WIFI radio controlled rc vehicle – power supply
Chapter 7: Raspberry Pi WIFI radio controlled rc vehicle – programing
Chapter 8: Raspberry Pi WIFI radio controlled rc vehicle – live video streaming
Chapter 9: Raspberry Pi WIFI radio controlled rc vehicle – web-interface and smartphone
Chapter 10: Raspberry Pi WIFI radio controlled rc vehicle – cooling with passive heat sinks
Chapter 11: Raspberry Pi WIFI radio controlled rc vehicle – startup scripts
Chapter 12: Raspberry Pi WIFI radio controlled rc vehicle – cardboard car model
Chapter 13: Raspberry Pi WIFI radio controlled rc vehicle – power consumption


Recent Comments