


Today I started building a Raspberry Pi powered safety robot with the Raspberry Pi Sense-HAT. The Raspberry Pi Sense-HAT is ideal for small do-it-yourself robot projects. The Sense-HAT is equipped with a LED matrix and a small joystick. With another 6 sensors on the Sense-HAT almost everything can be measured that is needed to control a robot.
- accelerometer
- gyroscope
- magnetometer
- air pressure sensor
- temperature sensor
- humidity sensor
After playing with the Raspberry Pi Sense-HAT for a few minutes and plugging it into my Raspberry Pi computer I got the first big problem. All GPIO pins of the Raspberry Pi’s were covered by the Sense-HAT. But I need at least 6 GPIO pins to connect the motor driver. Maybe I can solder a few more pins on the sense HAT. But I’m not sure that’s the best solution.
As you can see in the following picture all GPIO pins are blocked by the Sense-HAT. I thought maybe I could put female-to-female cable into the Sense-HAT but that is not possible.
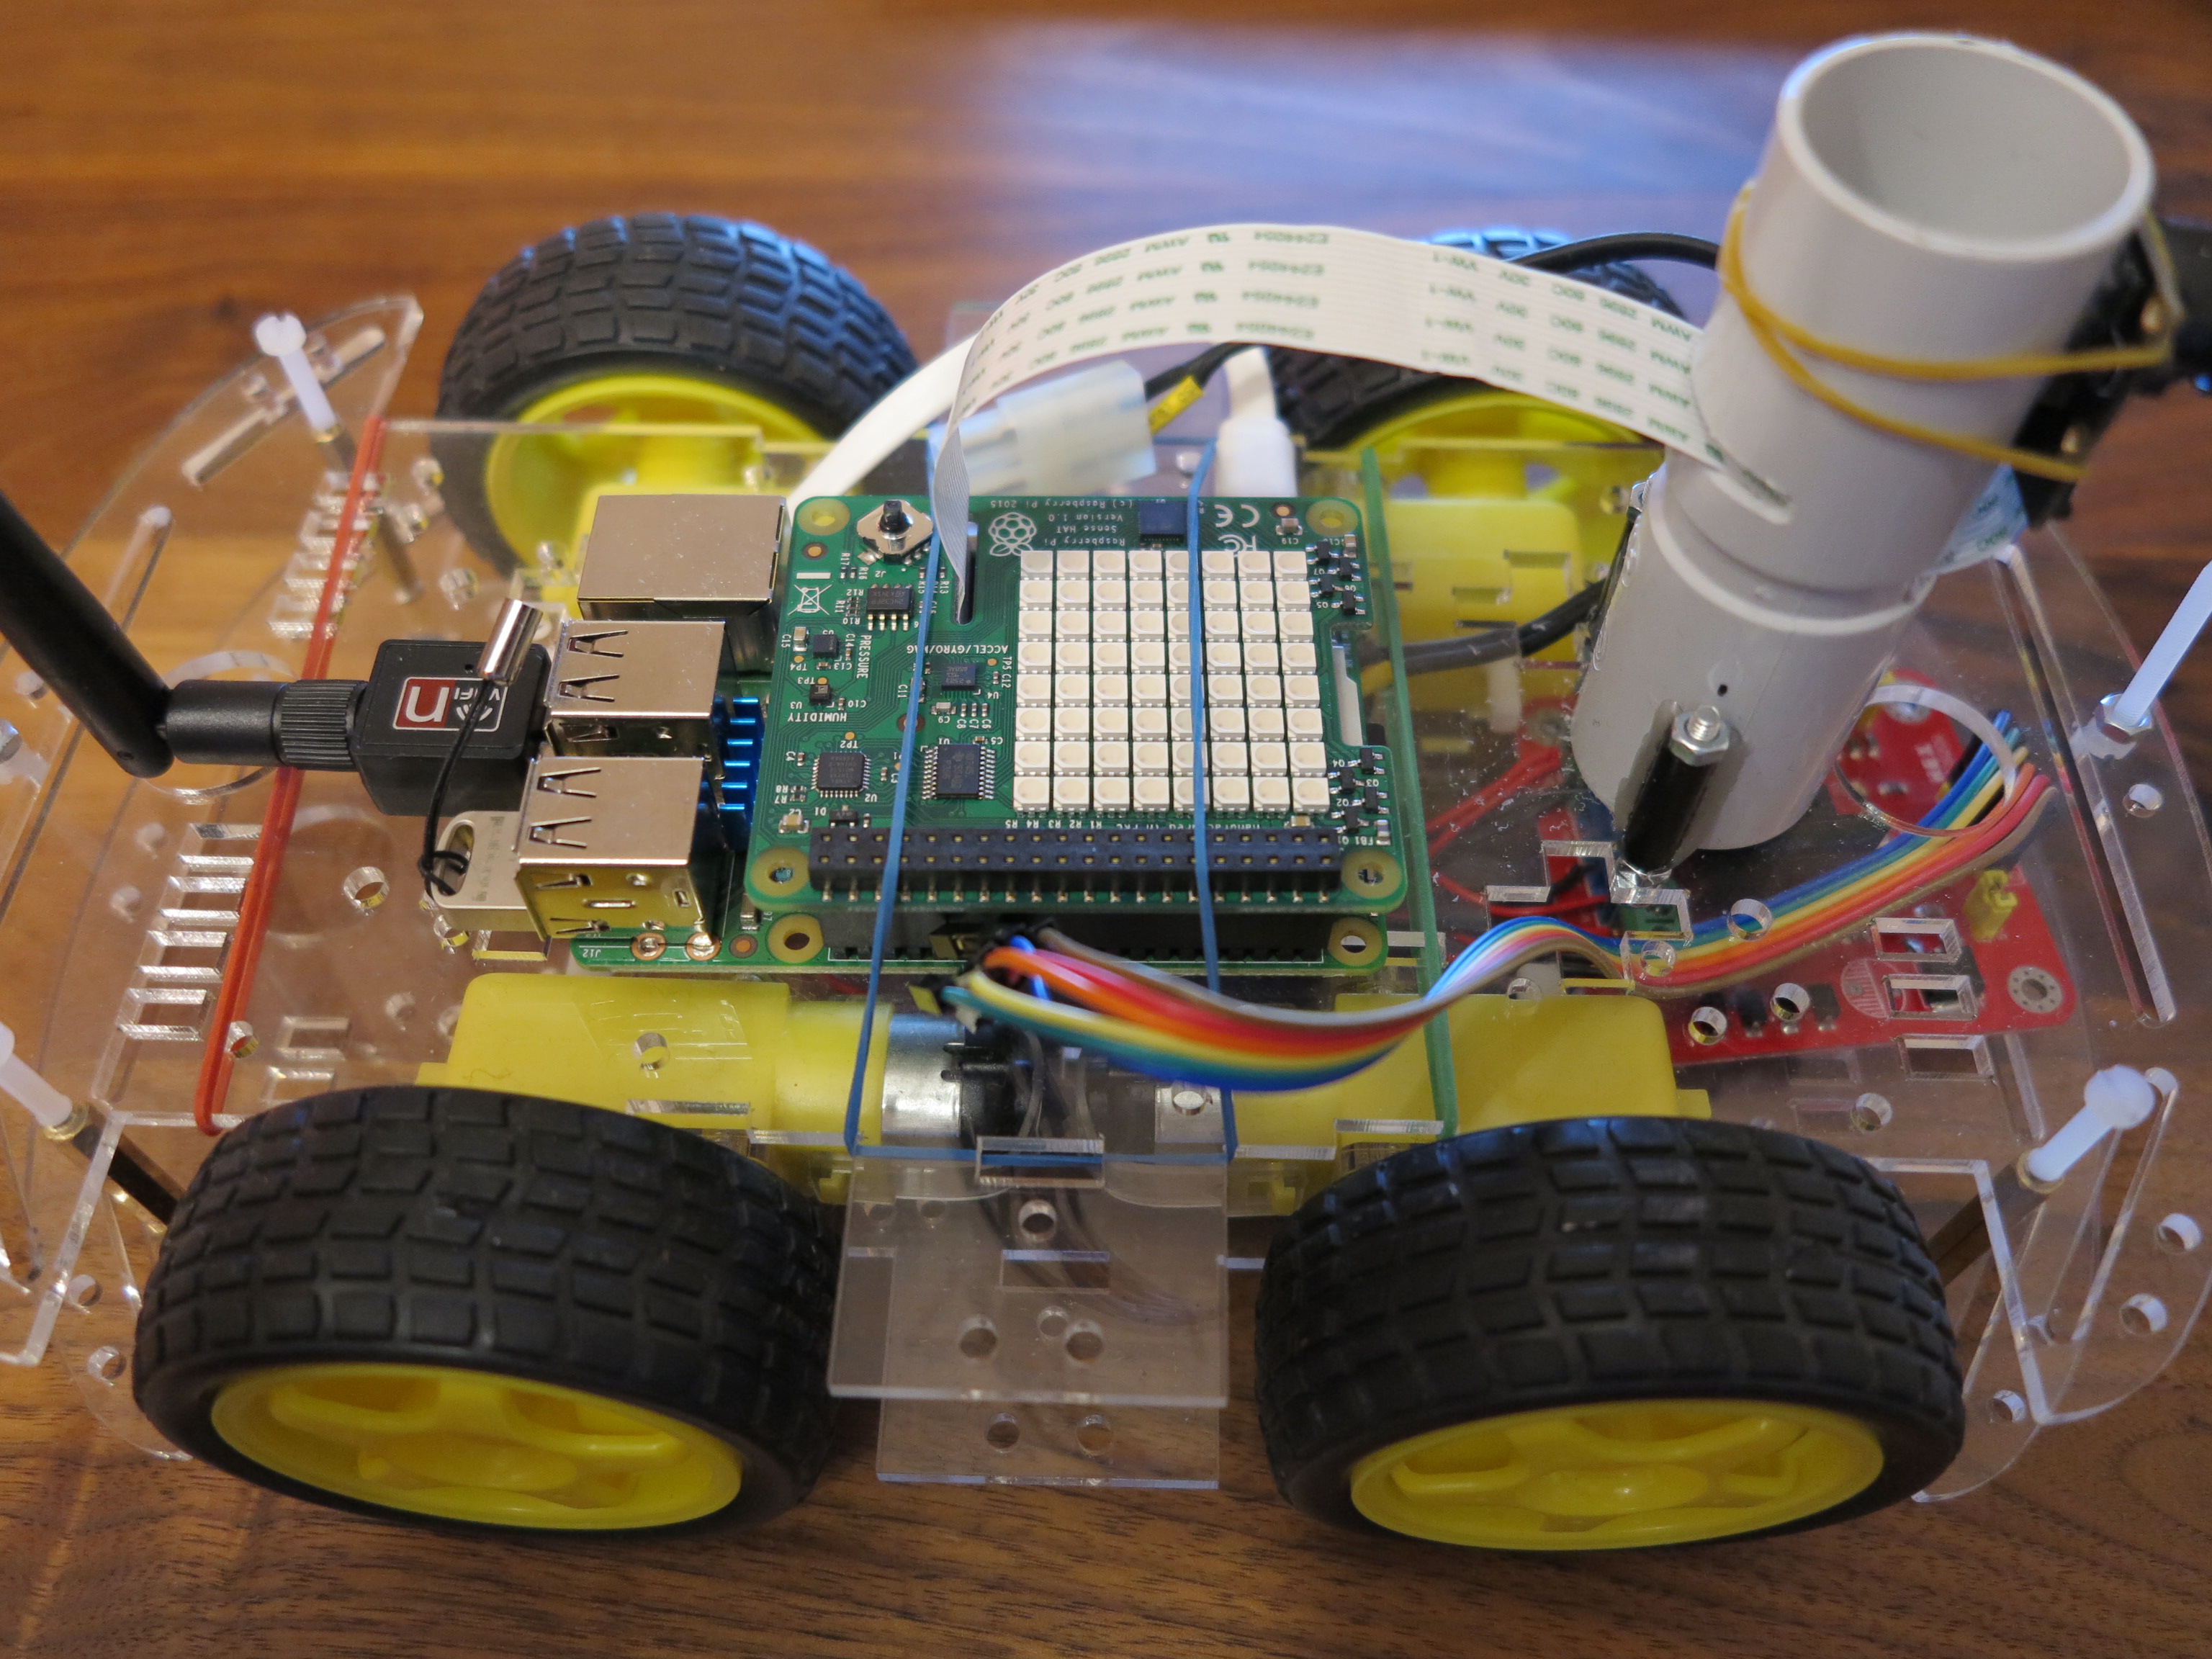
Raspberry Pi robot Sense Hat
The next picture shows the sense HAT with the GPIO bar open.
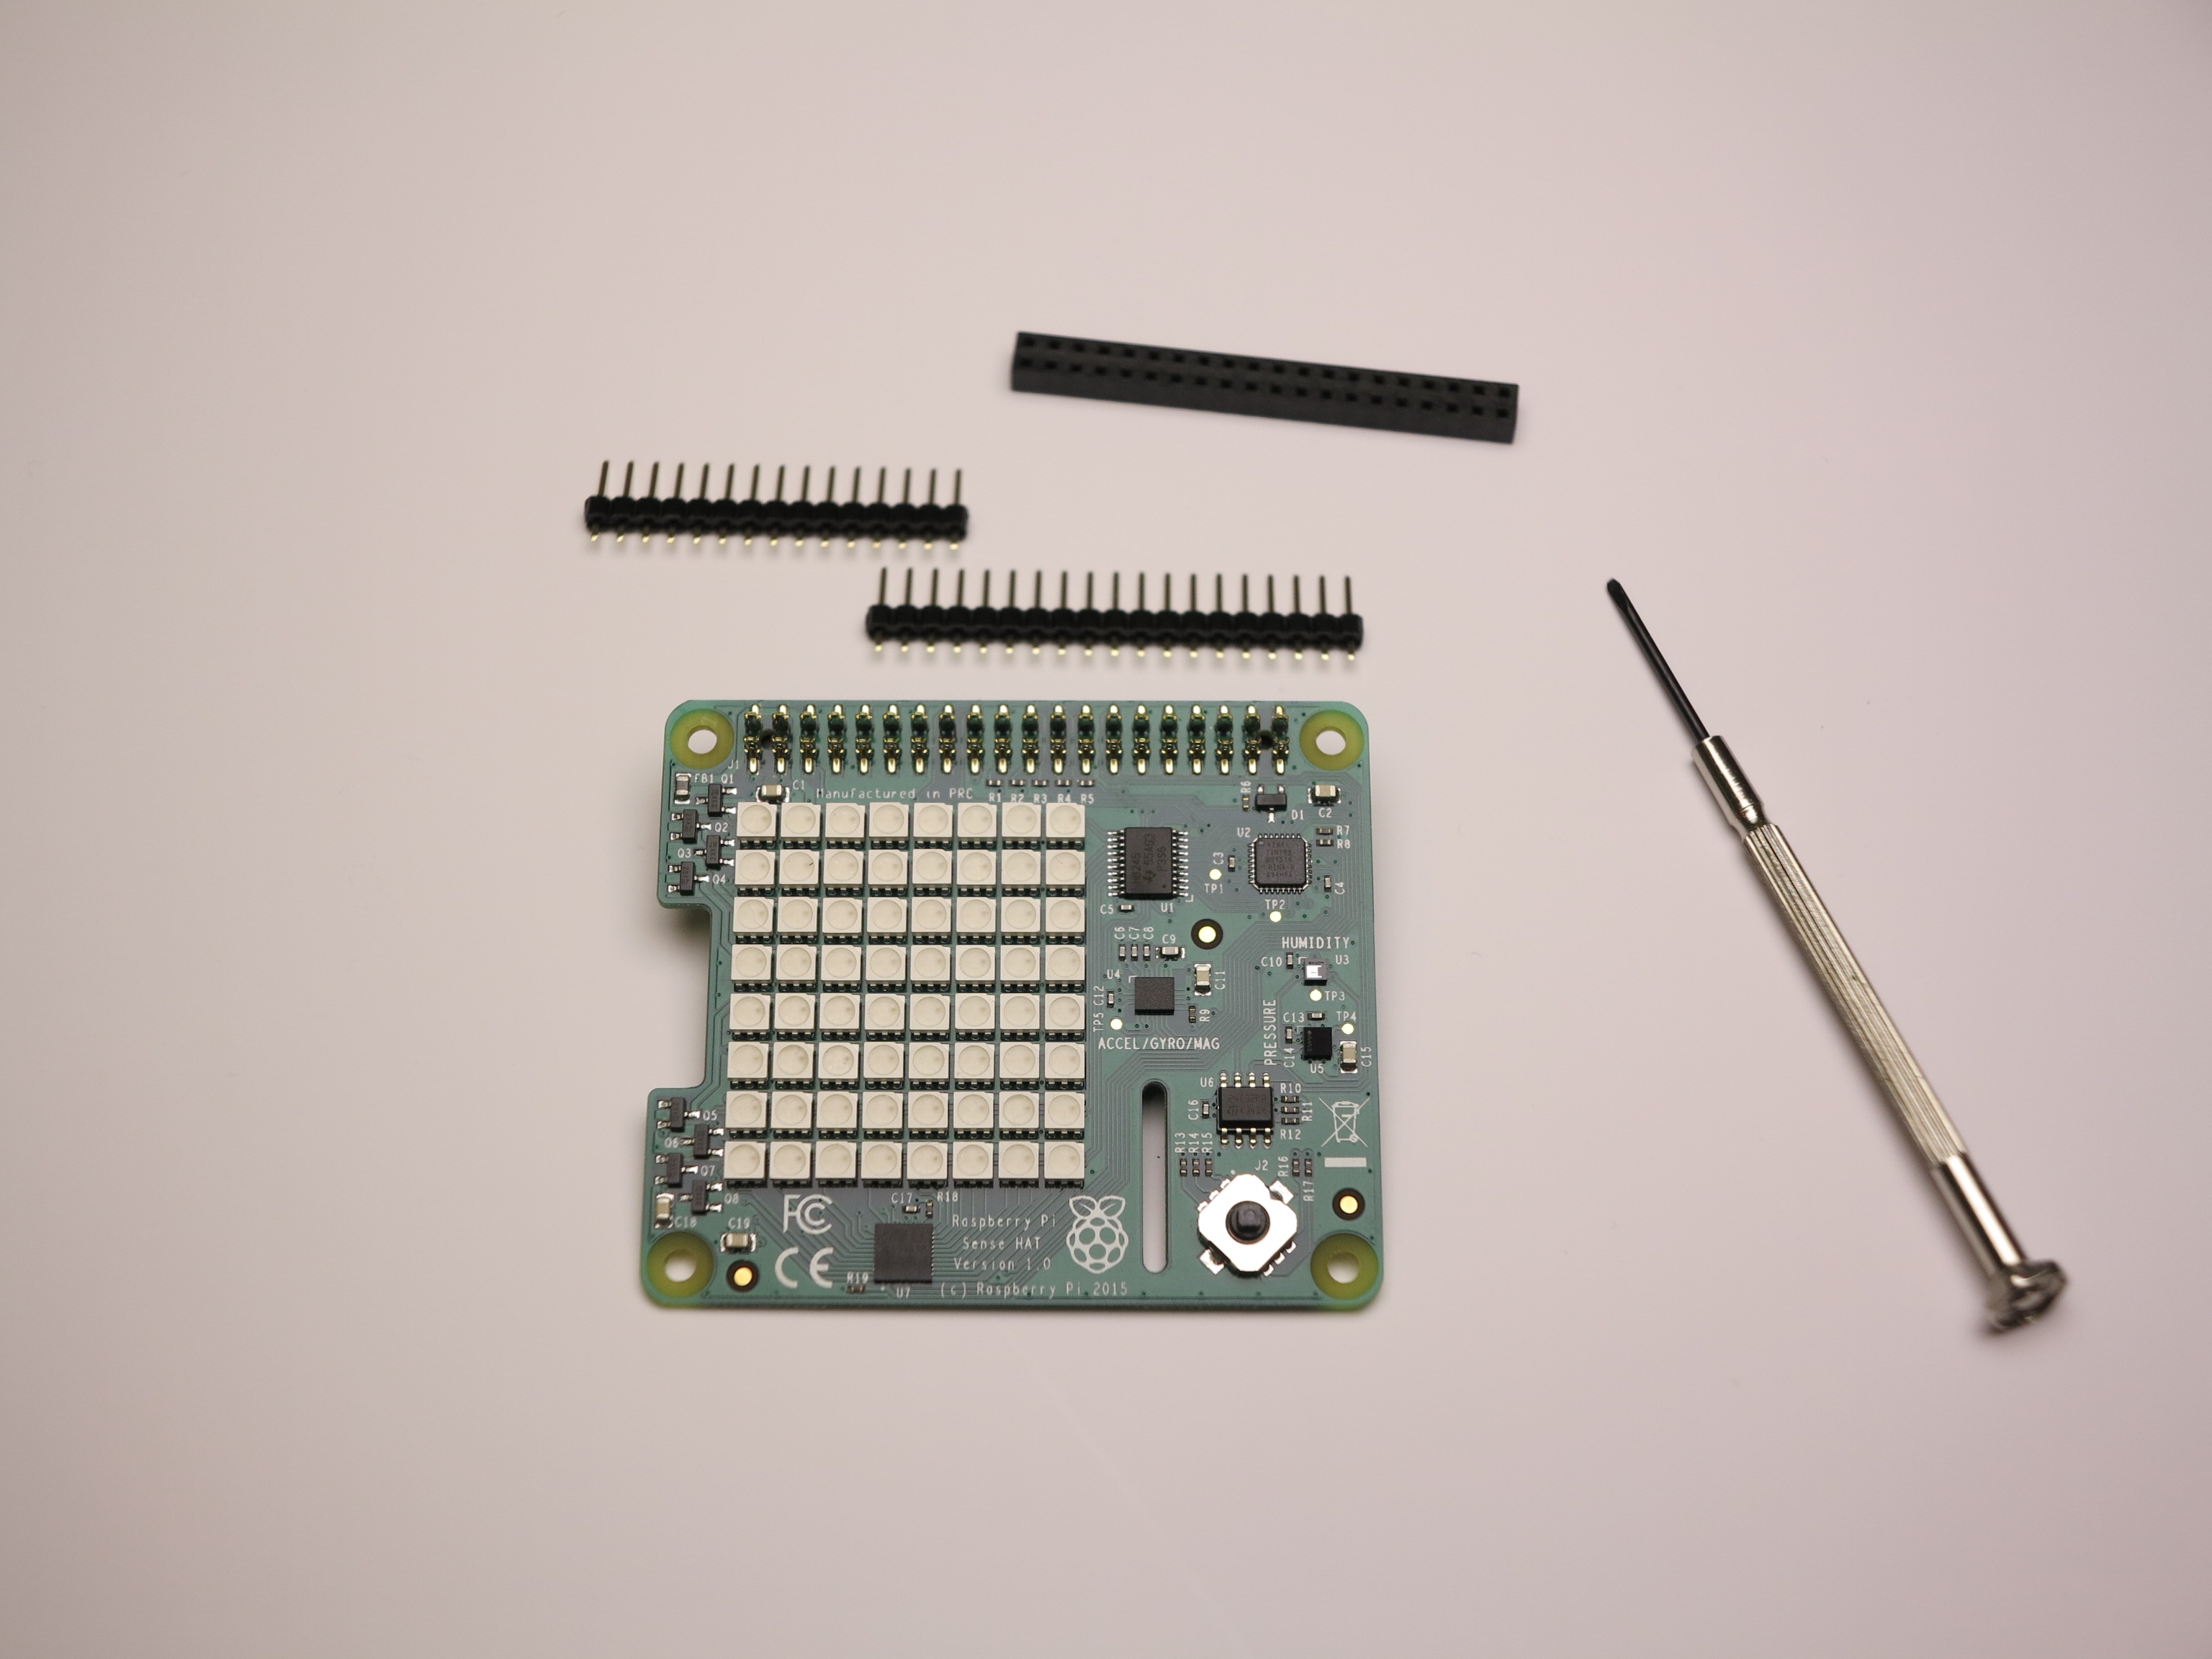
Raspberry Pi robot Sense Hat GPIO header
The solution – Female to Male jumper cable
Well, the solution I’ve found is female-to-male jumper cables. With such cables I connected the Sense-HAT to my Raspberry Pi 2 Model B as you can see on the following picture. I still have to optimize the setup but so far it works.
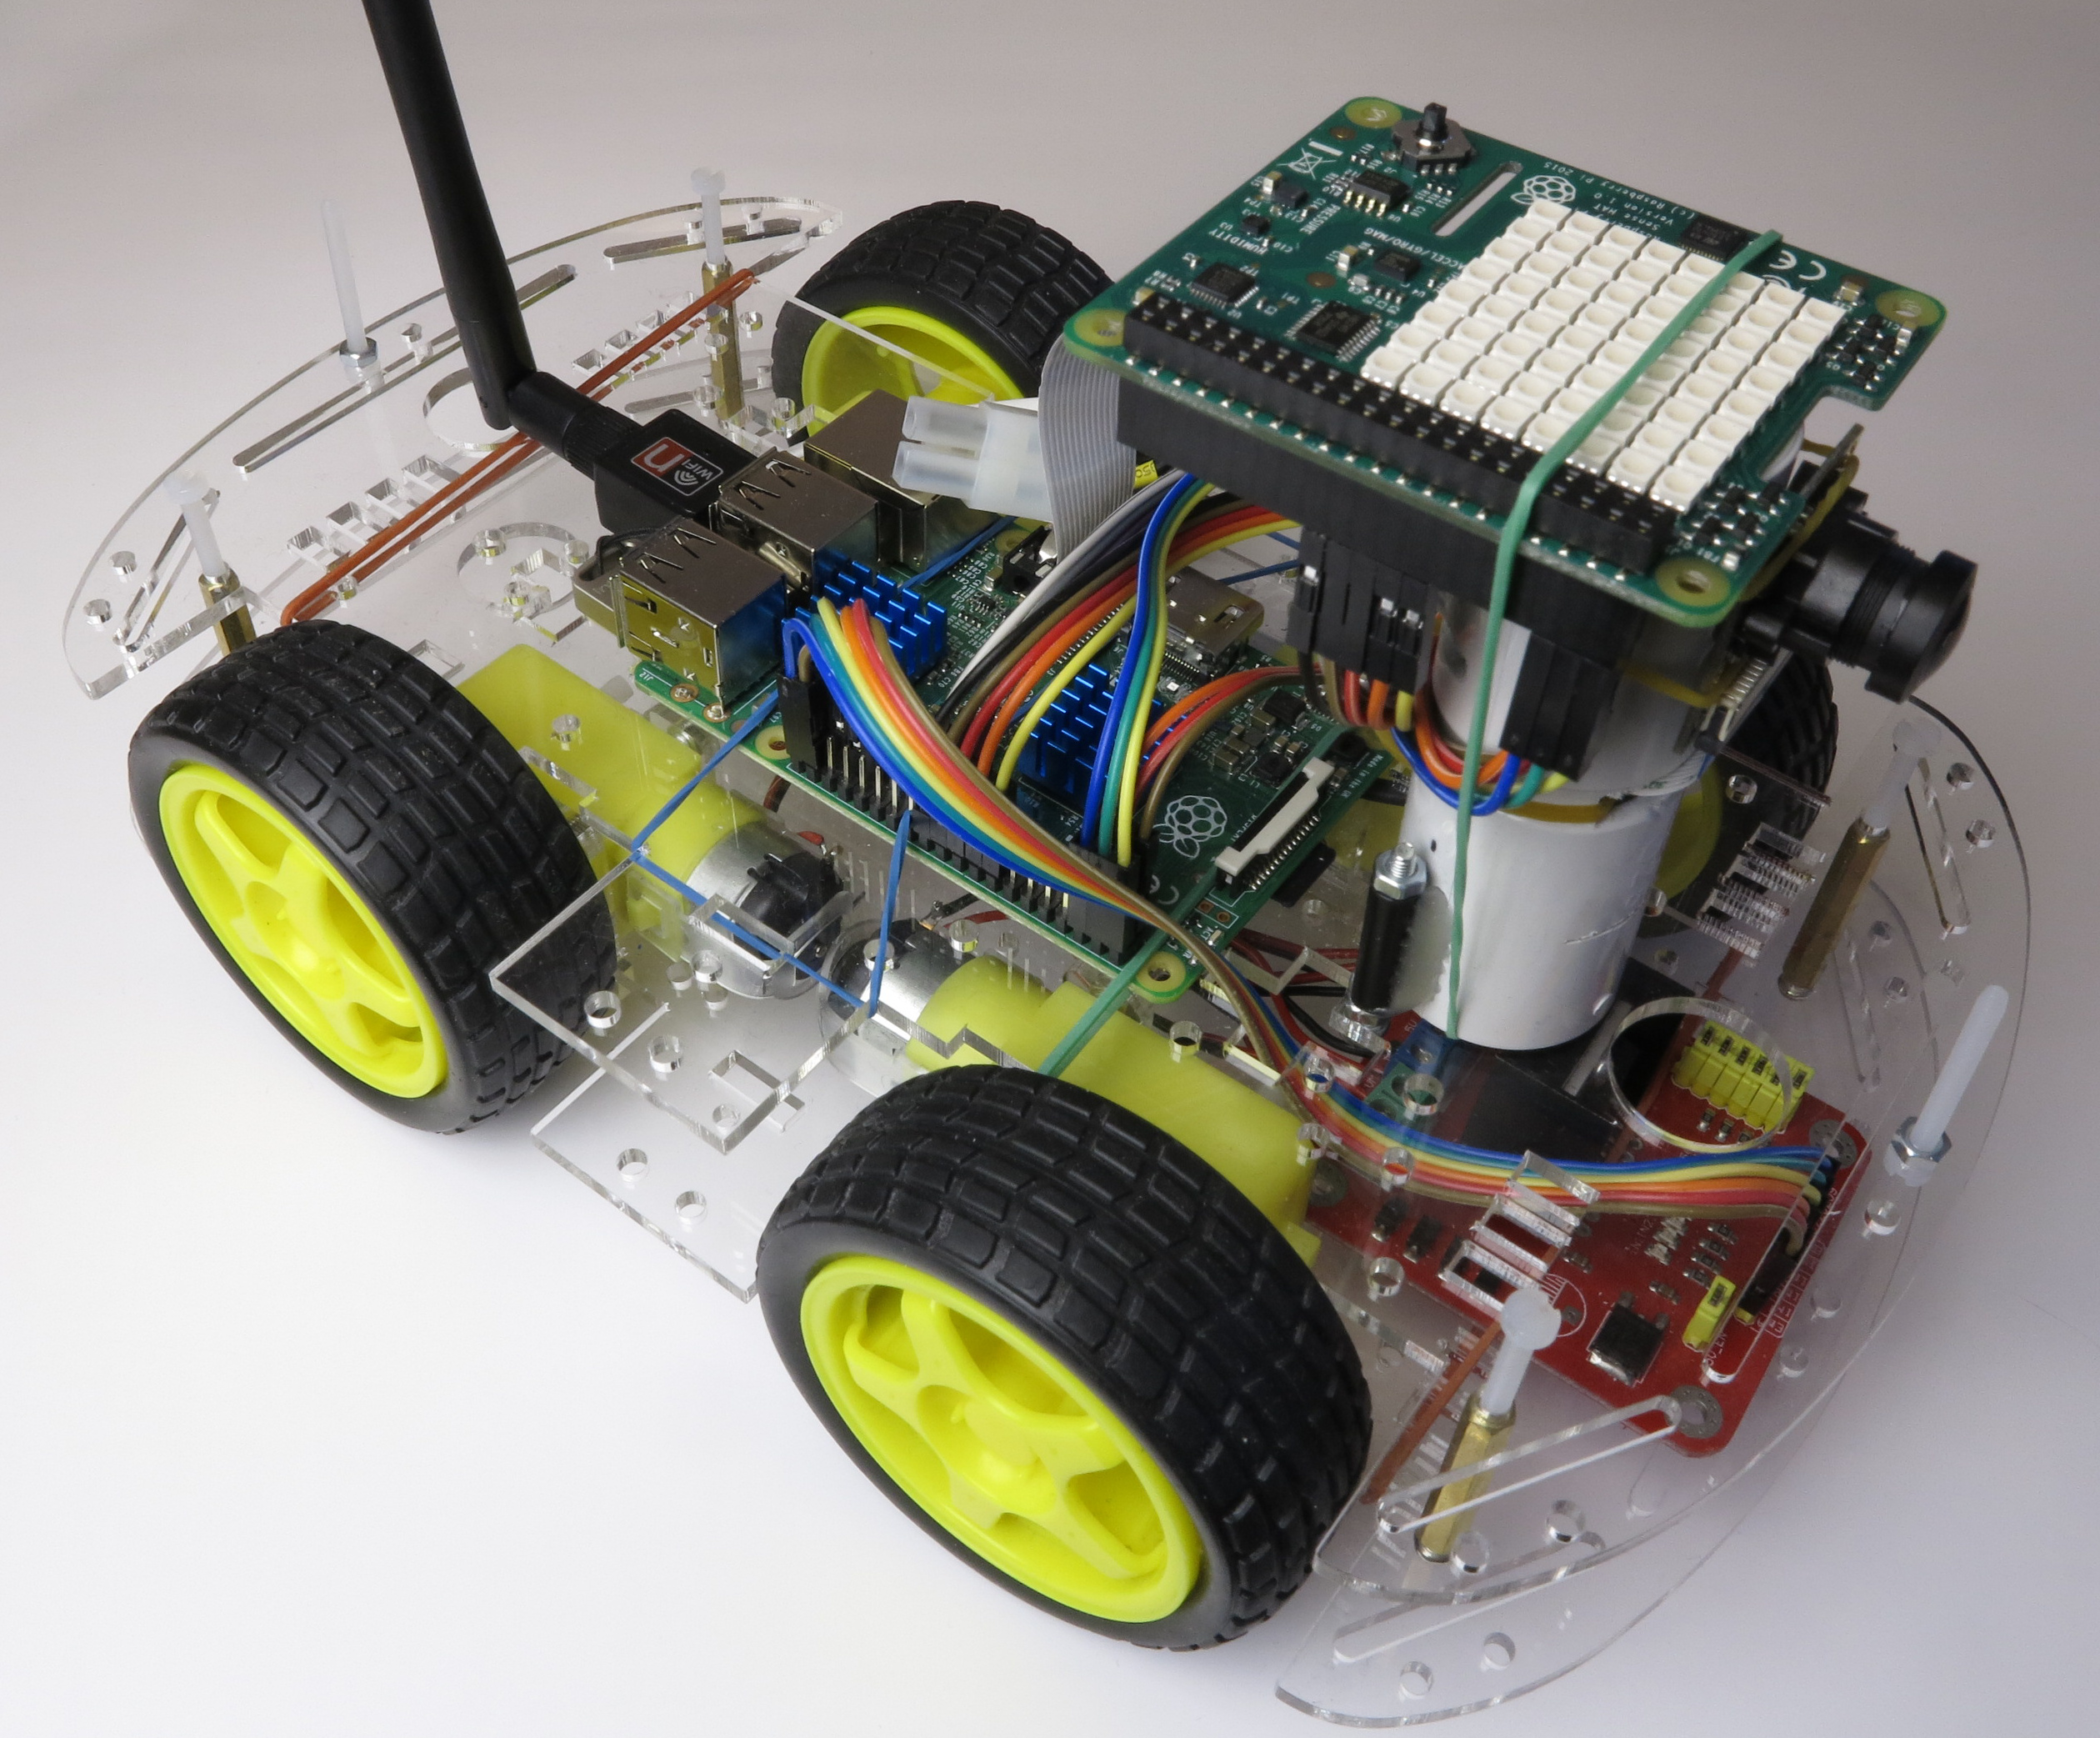
Raspberry Pi robot Sense Hat connected
Schematic drawing Sense-HAT and wiring
The schematic drawing of the Sense-HAT is available at the following URL as PDF Sense-HAT-V1_0.pdf
The figure below shows a small section from the schematic drawing. It shows which GPIO pins are needed to manually connect the HAT with jumper wires too you’re Raspberry Pi.

Sense HAT from www.raspberrypi.org
As you can see in the picture the following GPIO pins are required:
2, 3, 10, 9, 11, ID_SD, 23, 24, 25, 8, ID_SC and the two pins 2, 4 as +5V. Do not forget to set at least one ground (GND).
I had to play a little bit with the connections back and forth but in the end everything worked out great
Summary Sense-HAT
A Raspberry Pi with an attached Sense-HAT can do everything from recording the robot’s movement to recording air pressure and temperature. But with the CPU the RaPi has directly under the Sense the temperature will not be correct. I have to try that in the future.
The robot will record forces and movements with the acceleration sensor and gyroscope. More information about the Raspberry Pi Sense HAT is available on the Raspberry Pi homepage Sense Hat


Great findings with this project.
I am looking to do something similar with arranging the sense hat and other components to fit on the GPIO pins.
Just wondering, which pins did you connect up to the sense hat to get it to work?
Thanks
Hi James,
that was a little bit try and error and one night. I will update my post with the correct pin connection plan soon.
Ingmar
Thanks. I look forward to it.
Errm, on my sensehat (which is V1.0 dated 2015 in silk screen on the board), the female socket on the bottom that connects onto the Pi GPIO header can be unplugged from the sensehat, and then you can use a long-tailed 40-pin connector instead so that the extended GPIO pins stick up far enough on top of the sensehat board to be able to plug female-female extender wires onto.