


With an XBee module different network topologies could be setup. I only use a direct connection between two XBee modules for my differential GPS setup. This connection mode is pre-configured and works out of the box without any configuration from your side. It is possible to configure the for example the network name. This is necessary if more than one XBee / ZigBee network is running next to each other. I need the XBee connection between the base station and mobile station to transmit the GPS data for the precise position calculation. To calculate the precise position I use the RTK library.
First you have to plug the XBee modules into the XBee-Explorer board to connect the XBee module via USB with the Raspberry Pi. After plugging the two modules each into an XBee-Explorer board I plug one module into the base station and one into the mobile unit.
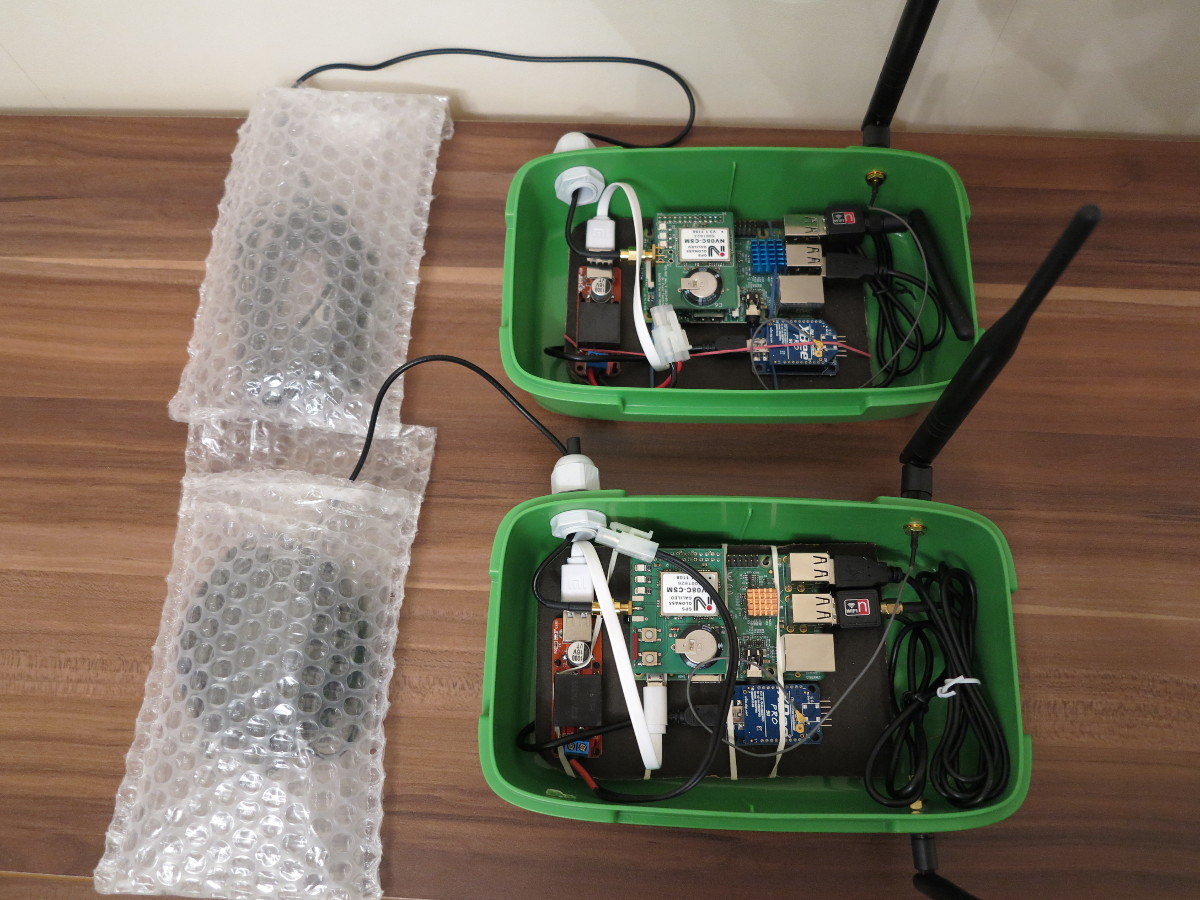
The picture below shows the base station and the mobile unit with the RasPiGNSS module and the two XBee modules.
XBee Pro S1 Module
The next ad is from Amazon and shows such an XBee module I use form y setup together with a Raspberry Pi. The design from the modules varies but the functionality is the same.
With the XBee-Explorer it is possible to connect an XBee module with the Raspberry Pi via an USB cable.
I used an external antenna. The one I bought by Amazon the own shown in the Amazon ad next. The usage of the antenna was very easy.
The next module with an external antenna plug is as good as the XBee Pro module. Only the transmission range is not as big as the one from the module I bought. But I saw this one after I bought the Pro modules.
With the following command you could see the XBee-Explorer after connecting it with the Raspberry Pi.
Command: lsusb

Befehl lsusb
If the output of the command lsusb shows up the XBee-Explorer we now know that the board is working. But which device name the XBee-Explorer got we actual do not see. But if you execute the following command you should see the device name.
Command: dmesg | grep ttyUSB
The output should look like as follows.
Befehl dmesg
Now the Xbee module is known by the operation system Raspbian and the XBee Pro module should work with a baud rate of 9600. The XBee module could now be used for the serial communication between the base station and the module unit to transmit the GPS data between the two units. But the baud rate of 9600 is very low and is not enough for transmitting the GPS data as RTCM3 stream. With a baud rate of 9600 is enough for a NMEA transmission.
The next chapter explains the installation from Minicom. With the Minicom program it is possible to change the baud rate of the Xbee module.
Minicom installation
Minicom is a text based emulator which could be used in Linux for the communication over a modem or serial interface. The emulator Minicom could be installed with the following command which you have to execute in the terminal window from Raspbian.
Command: sudo apt-get install minicom
After the successful installation from Minicom you could start the Minicom terminal with the following command with a baud rate of 9600. This enables us know to communicate with the XBee module and to configure the module.
Command: sudo minicom -b 9600 -D /dev/ttyUSB0 -o
The terminal window you see now should look like as shown in the picture below.
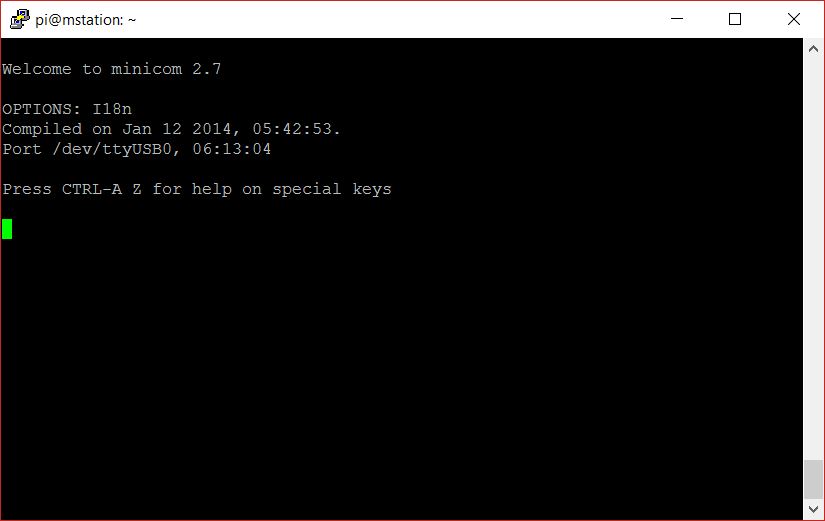
Minicom Terminalemulation
Actual the Minicom terminal window does not except any key you type via the keyboard into the terminal window. To activate the local Echo function inside Minicom that the emulator accepts any keys you type please use the following command.
Command 1: CTRL-A gefolgt von einem Z
Command 2: e (type for “local Echo on/off”)
Now you are able to communicate and to configure the XBee module via the terminal emulator Minicom.
XBee S1 Pro modul change the baud rate
After activating the local echo “local Echo on” inside the Minicom terminal window you could use the following commands for configuration the baud rate of your XBee module. You could use the following speed setups for the XBee module as listed below.
| Baud Code | Baud Rate | Notes |
|---|---|---|
| 0 | 1200 | |
| 1 | 2400 | |
| 2 | 4800 | |
| 3 | 9600 | Okay for a NMEA transmission |
| 4 | 19200 | |
| 5 | 38400 | |
| 6 | 57600 | |
| 7 | 115200 | Okay for a RTCM3 transmission |
XBee Modul activation the module:
To start the communication with the XBee module you have to type three +++ characters into the Minicom terminal window. You do not type enter after the three + letters. After typing the three + the module should response with an OK. Now the module is ready for configuration. Now you have to type the next command for configuration the module in the next 10 seconds. After 10 seconds the module changes it state from configuration back to transmission.
Command: +++ (after the three + an OK shows up)
XBee modul baud rate configuration:
If you are not sure which baud rate you could configure have a look into the list above to check the possible baud rates. With the command ATBD the actual configured baud rate shows up. You should see a 3 for the baud rate 9600.
Command: ATBD <ENTER> (shows the actual configured baud rate)
Now you could change the baud rate with the following command.
Command: ATBD7 <ENTER> (sets the baud rate to 115200 baud)
To save the changed baud rate and not to lose it after a reboot of the module you need to type the following command as well.
Command: ATWR <ENTER> (savest e new baud rate into the rom)
You need to change the baud rate for each of te two modules. If you would like to close the Minicom terminal you have to type CTRL A followed by an x.
XBee modul baud rate test:
After rebooting both Raspberry Pi’s you should open on each the Minicom terminal with the following command to test the communication between the both modules.
Command: sudo minicom -b 115200 -D /dev/ttyUSB0 -o
Next you have to activate the Echo mode inside the Minicom terminal to be able to type into the terminal. After activating the Echo mode you could type into one terminal window for example “test” and you should see the word you type into the terminal in the other terminal as well.
The next pictures shows how I tested the communication.
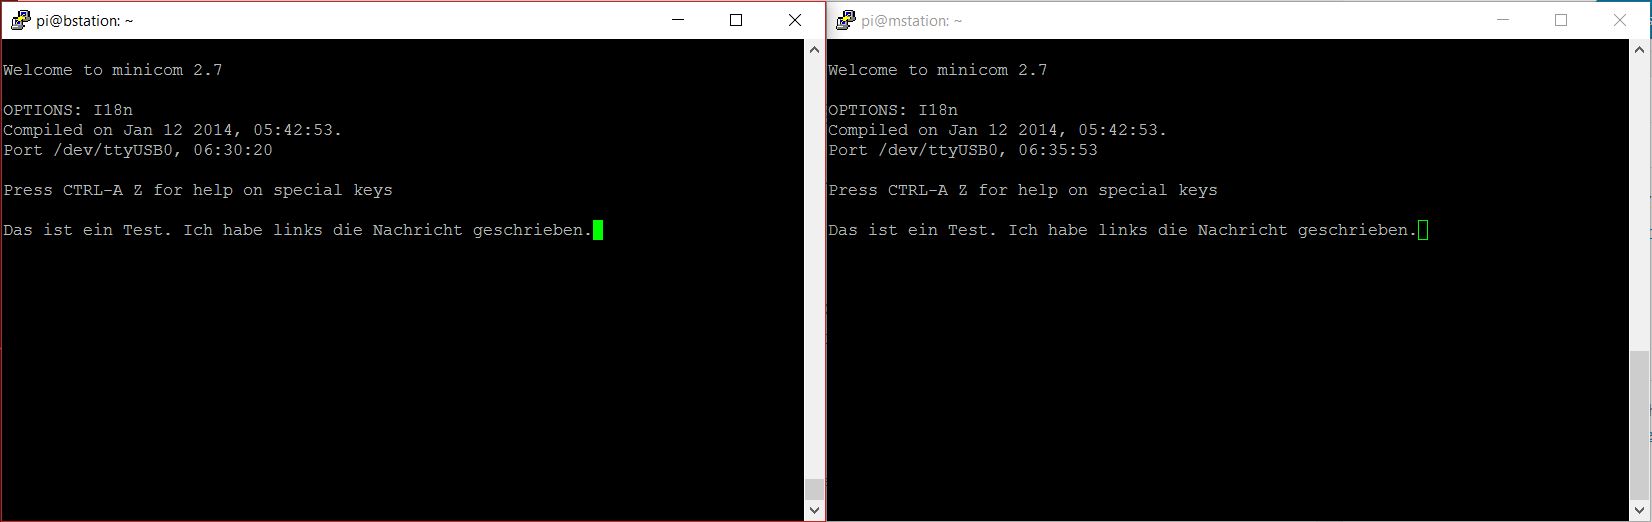
XBee Test
Now you are able to communication with the RTK library over you XBee modules.
Summary
To understand how to setup and configure the XBee modules took a few hours for me. To change the baud rate and how to activate the echo mode was not so easy to understand. After understanding how every things work together it was very easy to configure the baud rate of 115200 baud and to communicate over the two XBee modules. I hope my little how to guide will help you to get everything up and running very fast.
Article list - GPS module RasPiGNSS:
Precise GPS GNSS positioning with a Raspberry Pi and the RTKLIB – introductionPrecise GPS GNSS positioning with a Raspberry Pi and the RTKLIB – theoretical setup
Precise GPS GNSS positioning with a Raspberry Pi and the RTKLIB – GPS antenna setup
Precise GPS GNSS positioning with a Raspberry Pi and the RTKLIB – software installation
Precise GPS GNSS positioning with a Raspberry Pi and the RTKLIB – configuration RTKLIB base station
Precise GPS GNSS positioning with a Raspberry Pi and the RTKLIB – configuration RTKLIB mobile unit
Precise GPS GNSS positioning with a Raspberry Pi and the RTKLIB – XBee serial data transmission


Recent Comments