

Chapter 5 – software installation:
The fifth chapter is about the installation of the Raspberry Pi software components needed to run the Raspberry Pi car. I also describe which programs are needed on the Windows PC to develop the controlling script for controlling the car. A third part of this chapter is about the configuration of the modules needed on the Raspberry Pi like the network share SAMBA or the library Python. I do not explain Linux as PC operating system because I think the most users who read this chapter have Windows as Operating system installed on their computer.
Raspberry Pi – Wheezy installation (Windows)
As a first step we have to setup the SD card for the Raspberry Pi to boot the little linux computer. We need a so called image for this step. The image contains the operation system for the Raspberry Pi. It is important for the understanding to understand that all software is installed on the SD card. This means the operating system and all additional software components we will install during this chapter are installed on the SD card. I will now explain very shortly how to install the image with the operating system on the SD card and how you boot the Raspberry Pi on a TV / monitor.
Download Debian Wheezy: download
After downloading the 800 MB ZIP file you have to install it on the SD card. A set of tools are available which do this job for you. A short description how to install the image on the SD card is available in the next section.
- First you have to insert the SD card into your SD card reader and notice the drive letter Windows assign to your SD card.
- I downloaded the little program Win32DiskImagers (12 MB) to install the image on the SD card.
- Download link Win32DiskImager: download
- After the download is finished you have to extract the Win32DiskImagers ZIP file and start the program as Administrator (under Windows as OS) with a right click on the EXE file.
- Now you have to choose the downloaded and extracted Wheezy image file with the Win32DiskImager to install it on the SD card.
- The next step is to choose the drive letter Windows assigned to your SD card and which we have noticed a few steps before. It is important to choose the correct drive for the next steps. If not and you have chosen a wrong drive you can lose your data on this drive.
- Now press the button
Writeand wait until the write process is finished. - After the SD card is written successfully you can now close the Win32DiskImager and remove the SD card from you PC.
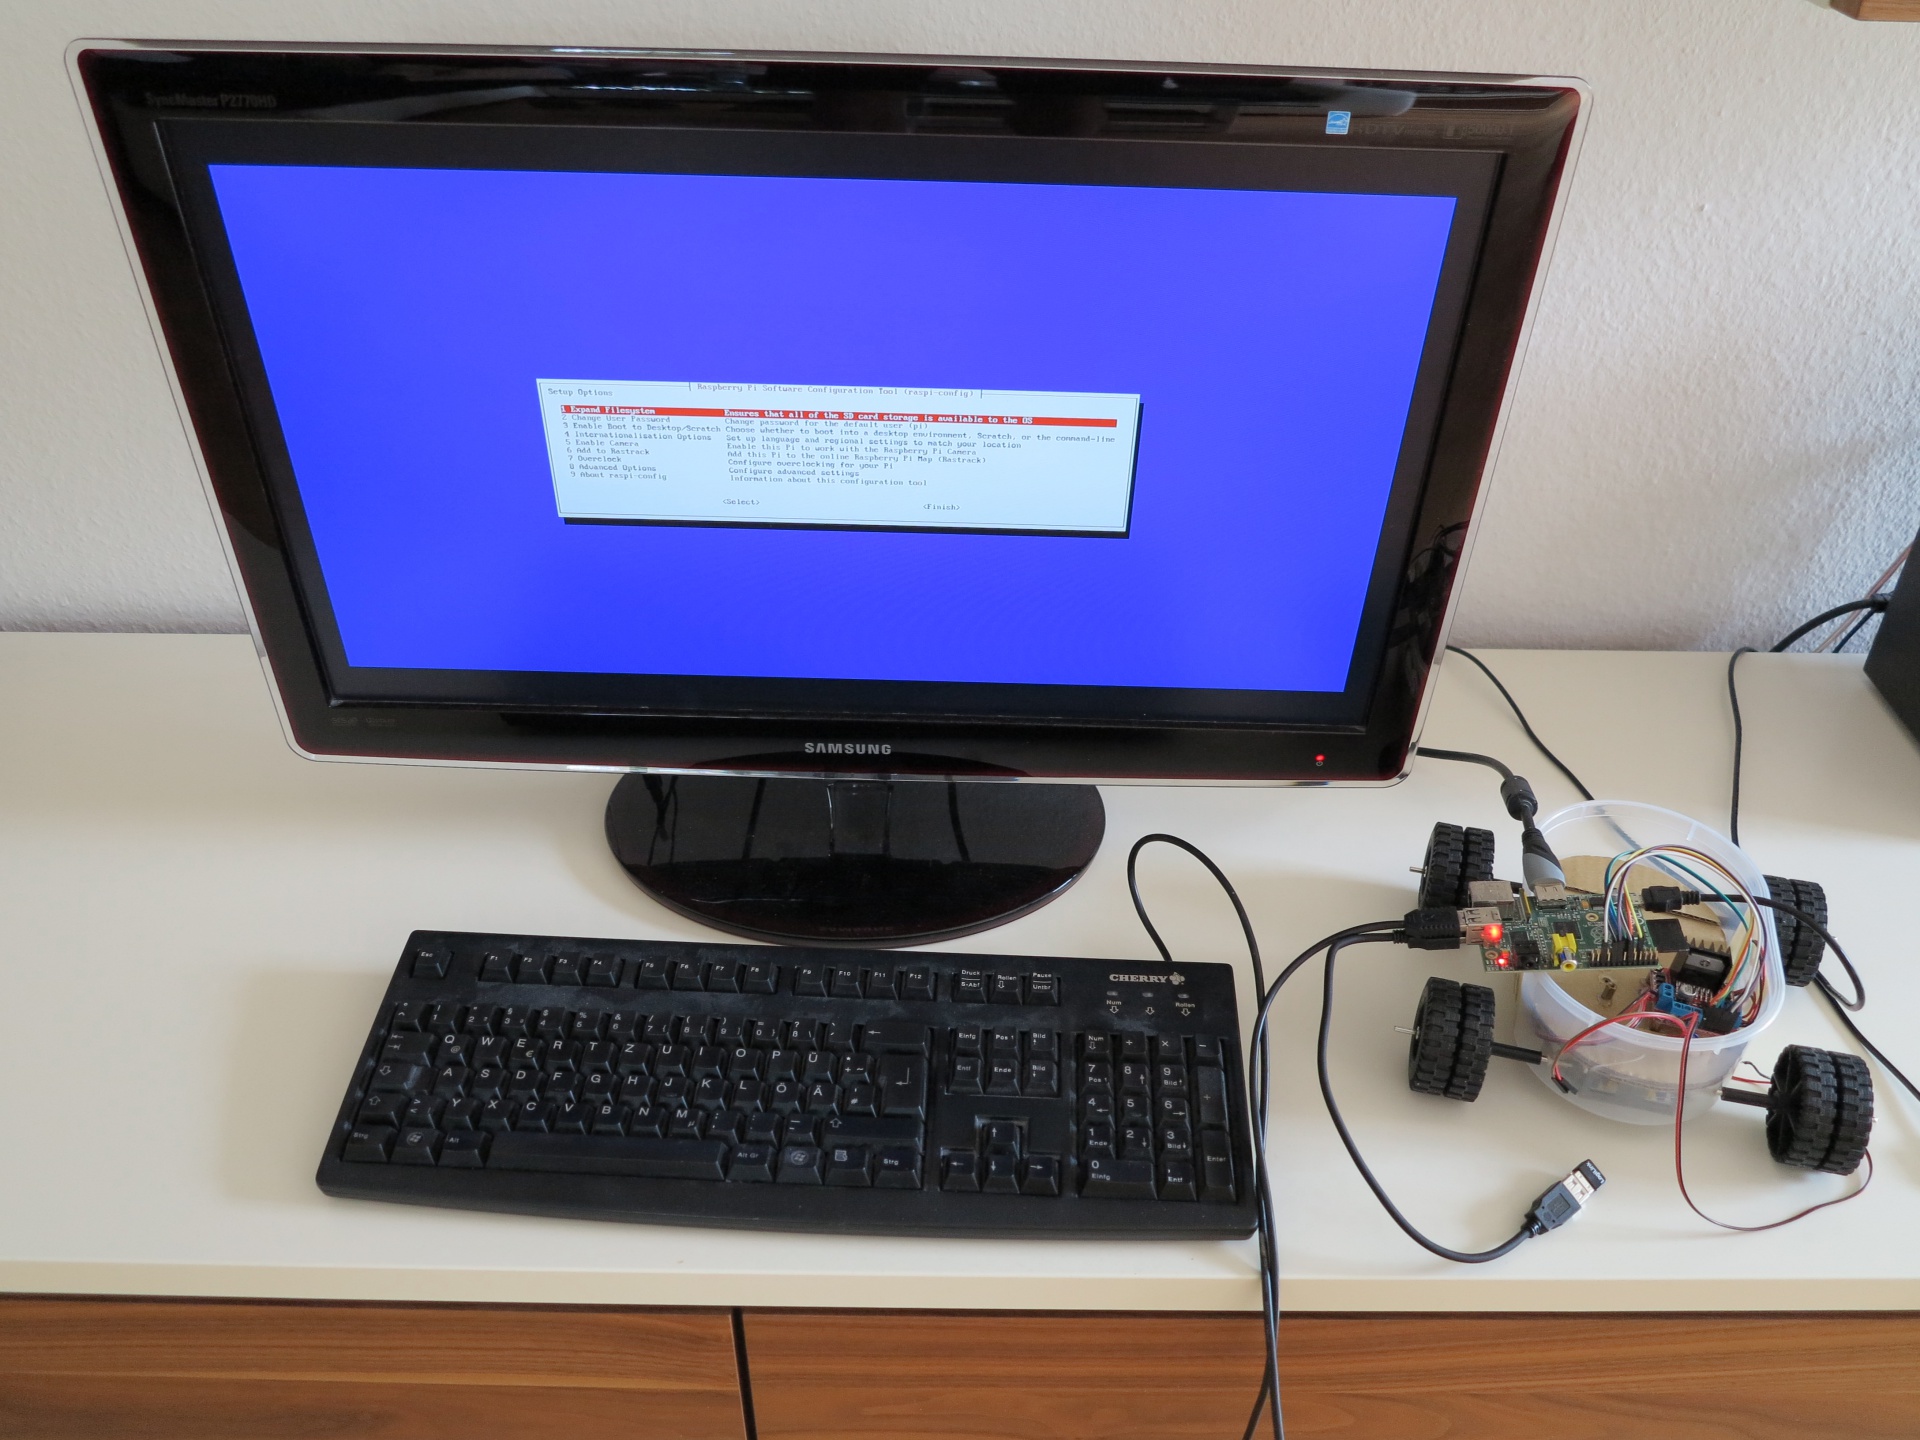
If everything went successfully just plug the SD card into your Raspberry Pi and boot the RaPi Car the first time. Now please follow the installation setup hints you see on your monitor. I will not now explain these steps because this is a HowTo about the construction of a RaPi car.
Please install on your Windows computer the little program WinSCP. We need this program to configure the Samba server installed on the RaPi car next.
Raspberry PI – remote controlled car with a Raspberry Pi software installation
Raspberry Pi – installation of additional software
Now you have to make the decision if you want to use the monitor to program the RaPi Car in the future or not. I will describe the method to install everything one time with the RaPi car plugged on a monitor and after the successful installation all future changes, developments… are done online via WIFI / LAN.
To do so I made a list of software modules we need to bring the RaPi car online.
Preparation:
- Raspberry Pi update (Raspberry Pi)
- WinSCP (Windows computer)
- Samba installation / configuration (HowTo paper: Samba HowTo)
- Putty installation for the backend access on the RaPi car (Windows computer)
- GPIO Library installation (Raspberry Pi)
- W-Lan installation / configuration (HowTo paper: W-Lan HowTo) (Raspberry Pi)
- Notepad++ installation on the Windows computer (Windows Rechner)
I assume that you are logged in on your Raspberry Pi and that you will execute the following steps.
1. Raspberry – Upgrade
We start with an update and upgrade of our Raspberry Pi installation. This you can do repeatedly:
- sudo apt-get update
- sudo apt-get upgrade
2. WinSCP – installation
Please download WinSCP and install the program on your computer to login in via WIFI / Lan on your Raspberry Pi.
Download link: WinSCP
3. Samba Server – installation
After the installation I normally install the SAMBA server on the Raspberry Pi. This is an easy solution to access the folders on the Raspberry Pi via LAN from my Windows computer. The next steps describe how I normally install the samba service on my Raspberry Pi.
Command:
sudo apt-get install samba samba-common-bin
After the installation of the samba server we have to add a user to the samba server. I will use the user Pi because this is a active user on the RaPi and I will work with this user during this HowTo papers.
Command:
sudo smbpasswd -a pi
Now we have to create a folder which we want to share over the samba server. This folder needs access rights for the Pi group and user. I created a folder rapicar in the directory /.
Command:
sudo chown -R pi:pi /rapicar
After the success full installation and login via WinSCP on the Raspberry Pi we have to edit the smb.conf file located in the folder /etc/samba/. The smb.conf file is the configuration file for the samba server. You can use my smb.conf file.
This is my example smb.conf file you can use it as a start point for your configuration of the Smaba service. It will share all folders from the Raspberry Pi and not only the folder /rapicar/.
Download: smb_conf
4. Putty installation
Please download Putty and install the program on your Windows computer. You need the program to access the command line of your Raspberry Pi via WIFI / LAN.
Download link: Putty
5. GPIO library – installation
To install the GPIO library you have to execute the following commands on your Raspberry Pi:
- sudo apt-get update
- sudo apt-get install python-dev
- sudo apt-get install python-rpi.gpio
6. W-Lan configuration / installation
You will find detailled informations about the configuration of the WIFI connection in this chapter:
Raspberry Pi WIFI radio controlled rc vehicle – startup scripts
7. Notepad++
Notepad++ is available here and we need it to program our first Python script for controlling the L298 H-Bridge
Download link: Notepad++
Conclusion:
I hope the installation and setup of the Raspberry Pi software modules as well as the programs we need on our Windows computer are now installed successfully. I describe everything very short because many very good HowTo papers are available online and this page is about the construction of a Raspberry Pi car. Now I assume that everything works and you can now start with programming the Python script to control the motors of your car. To develop the Python script is described in the seventh chapter.
Contents:
Chapter 1: Raspberry Pi WIFI radio controlled rc vehicle – introduction
Chapter 2: Raspberry Pi WIFI radio controlled rc vehicle – component list
Chapter 3: Raspberry Pi WIFI radio controlled rc vehicle – chassis
Chapter 4: Raspberry Pi WIFI radio controlled rc vehicle – wiring
Chapter 5: Raspberry Pi WIFI radio controlled rc vehicle – software installation
Chapter 6: Raspberry Pi WIFI radio controlled rc vehicle – power supply
Chapter 7: Raspberry Pi WIFI radio controlled rc vehicle – programing
Chapter 8: Raspberry Pi WIFI radio controlled rc vehicle – live video streaming
Chapter 9: Raspberry Pi WIFI radio controlled rc vehicle – web-interface and smartphone
Chapter 10: Raspberry Pi WIFI radio controlled rc vehicle – cooling with passive heat sinks
Chapter 11: Raspberry Pi WIFI radio controlled rc vehicle – startup scripts
Chapter 12: Raspberry Pi WIFI radio controlled rc vehicle – cardboard car model
Chapter 13: Raspberry Pi WIFI radio controlled rc vehicle – power consumption


i’m currently trying to change the smb.conf file for samba and its telling me i don’t have the right permissions to do it. how do i fix it?
the file smb.conf didnt edit or delete :
Permission denied.
Error code: 3
Error message from server: Permission denied
Request code: 13
how can i modify this file and thanks in advance
“Download: smb_conf” funktioniert nicht.
Fehlermeldung:
“Der Ordner kann nicht geöffnet werden. Der Zip-komprimierter Ordner “blablabla\smb_conf.zip” ist ungültig.”